How to Make a Sublimation Scarf (No Tiling Required)
Disclosure: This is a sponsored guest article. I received compensation for publishing this post, and it may include a link to the sponsor's website. All content is reviewed before publication to ensure it is relevant and helpful for The How-To Home readers.
The tiling method drove me bonkers.....so I stopped
I have a confession. I tried to tile a sublimation scarf more times than I want to admit, and almost every single time the design slipped. One corner would shift a hair, the seams would not line up, and sheet after sheet of beautiful sublimated paper would end up in the trash. Sound familiar?
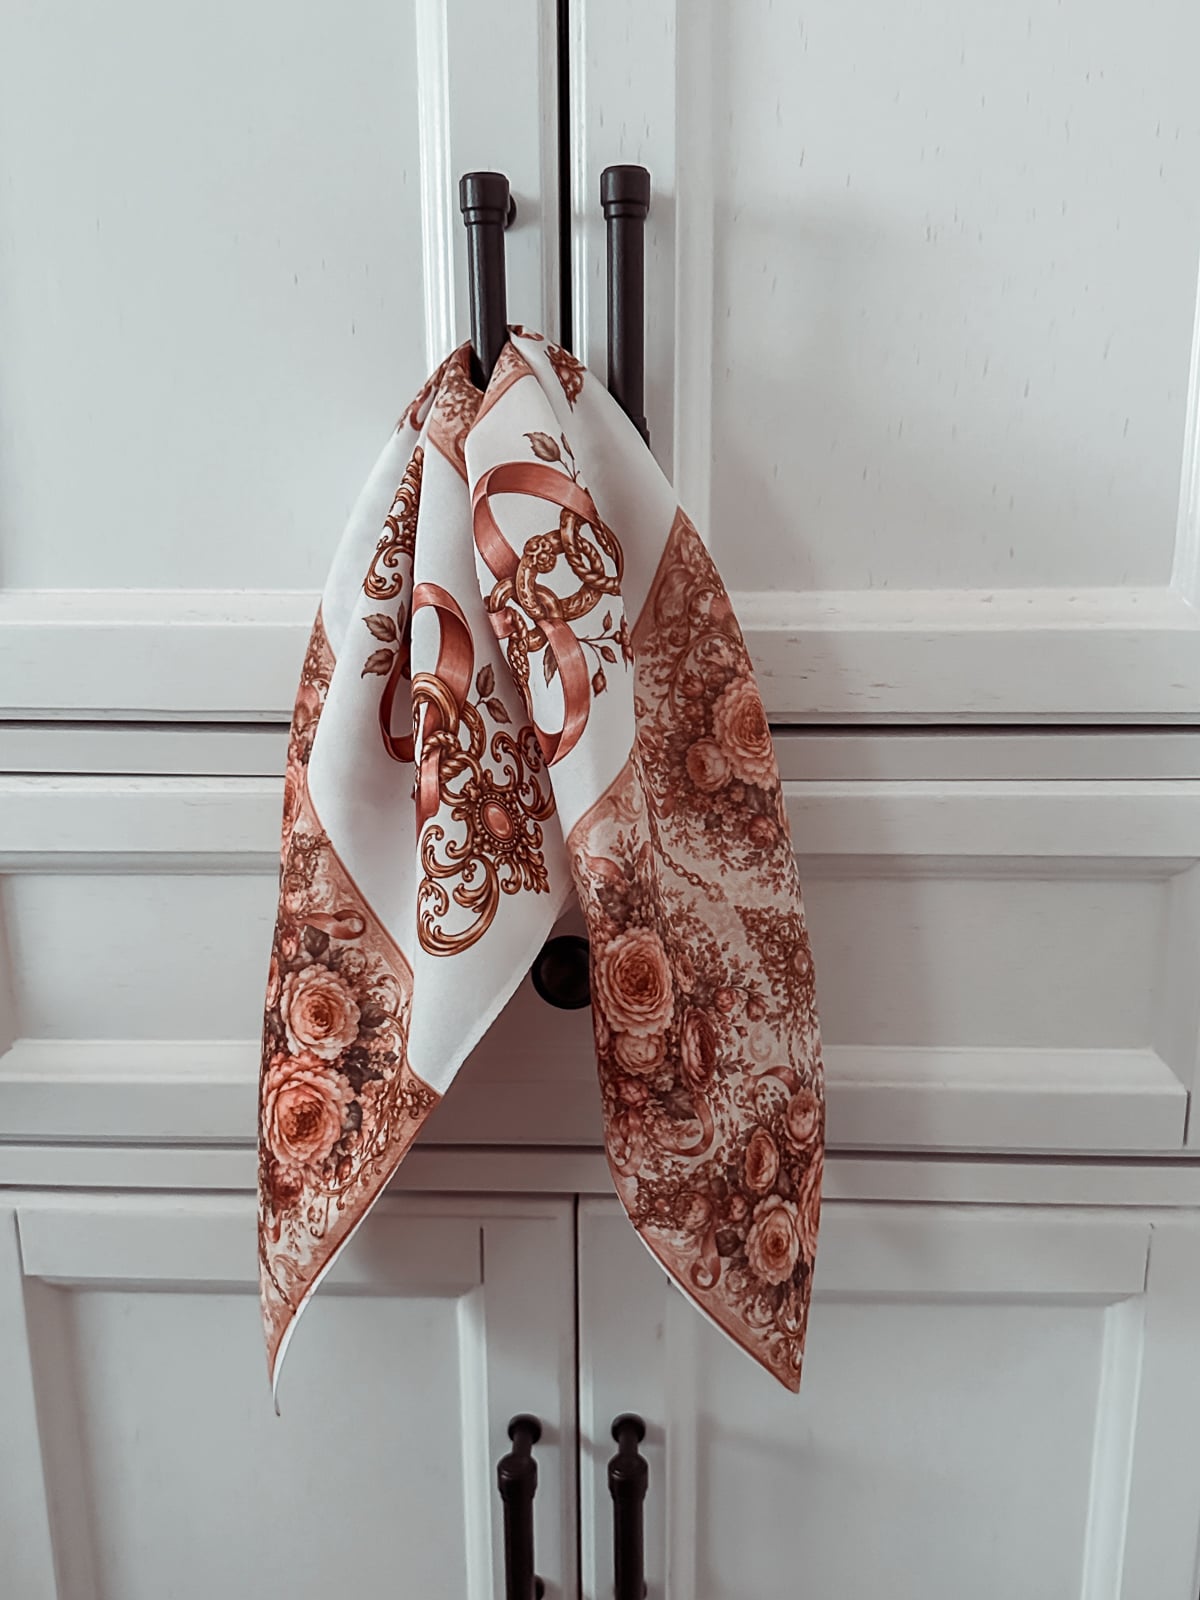
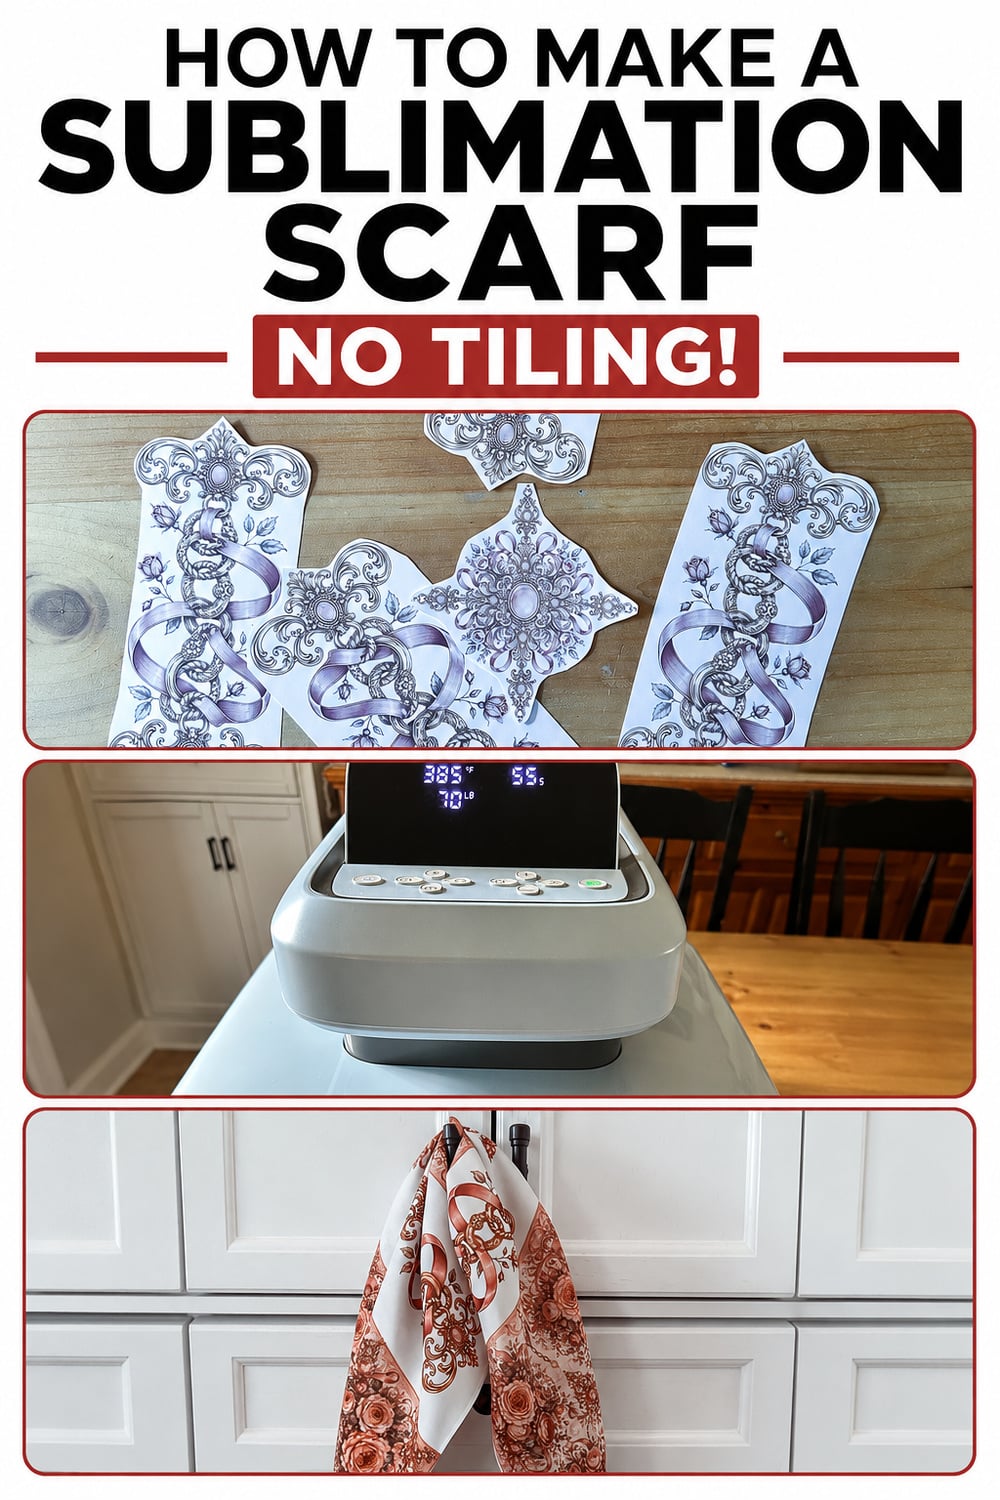
So, instead of one giant tiled design, I started brainstorming and decided to try to create a design that could be broken into smaller designs printed individually that each get taped down and pressed on their own. No lining up long seams, no slipping, and honestly a pretty darn awesome result. That is the whole method, and I am giving you the exact design as a free download so you can skip straight to the fun part....
What you need to make a sublimation scarf
Here is everything I used. A few of these are things you probably already have in your craft room.
- A blank sublimation scarf (100 percent polyester, white or very light, chiffon or satin). Mine finished at 22 inches square.
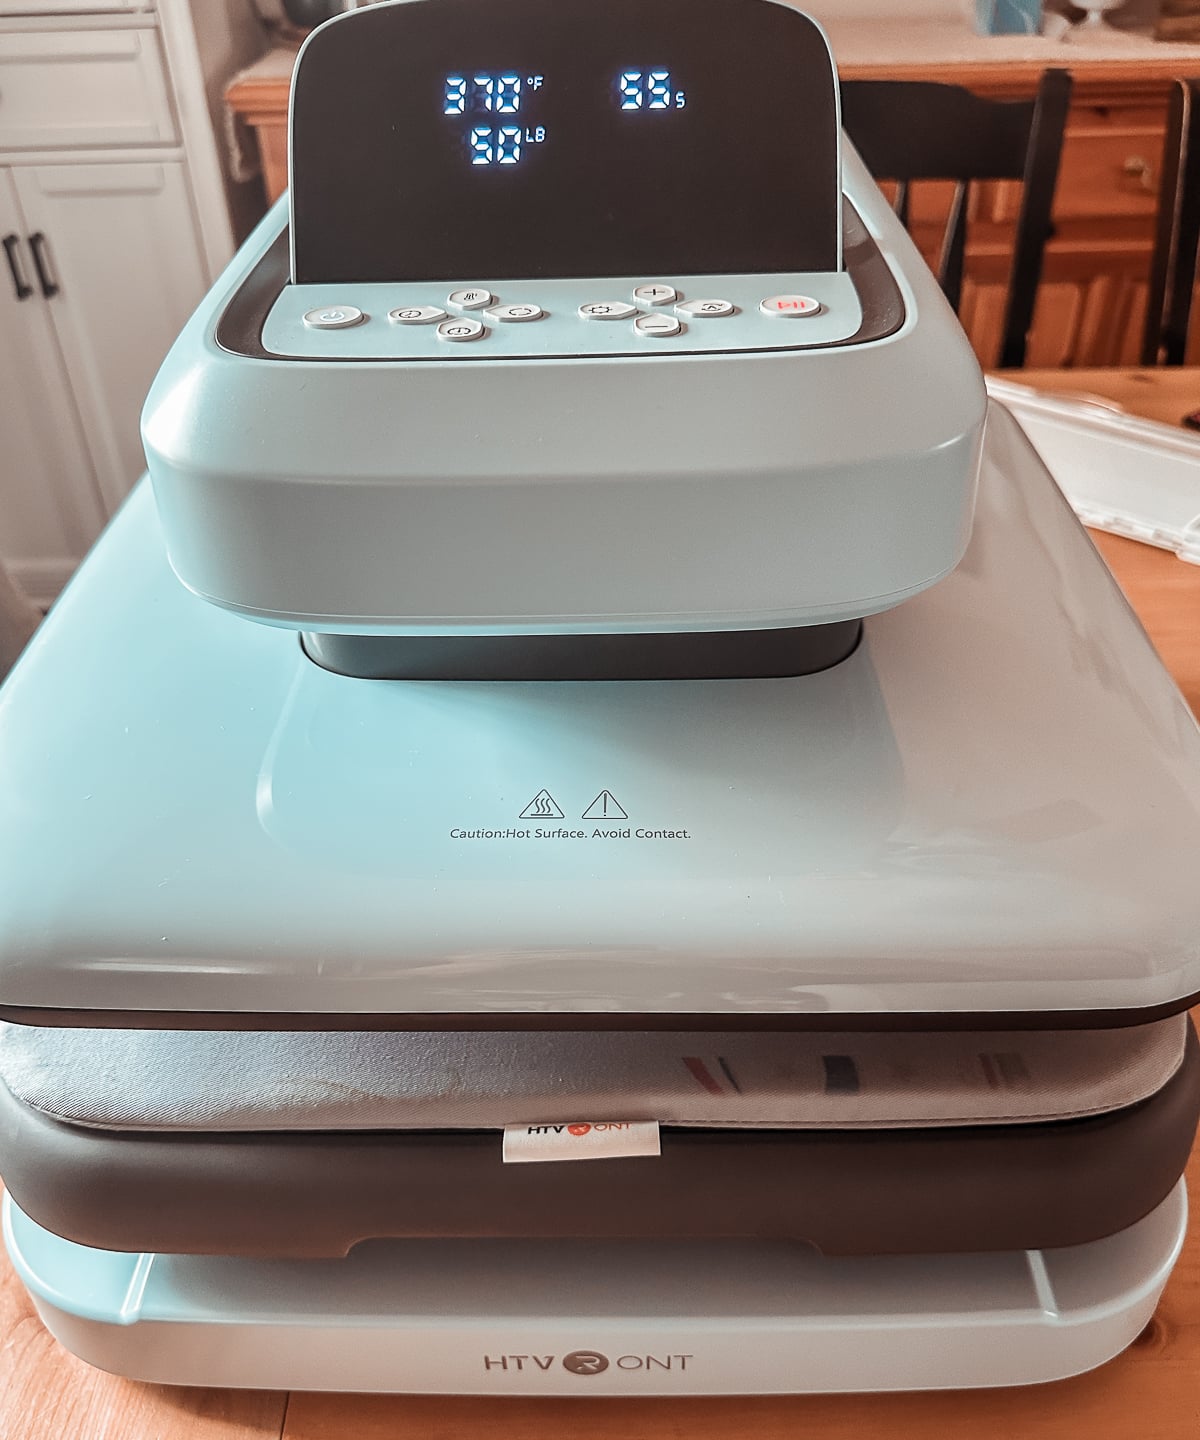
- The HTVRont Auto Heat Press 2 (the press I use for the whole project). Use my code Mary10 for $52 off.
- Sublimation paper and a sublimation printer with sublimation ink.
- heat resistant tape to hold each piece in place.
- Butcher paper for above and below the scarf.
- Heat resistant gloves and a lint roller.
One thing worth saying up front. Sublimation only bonds to polyester, so a real silk scarf or a cotton one will not work. You want a polyester scarf with a smooth chiffon or satin finish.
The no tile panel method, explained
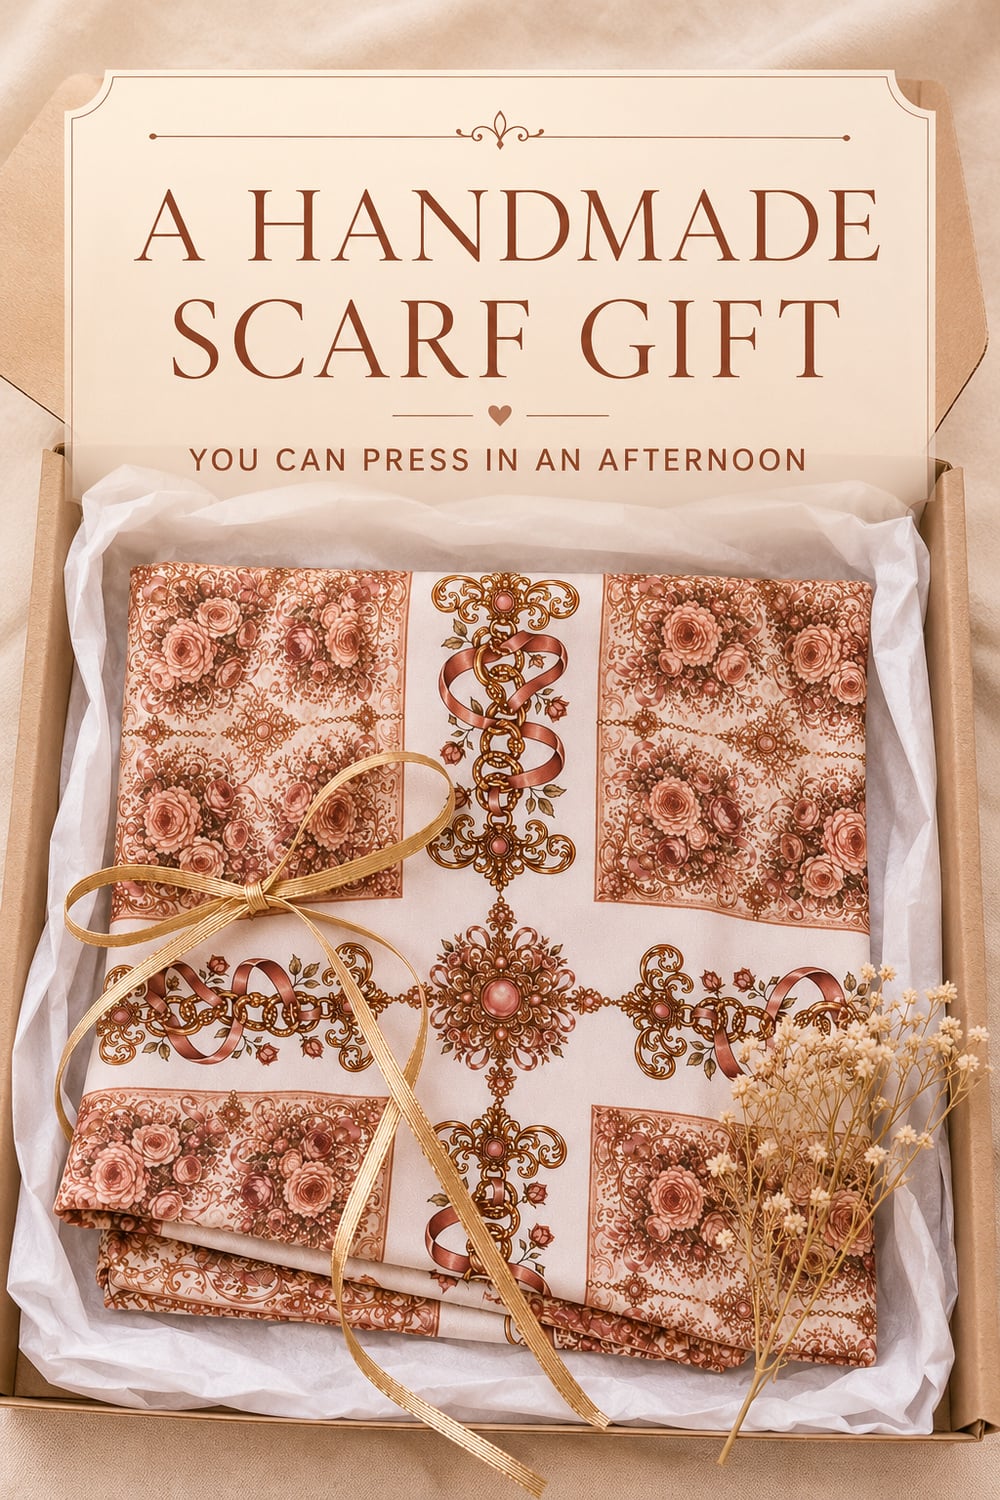
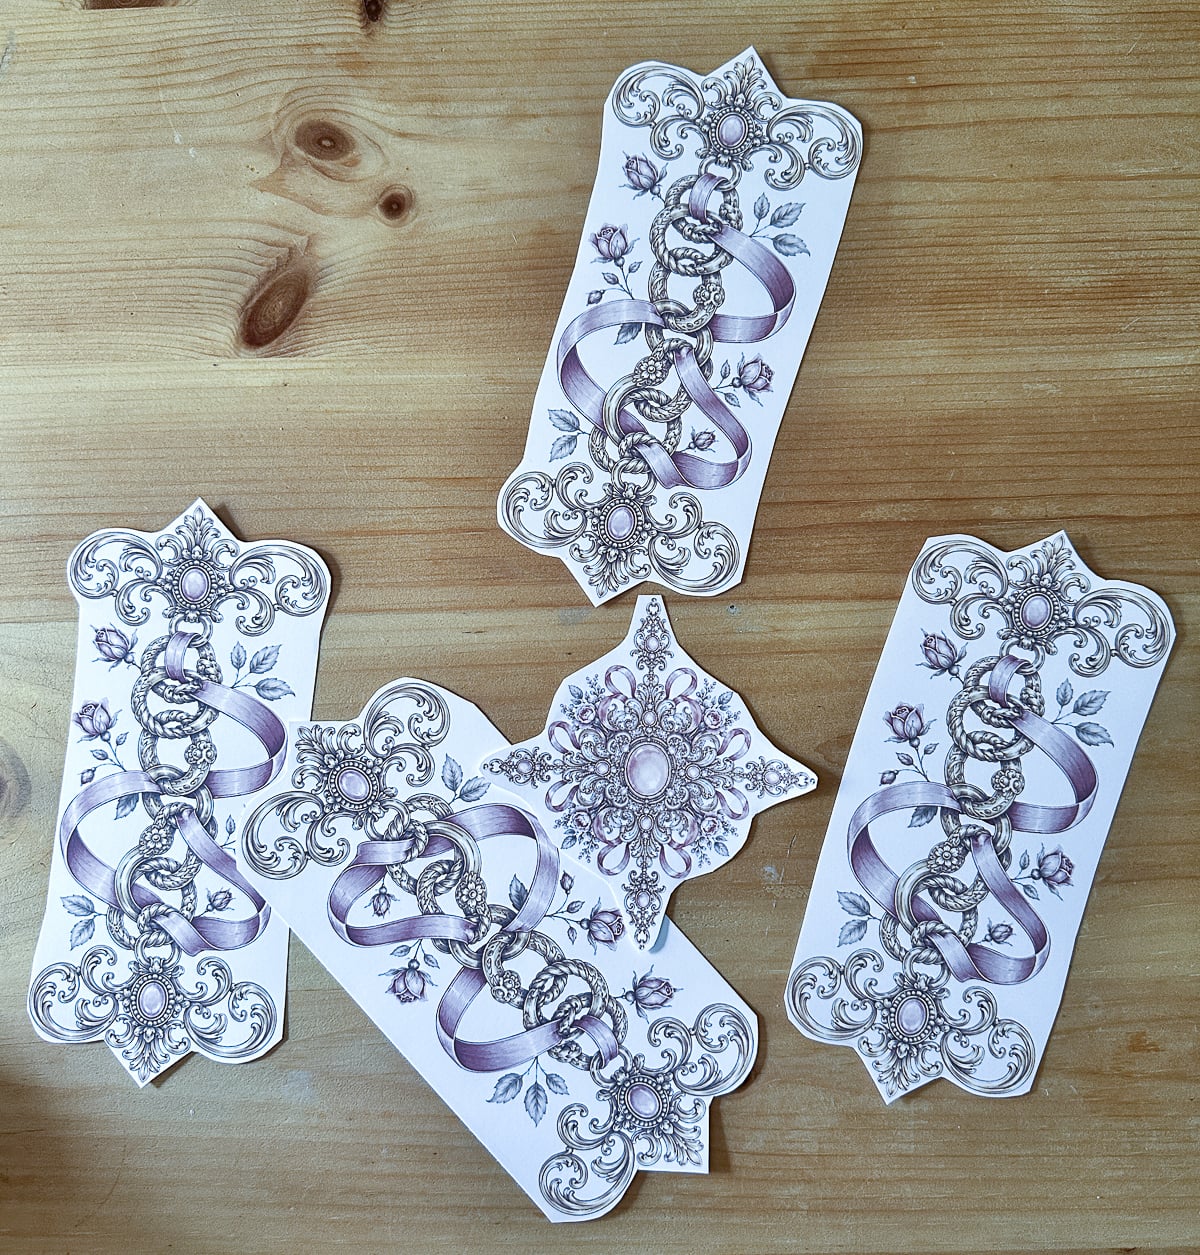
Here is the idea in plain terms. Instead of covering the whole scarf with one big design broken into 9 panels, you break it into a few small pieces. A matching floral panel goes in each of the four corners. A connector piece sits between the panels and reaches toward the middle. One medallion goes right in the center, and you press it last. The white space around the design stays blank on purpose. It does not print, so the white of the scarf becomes part of the finished look, and you save ink and sublimation paper, too.
The best part is that every piece is small enough to tape down and press on its own. Nothing has to line up perfectly across the whole scarf, so there is no slipping and no wasted paper.
Small pieces were easier here because of the press itself. The Auto Heat Press 2 has a large plate and a drawer that slides out toward you. I could lay each taped corner down and slide it back under the heat without reaching over a hot surface. On a delicate scarf, that made placing every piece a lot easier.
How the pieces lay out on a 22 inch scarf
- Place one floral panel in each corner, angled the same way so they mirror around the center.
- Set the four connector pieces between the panels, rotated so they point in toward the middle and form the arms that link everything together.
- Save the medallion for last, right over the spot where all the arms meet in the center.
Test your layout on plain paper first
This is my best tip in the whole tutorial, so do not skip it. Before you touch a single sheet of sublimation paper, print everything on plain paper with your regular printer and lay it all out on the scarf. This is when you catch a panel sitting too high or a connector running long, and you can fix your spacing before it costs you a thing. Plain paper and regular ink are a fraction of the price of sublimation paper and ink, so test first and press once.
One more heads up while you are measuring. Even though these scarves are sold as 22 inches square, mine was not perfectly square, so check yours before you lock in your placement. I like to snug each print right up to the very edge of the scarf so there is no white border left showing. That does mean a little of the print can hang off the edge here and there, which is exactly why the butcher paper is not optional. It keeps stray ink off your heat press mat.
The HTVRont heat settings I use for a sublimation scarf
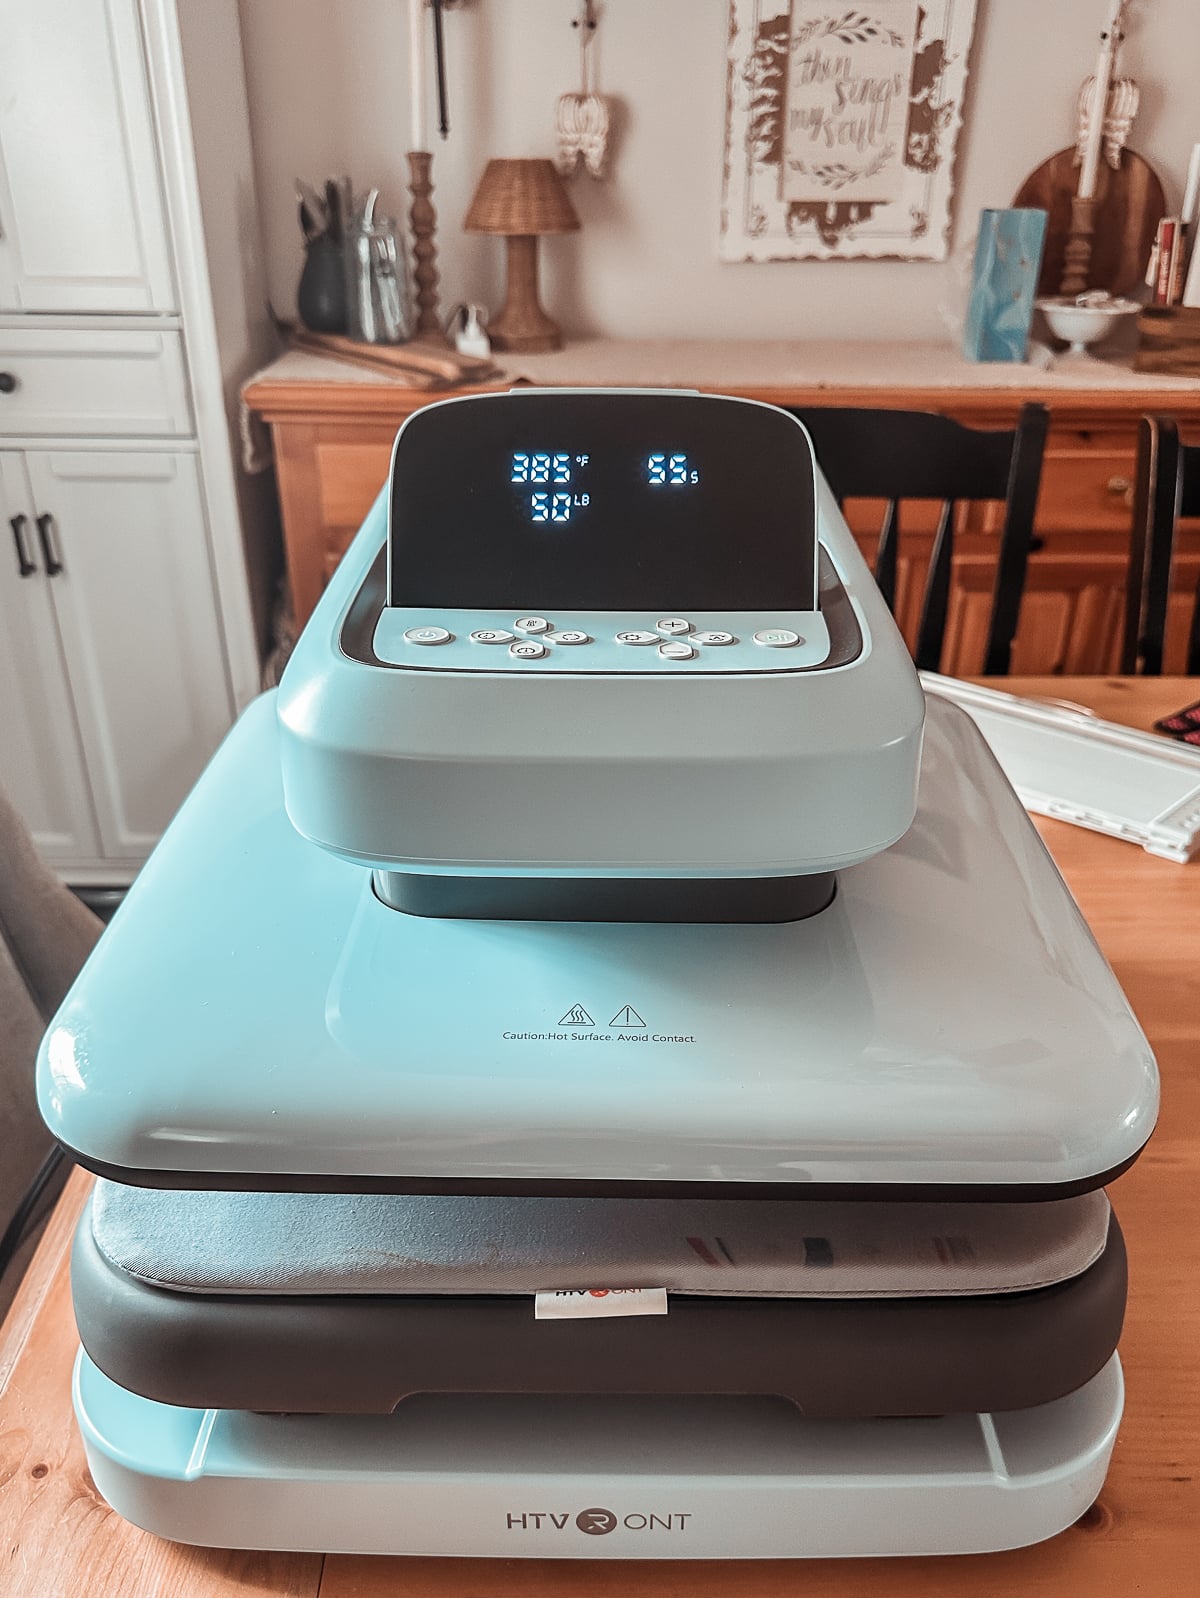
A scarf is thin and delicate, so you press it a little cooler and lighter than you would a shirt. That keeps the fabric from scorching or yellowing and keeps the design crisp. HTVRont does not publish a scarf specific setting, so treat these as my tested starting point and always press a corner or a scrap first.
| Setting | Start here | Notes |
| Temperature | 385°F | A safe window is 380 to 390°F. Your press reaches about 400°F, so this sits comfortably in range. |
| Time | 45 to 50 sec | Thin fabric needs less. Do not push past a minute or you risk scorching. |
| Pressure | Medium - 70 pounds | The press adjusts from 50 up to 170 pounds. Chiffon wants the lower to middle end, not heavy. |
| Pre press | 3 to 5 sec | Warm the blank first to pull out moisture and wrinkles before you tape anything down. |
If the colors come out faded, add about 10 seconds. If anything looks scorched or the colors bleed, drop the temperature 5 to 10 degrees. Small tweaks, not big swings.
One thing that helped here was being able to set the pressure right on the press. A scarf is thin, so I dialed the Auto Heat Press 2 down to a gentle medium instead of the firmer press a shirt likes. The machine holds that setting and counts down on its own, then lifts when it is done. That let me focus on lining up each piece instead of watching the clock.
Press it step by step
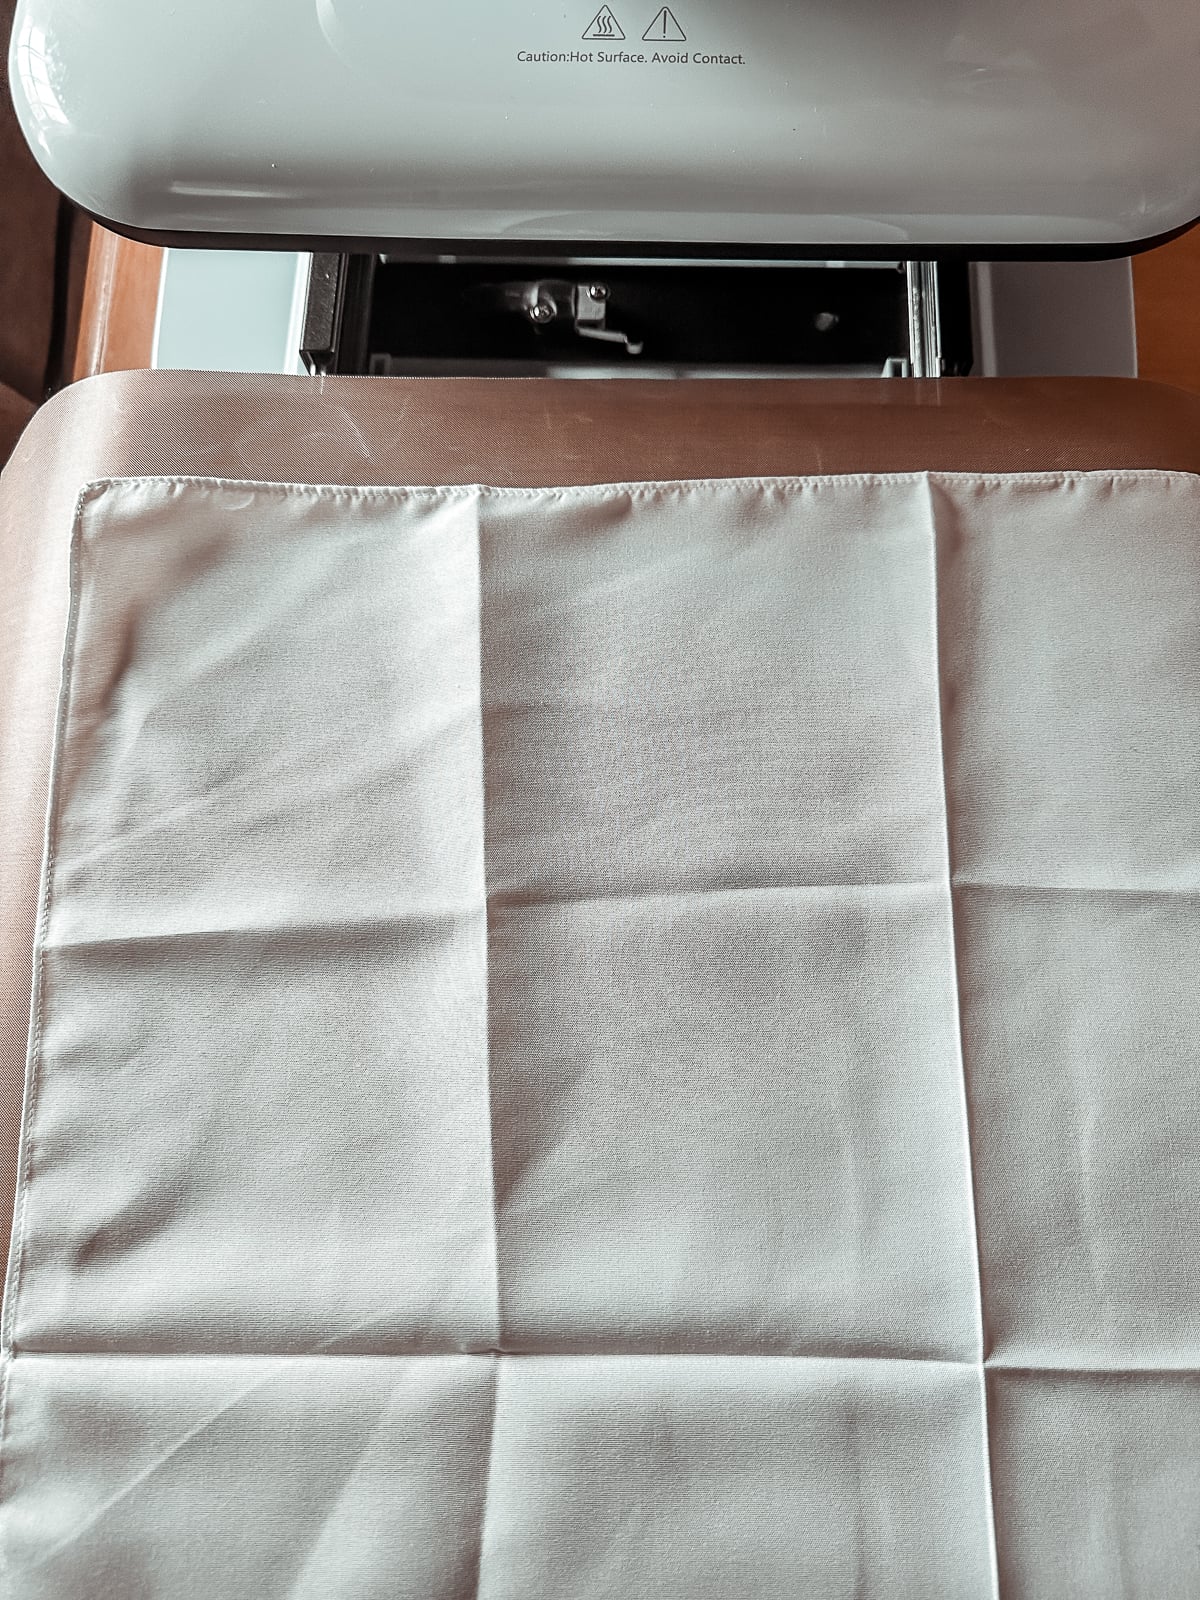
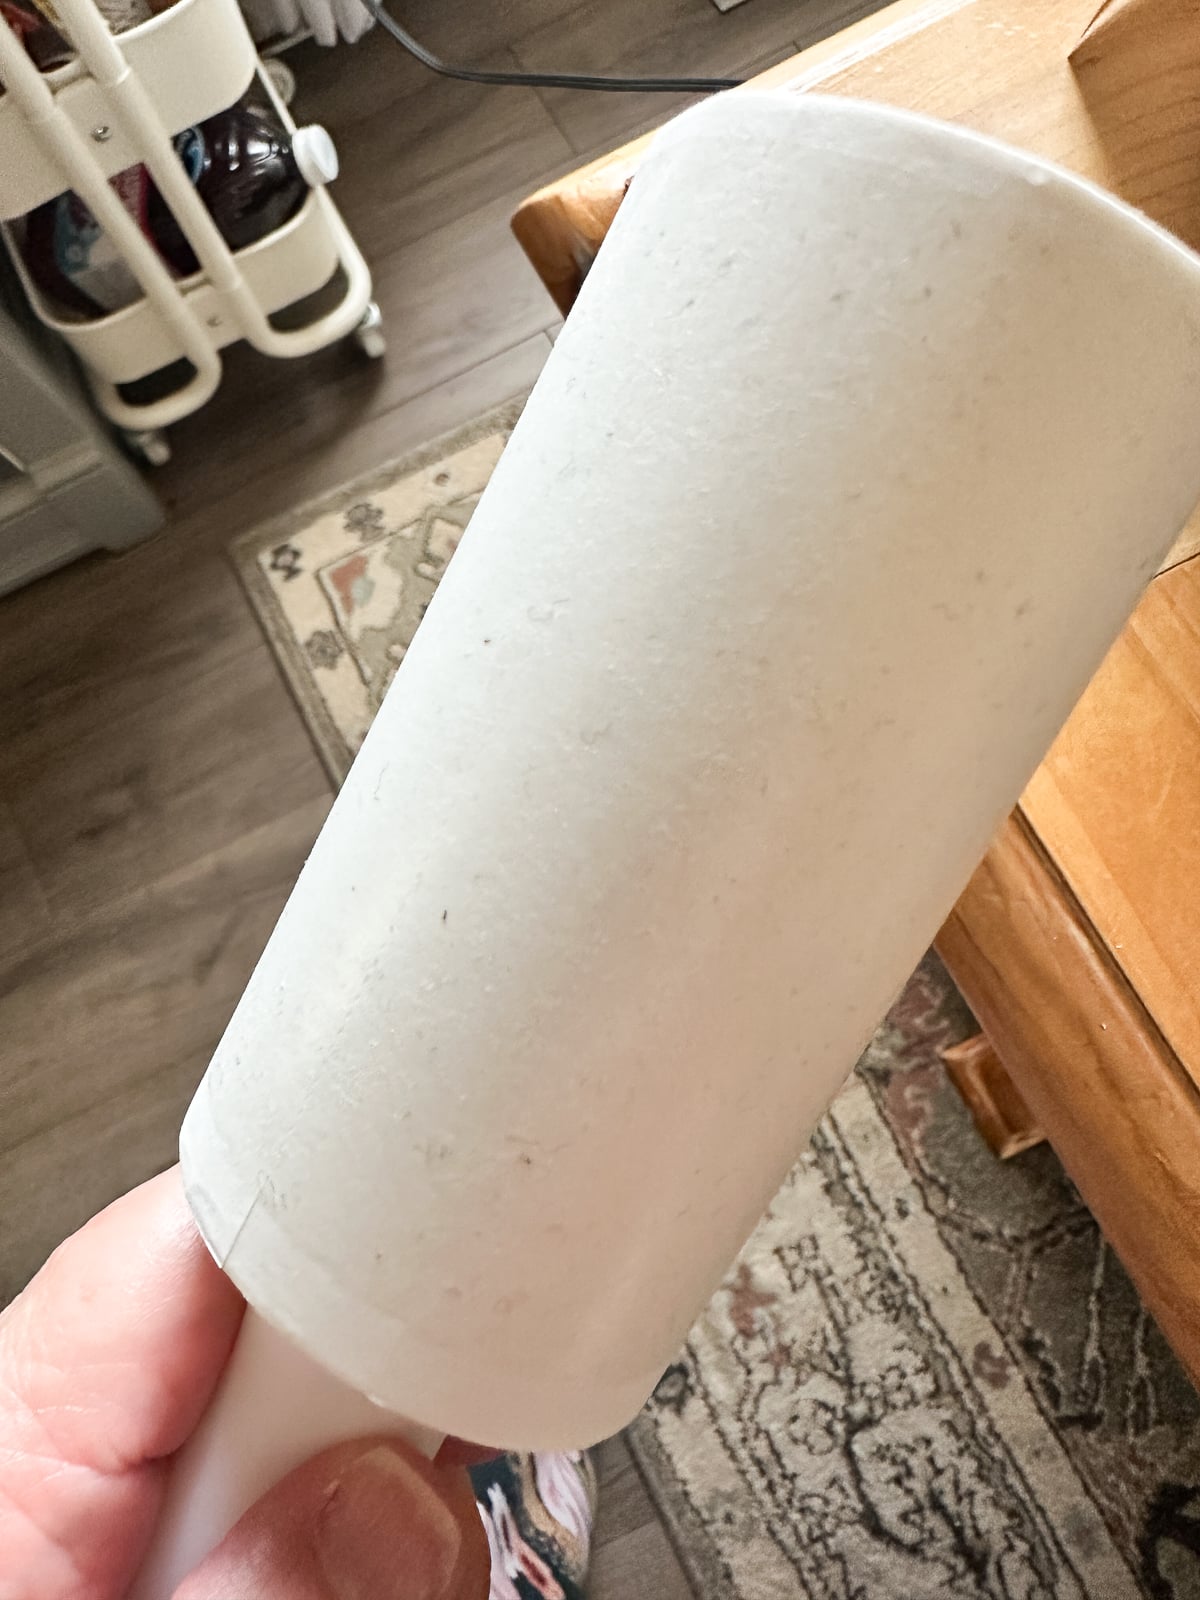
- Lint roll the scarf, then pre press it for 3 to 5 seconds to warm it and remove moisture.
- Lay butcher paper under the scarf. It is sheer, so this protects your mat from any ink that gasses through.
- Place your first piece face down, then tape all the edges with heat tape. Slippery fabric shifts easily, and taping is what kills the slippage for good.
- Cover with butcher paper or a Teflon sheet on top and press at your setting. Work one piece at a time, corners first, then the connectors, and the medallion last.
- Peel while warm, then lay the scarf flat to cool for a minute or two before you fold it so nothing smudges.
If you get any ink overflow on a press, start the next piece with a fresh sheet of butcher paper. Ink left on a used sheet can transfer onto parts of the scarf you never meant to touch, and that is a hard one to undo.
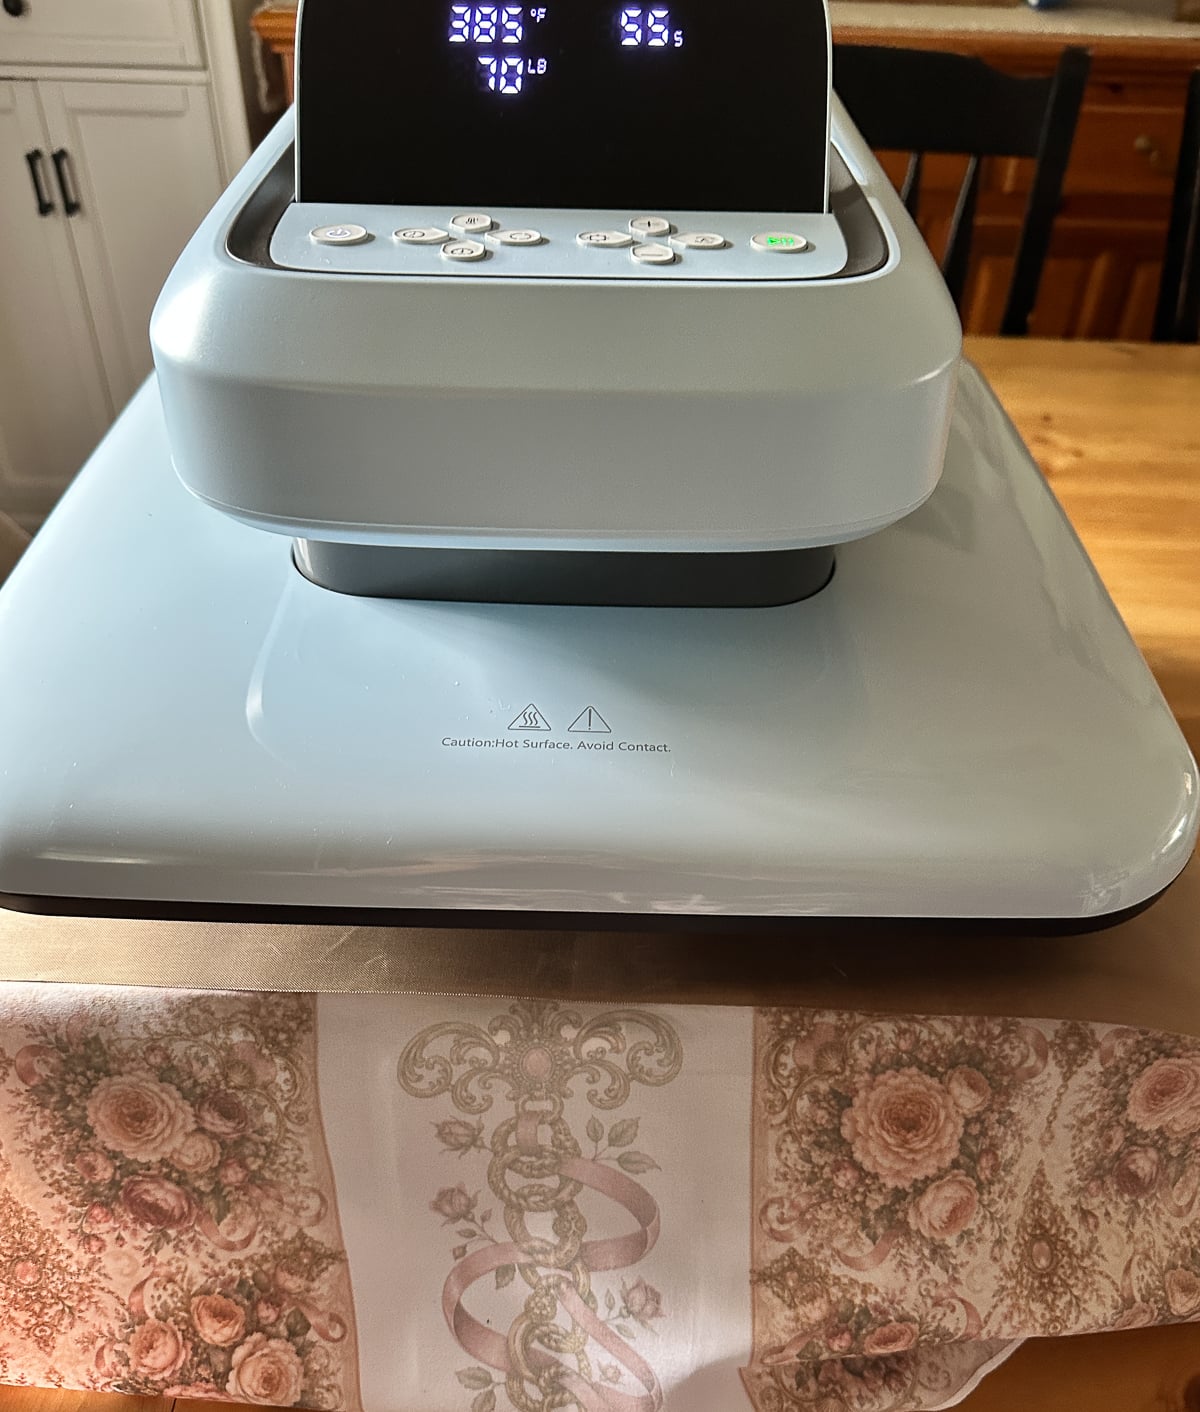
One thing that surprises first timers. Because the fabric is so thin, the design shows softly on the back of the scarf too. That is normal, and it actually looks lovely since a scarf gets seen from both sides.
Grab the free scarf design
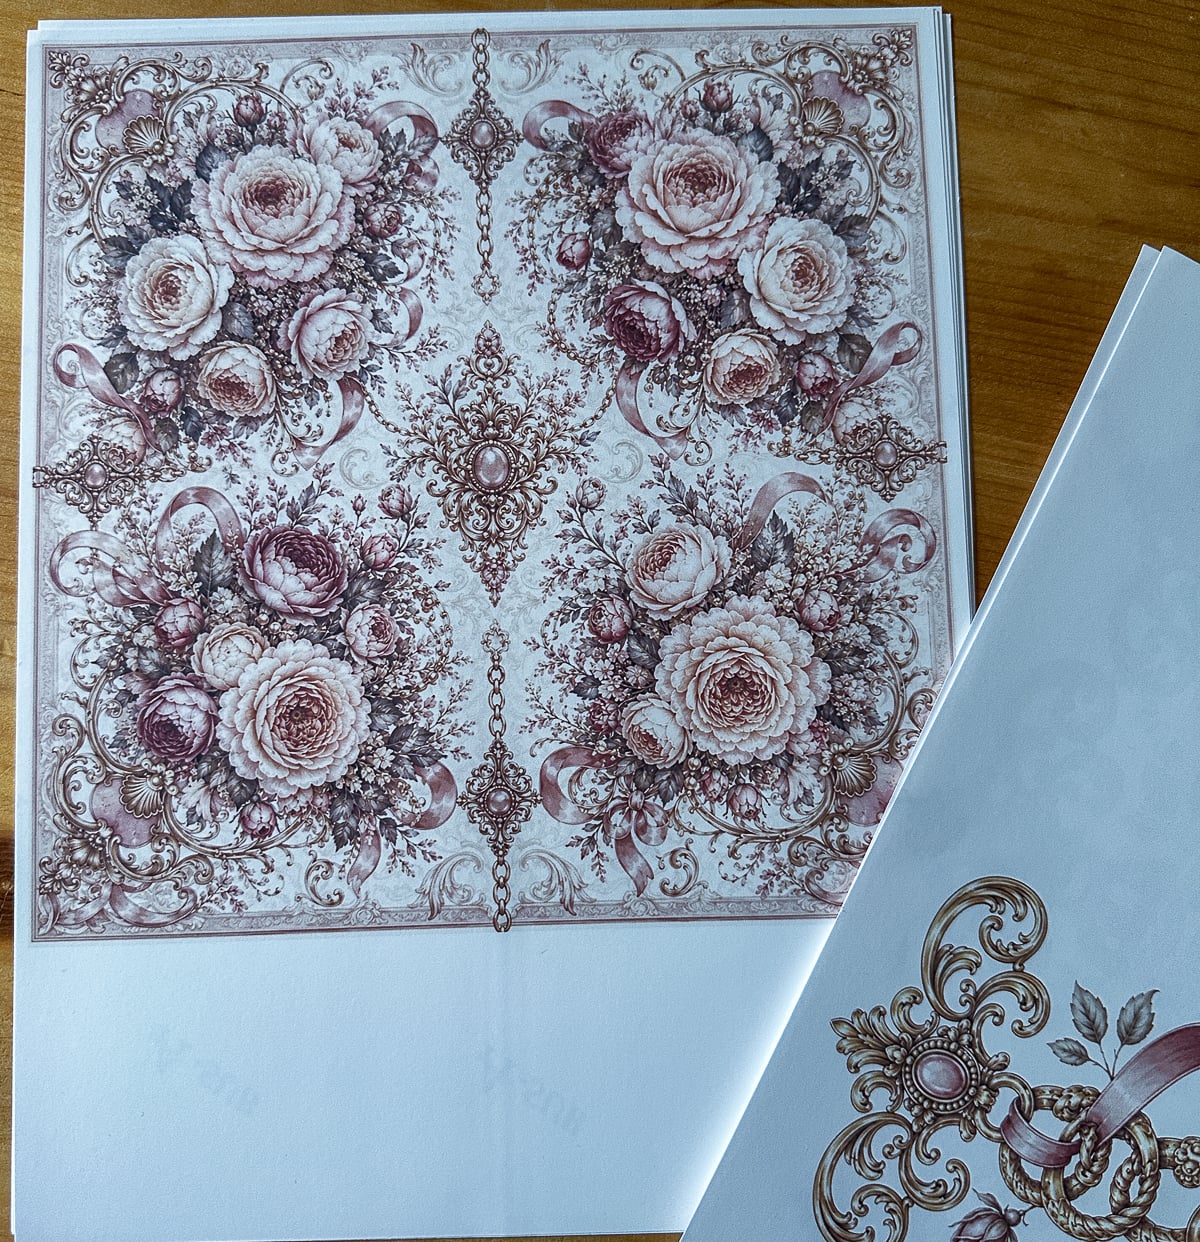
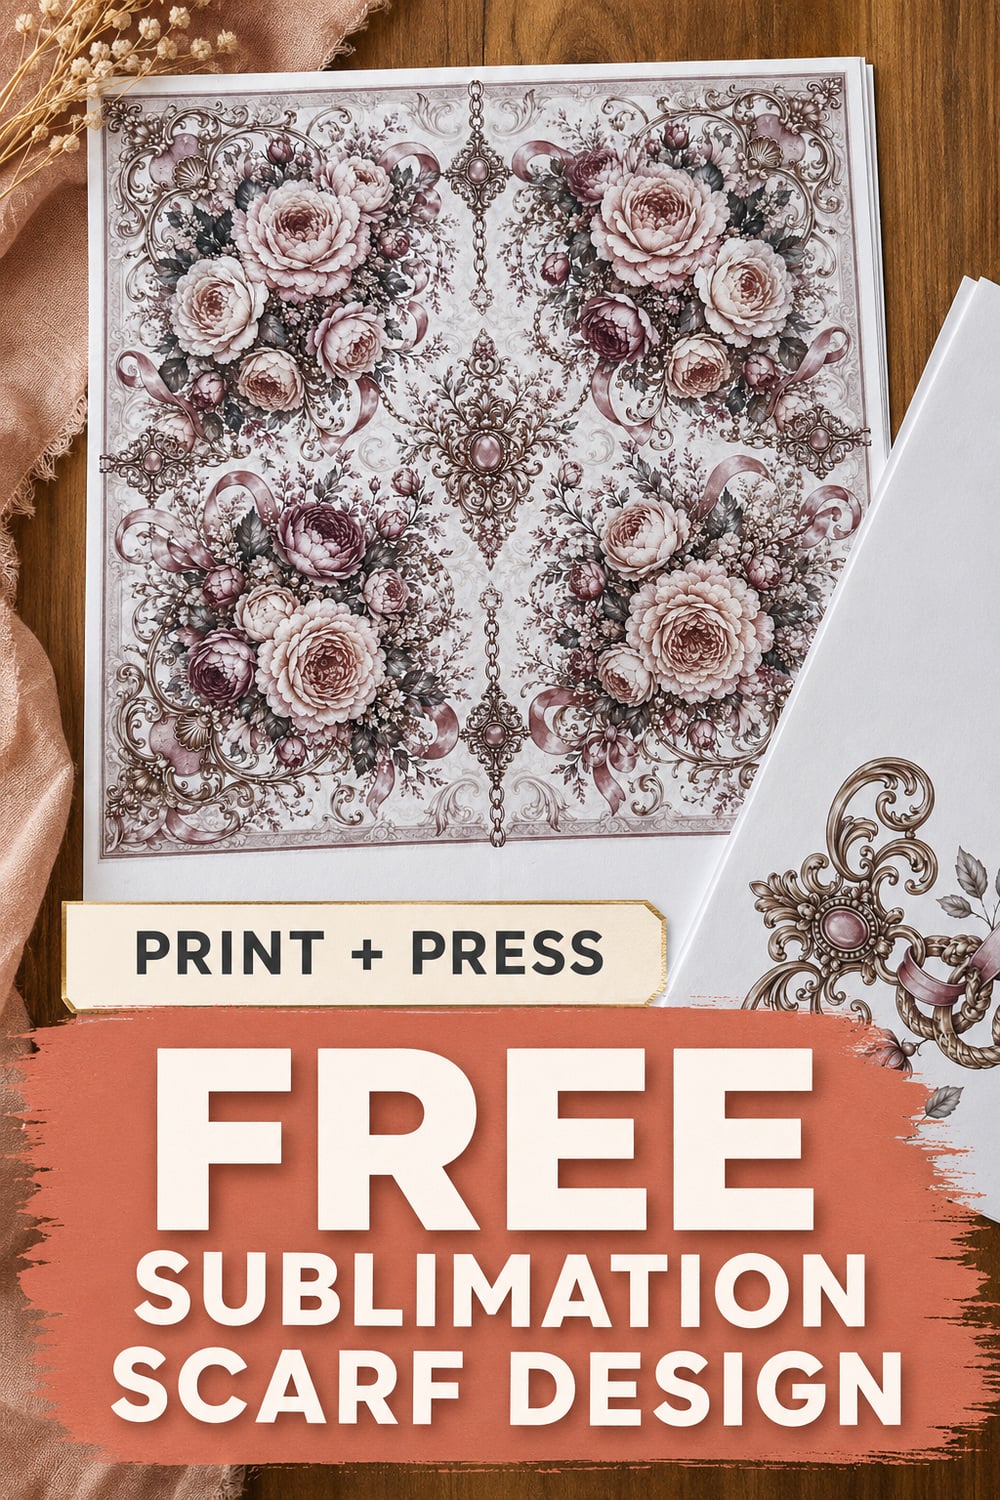
I am giving you the exact print ready design I used so you can make this without designing a thing. Download the free sublimation scarf design here. It is three pages, plus a cover and a how to page.
- Print sheet one four times, and cut one floral corner from each print, one for each corner of the scarf.
- Print sheet two once for the three connector pieces, then cut them apart.
- Print sheet three once for the center medallion and the fourth connector.
That is six sheets of sublimation paper in all. You print the corner page four times, and the connector page and the medallion page once each. When you are done cutting, you have four floral corners, four connectors, and one medallion. The design I am sharing is symmetrical, so there is no mirroring needed. What you print is what you press. Keep the mirror rule in your back pocket for later. The moment you add text or a one directional image, you will want to flip it first.
Want to design your own?
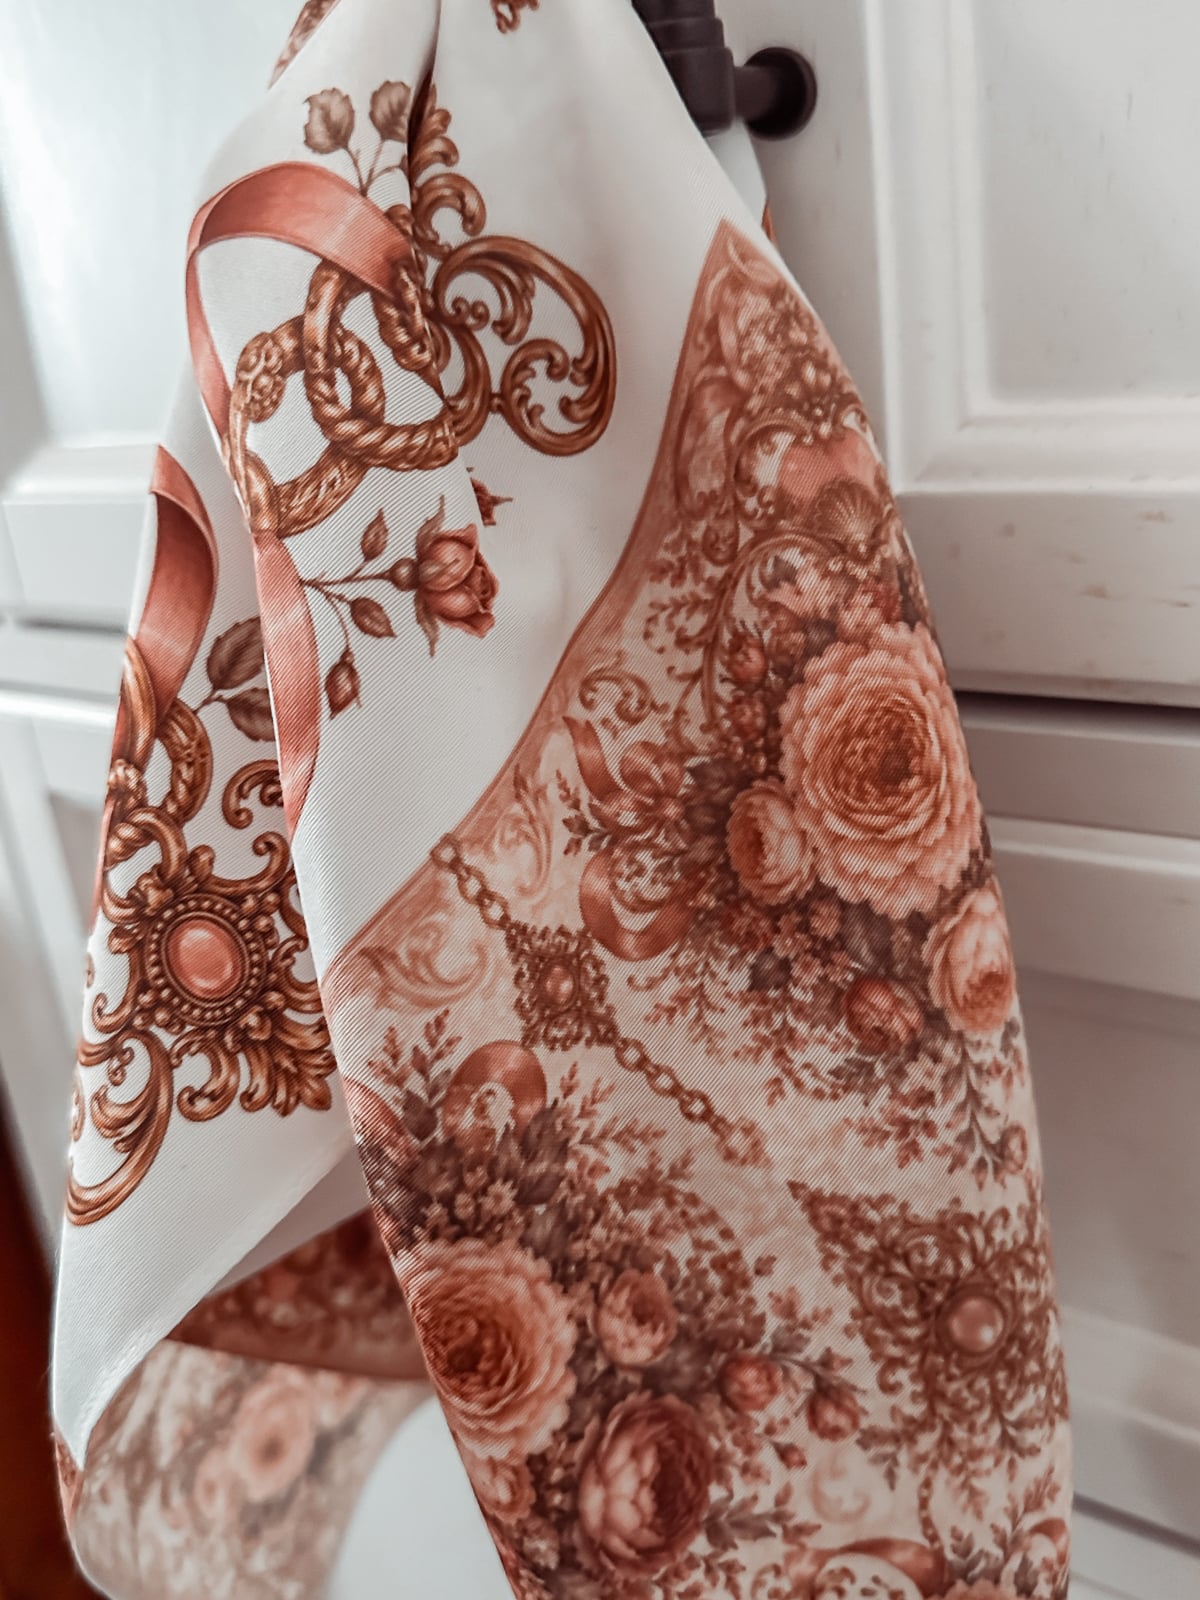
If you would rather make your own scarf design, this is the exact approach I gave an AI image tool, reworded so you can borrow it. Ease of use is the whole point here, so keep it simple.
Tell the tool you want a design for a 22 inch square scarf. Say you do not want to tile it, because tiling is hard to line up on a home press. Ask for one corner panel, no wider than about 8.5 inches square, so the same panel can go in all four corners. Then ask for a connector piece to run between the panels and a small medallion for the center. Have it leave plenty of white space around each element. That way the white of the scarf shows through and the pieces stay easy to place. For a big visual splash, try romantic florals in the corners with a soft gold chain and ribbon connector. It reads like a classic luxury scarf.

When it hands back your files, save the panel, the connector, and the medallion as separate pieces at 300 DPI. Then print your plain paper test, lay it out on the scarf to check the fit, and only move to sublimation paper once the spacing looks right.
How to wear and care for your finished scarf

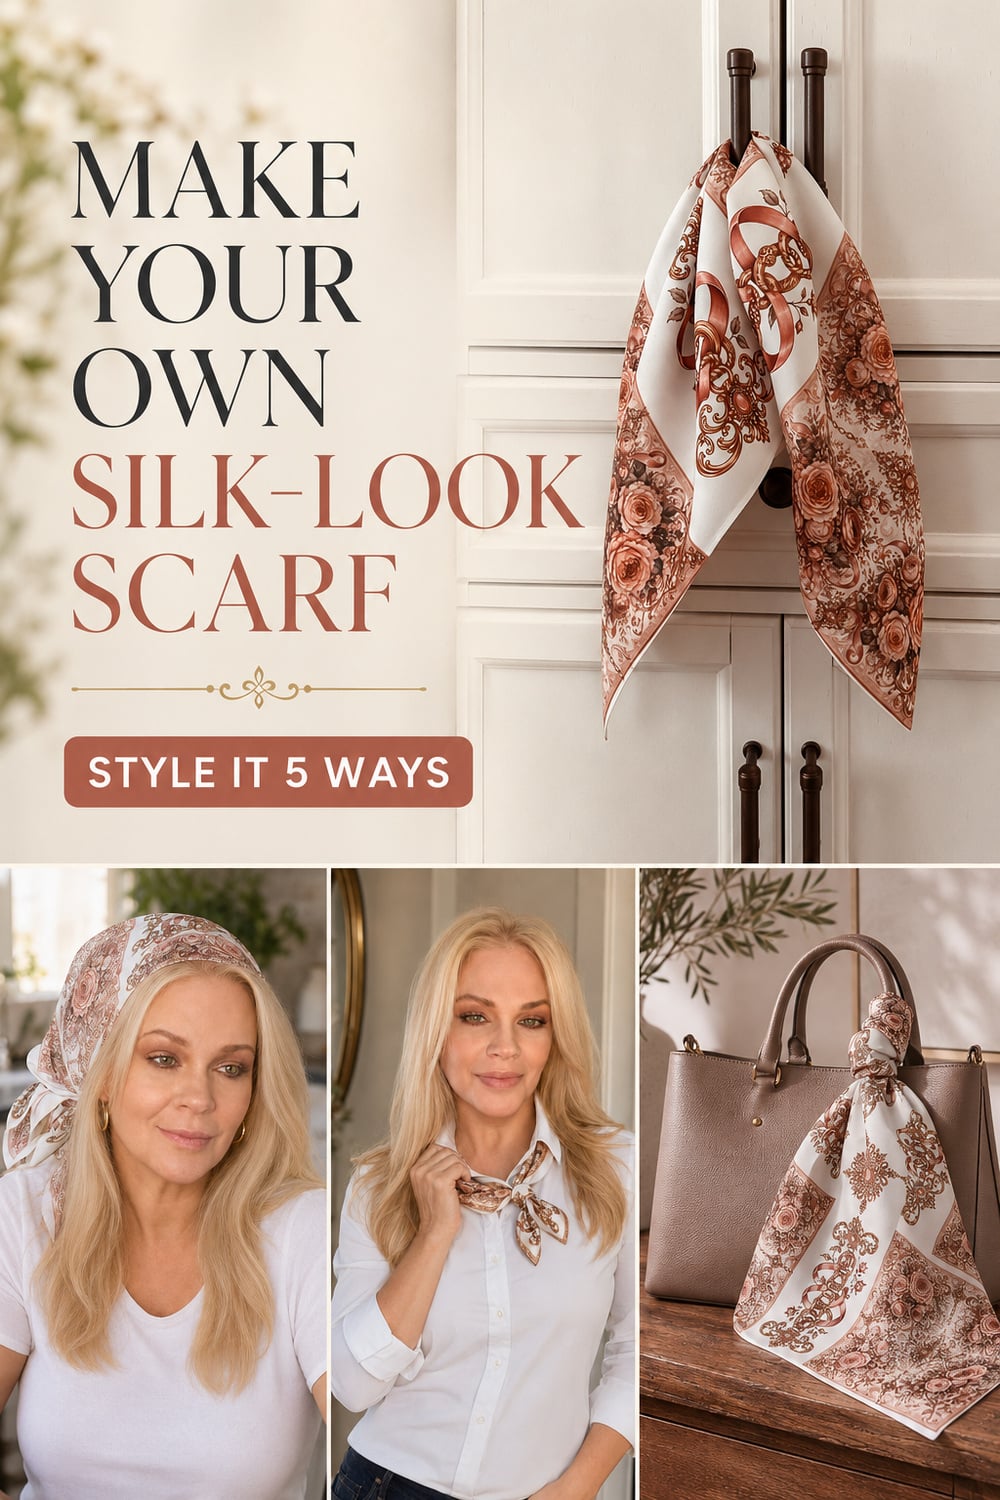
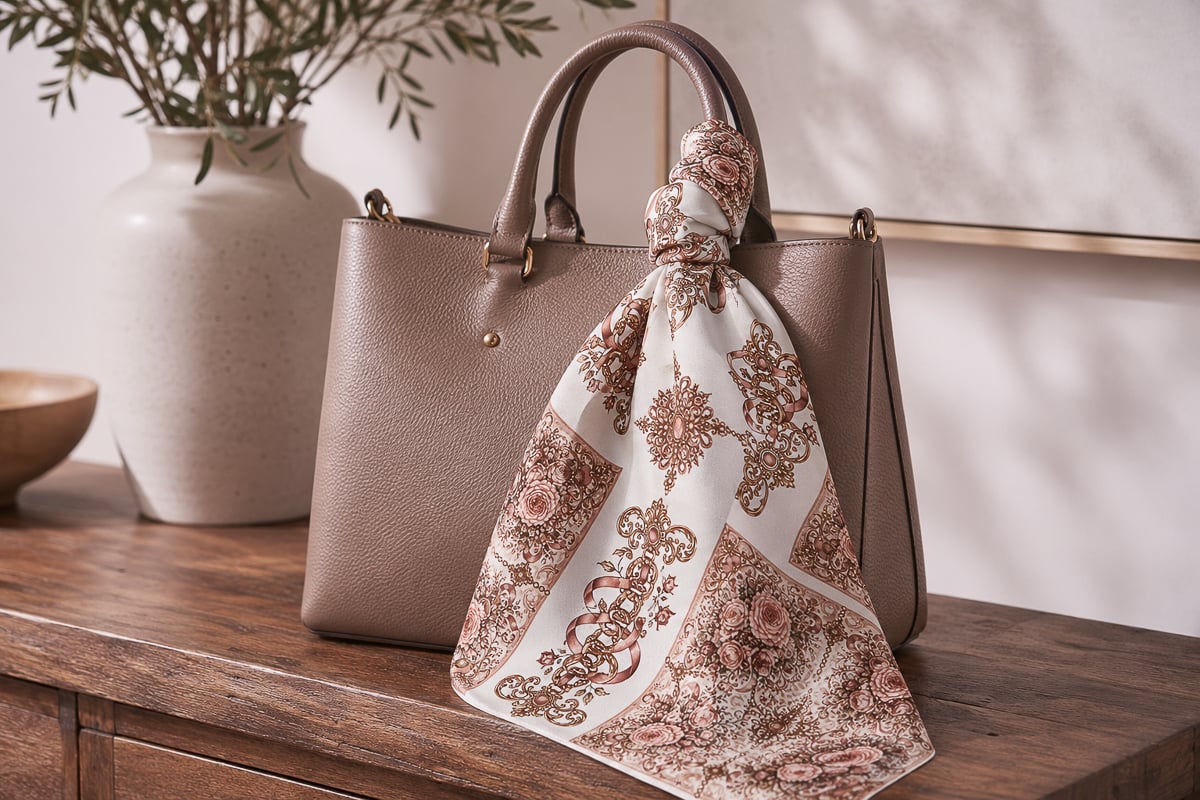
Once it is cool, your scarf is ready to wear. Tie it at the neck, knot it on a bag handle, or wrap it in your hair. To keep the colors bright, hand wash in cool water with a gentle soap and hang it to dry. Sublimation is permanent, so it will not crack or peel, but gentle washing keeps polyester looking its best.
Before you go
If you are still deciding on a press, the Auto Heat Press 2 is the one I reach for, and my code Mary10 takes $52 off.
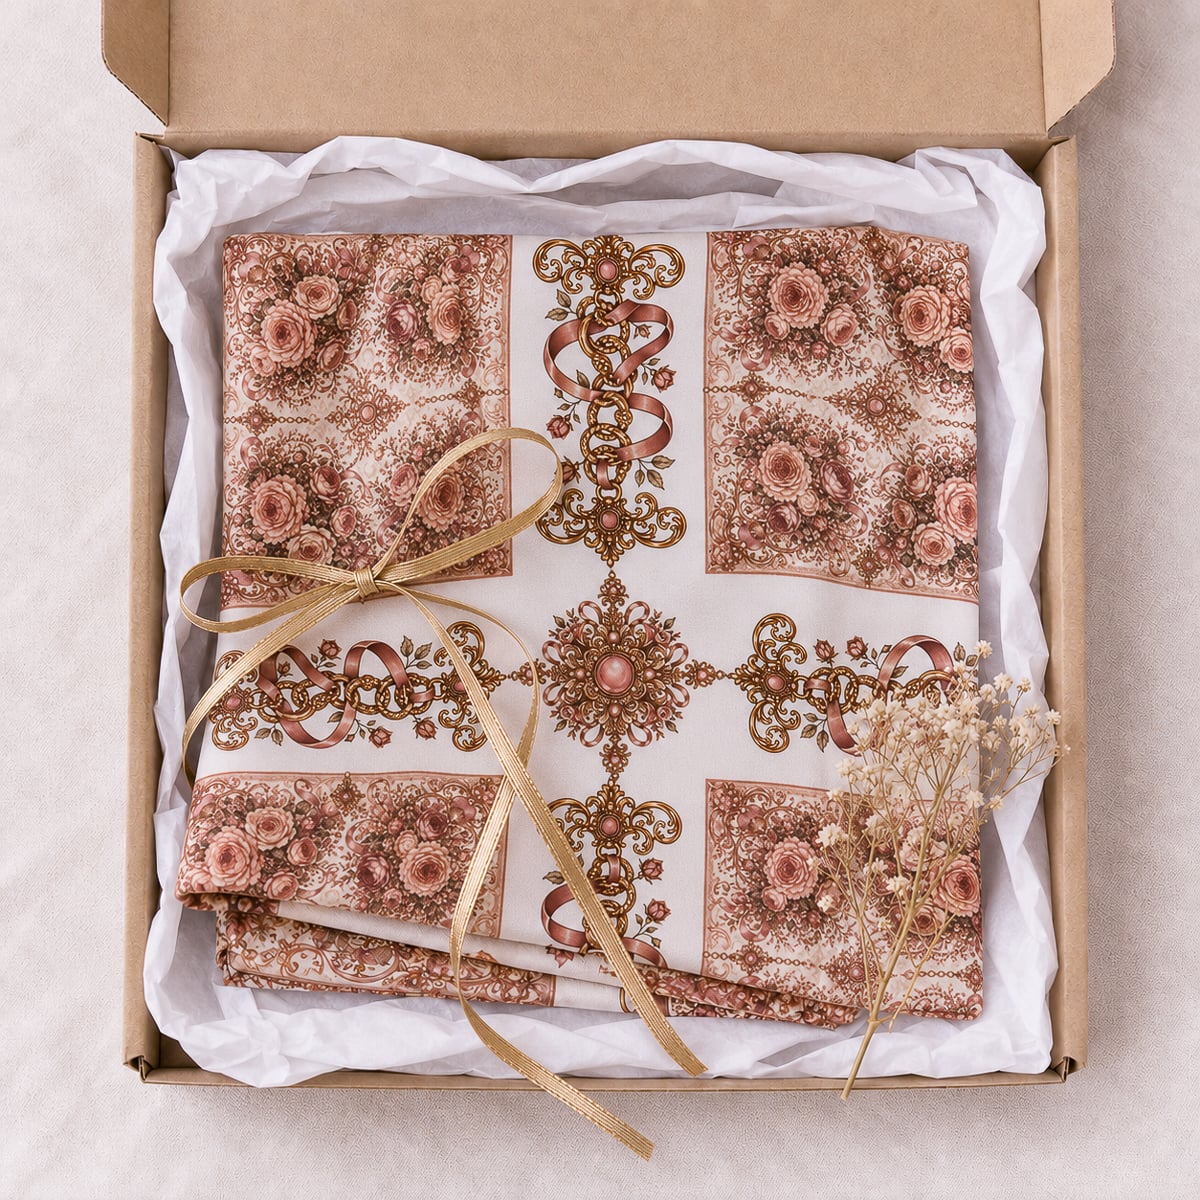
If you make one, I would love to see it. And if you want the shortcut, grab the free scarf design here and press your first one this weekend. It is easier than it looks, I promise....