How to Visualize Your Room Makeover Before Spending a Dime
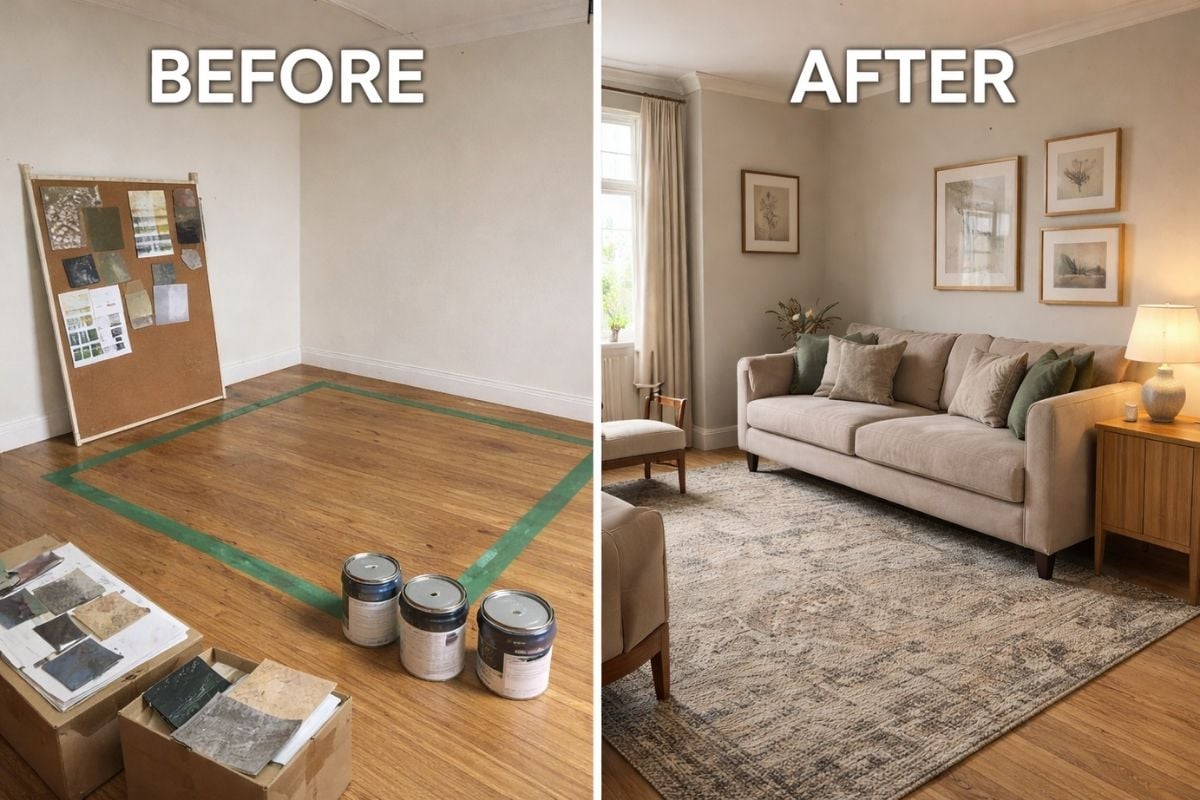
I still remember standing in my living room five years ago, paint swatches taped to the wall, furniture pushed into awkward corners, trying desperately to imagine if that sectional sofa would actually fit.
After three hours of measuring, re-measuring, and arguing with my husband about whether "mushroom gray" was too dark, I finally gave up and ordered the couch anyway. It didn't fit.
That $1,200 mistake taught me something valuable: the biggest enemy of a successful room makeover isn't your budget or your design skills. It's your inability to see the finished result before you commit.
Since then, I've discovered several ways to visualize room changes that have saved me thousands of dollars and countless headaches. Today, I'm sharing these budget-friendly visualization techniques that anyone can use, no design degree required.
Why Visualization Matters More Than You Think
According to recent data, nearly 40% of home renovation projects exceed their initial budget. Most of these budget overruns happen because homeowners make purchasing decisions based on guesswork rather than clear visualization. When you can't truly see how a paint color will look in your actual lighting, or whether that gorgeous armchair will overpower your small bedroom, you're essentially gambling with your hard-earned money.
The good news? You don't need to hire an expensive interior designer or rely on your imagination alone. With a few simple techniques, you can see your room transformation before making any purchases.
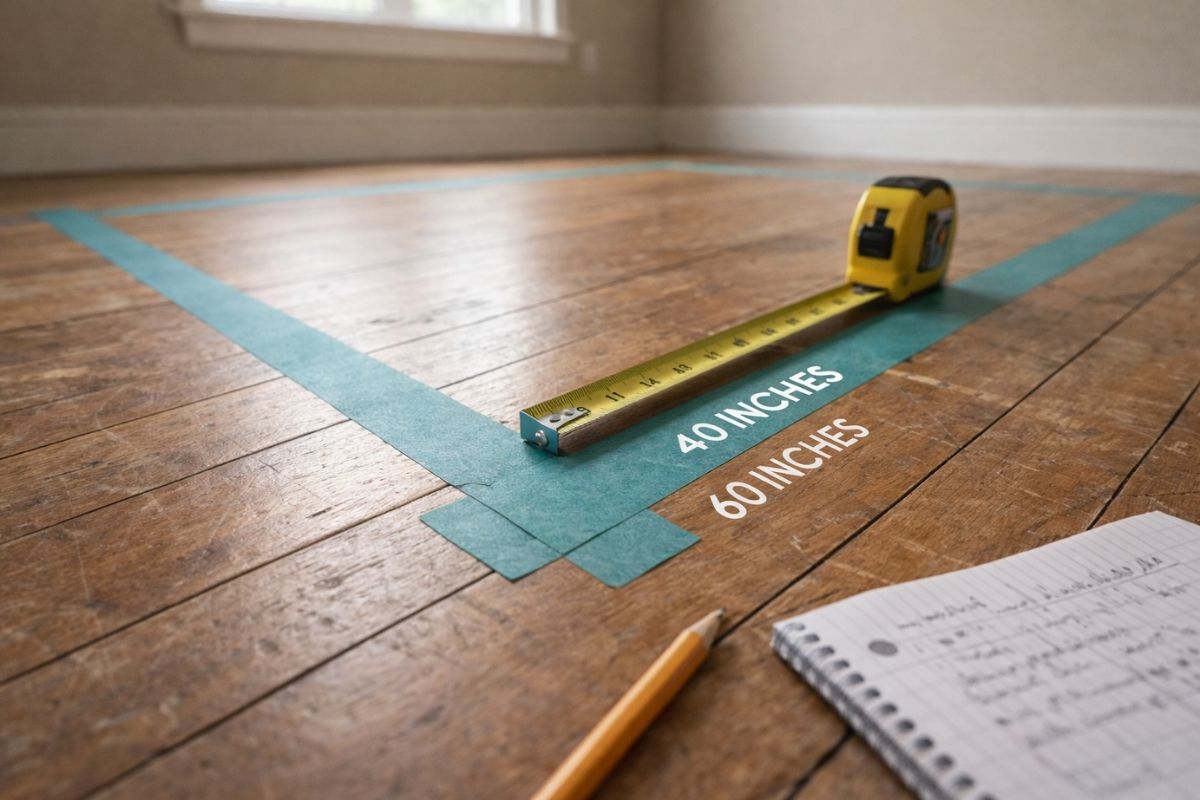
The Painter's Tape Method: Old School But Effective
This is hands-down my favorite low-tech solution for furniture placement. Before buying that new dining table or considering a room layout change, grab a roll of painter's tape and mark out the exact dimensions on your floor.
Here's what I do: I measure the furniture piece I'm considering (most stores list dimensions online), then use painter's tape to create an outline on my floor. For a sofa, I also stack pillows or boxes to the seat height so I can get a sense of the visual weight.
This method helped me realize that the "perfect" console table I'd been eyeing would have blocked our main walking path by six inches. That tape outline saved me $400 and a lot of stubbed toes.
Cardboard Furniture Mockups: See It in Three Dimensions
When painter's tape isn't enough, I take it up a notch with cardboard mockups. This sounds more complicated than it is, I promise.
For my daughter's bedroom makeover, I wanted to add a reading nook with a chair and a small bookshelf. Instead of buying blindly, I grabbed flattened moving boxes from a local store and cut them to the exact dimensions of the furniture. I propped them up against the wall where I planned to place each piece.
Walking into that room throughout the day showed me that my original placement would have blocked the natural light from her window. That's something I never would have noticed from measurements alone. I adjusted the mockup placement, found a better arrangement, and ordered with confidence.
Digital Mood Boards: Collect and Compare Your Ideas
Before I commit to any room design, I create a digital mood board. This isn't just about pretty Pinterest pins. It's about seeing all your design elements side by side to ensure they actually work together.
I use a free tool like Canva or even PowerPoint. I screenshot photos of the paint colors, furniture pieces, rugs, and accessories I'm considering, then arrange them all on one page. This instant visual reference has saved me from so many color clashes and style mismatches.
Pro tip: Include a photo of your actual room in the background of your mood board. This grounds your choices in reality rather than the perfectly lit, professionally staged rooms you see online. Once you've created your board, live with it for a few days. If you still love all the pieces together after three days, you're probably on the right track.
Sample Before You Commit: The Paint and Fabric Test
I learned this lesson the hard way with that mushroom-gray paint disaster. Colors look completely different in your actual space than they do on a tiny chip at the hardware store.
Now, I always buy sample sizes of paint and test them on different walls of the room. I paint large poster boards (they're cheap at craft stores) and move them around the room throughout the day. The color that looks gorgeous in morning light might look completely wrong in the evening.
The same goes for fabrics. Most online retailers will send fabric swatches for free or a few dollars. I order swatches of any textile I'm considering (curtains, throw pillows, upholstery) and look at them in my actual room lighting before ordering the full pieces.
Browser-Based 3D Room Planning: The Complete Picture
While physical mockups and mood boards are fantastic, sometimes you need to see everything come together in three dimensions. That's when I turn to digital room planning tools.
I recently discovered a 3d room maker from Arcadium 3D that works right in my browser. No downloads, no complicated software to learn. I was skeptical at first (I'm not exactly tech-savvy), but the interface reminded me of playing old computer games with my kids. You basically click and drag to build your room layout.
What sold me on it was being able to input my exact room dimensions and then experiment with different furniture arrangements. I could drag a virtual sofa across the room, rotate it, try different sizes, and instantly see if there was enough walking space around it. The tool also let me change wall colors and flooring to see how different finishes would look together.
The best part? Once I had everything arranged the way I wanted, I could share the design with my husband via a simple link. No more "just trust me" conversations. He could actually see what I was planning. We made decisions together based on the visualization, which meant fewer returns and disagreements.
For anyone planning a kitchen redesign, bedroom refresh, or even a full home renovation, these browser-based tools offer a risk-free way to test ideas. You can try ten different layouts in an hour and see which one actually works for your space and lifestyle.

The Power of Photography: Document and Visualize
Here's a surprisingly effective technique I use: I take photos of my room from multiple angles, then edit them on my phone or computer to visualize changes.
Using free apps or even basic photo editing software, I can digitally "paint" walls different colors, remove furniture I plan to get rid of, or even overlay images of new pieces I'm considering. It's like a rough draft of your room transformation.
This method helped me realize that the accent wall I planned for my home office would have made the space feel smaller and darker. Seeing it digitally first saved me from that mistake.
The "Live With It" Test
This final tip costs nothing but time. After you've visualized your changes using any of the methods above, give yourself at least 48 hours before making purchases.
I tape up my mood boards, leave my painter's tape outlines in place, and revisit my digital designs multiple times. I walk through the space imagining how I'd use it with the new layout. Would that furniture arrangement make it awkward to
This cooling-off period has saved me from countless impulse purchases that would have been wrong for my space.
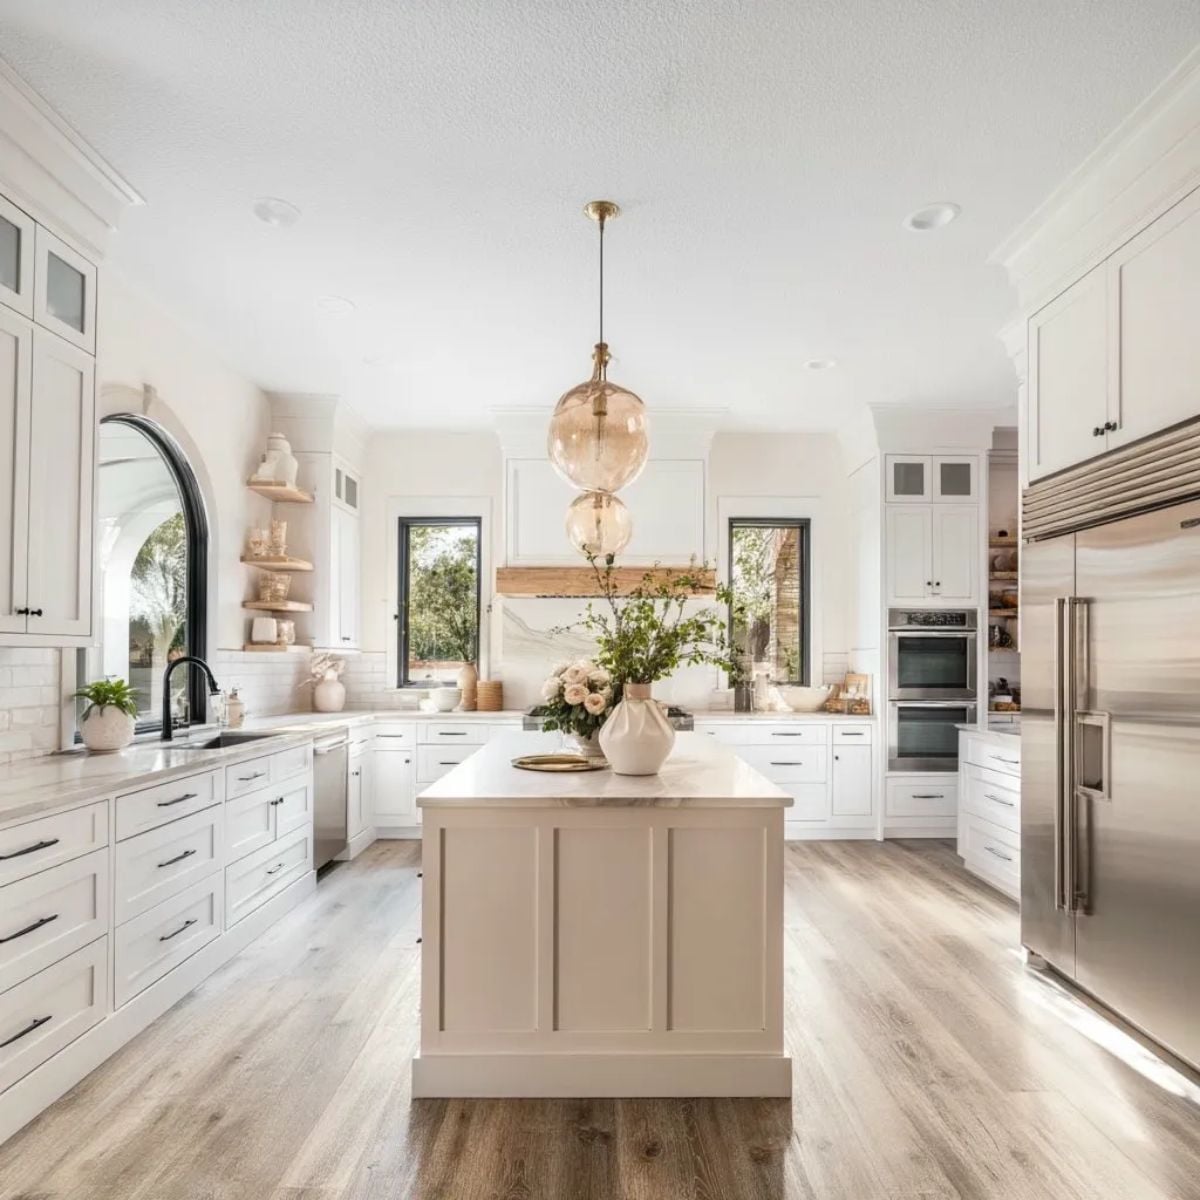
Putting It All Together: My Kitchen Makeover Story
Let me share how I combined these techniques for our recent kitchen refresh. We wanted to update the space without a full renovation. Just new paint, open shelving, and better lighting.
First, I created a mood board with paint colors, shelf styles, and lighting fixtures I liked. Next, I tested three paint colors on poster boards and moved them around the kitchen throughout the day. I used painter's tape to mark where I planned to install the open shelving.
Then I took it digital. I used a room planning tool to create a 3D version of my kitchen and added virtual versions of the shelving and lighting. Being able to see the entire room together (with the new paint color, shelf placement, and updated lighting) revealed that my original shelf placement would have created an awkward visual imbalance.
I adjusted the design, lived with the visualization for three days, and then started purchasing. The result? Our kitchen makeover came in $300 under budget because I didn't waste money on items that wouldn't work. Everything I bought was exactly what we needed, placed exactly where it should be.
Start Visualizing, Stop Guessing
You don't need a designer's eye or a massive budget to create the room of your dreams. What you need is the ability to see your ideas before you commit to them.
Whether you're using painter's tape and cardboard boxes or exploring browser-based 3D design tools, the goal is the same: eliminate the guesswork. Every minute you spend visualizing saves you from potential costly mistakes and disappointing results.
Start with the low-tech methods I've shared. They cost almost nothing and work beautifully for simple projects. As your confidence grows, explore digital tools that can show you a more complete picture of your transformation.
The room makeover of your dreams is waiting. Now you know how to see it before spending a single dime.
What visualization method are you most excited to try? Have you had any design disasters that could have been prevented with better planning? Share your experiences in the comments below! For more home renovation tips and real-world advice, check out our guides on creating a better home environment and home renovation planning.