
How to Clean Kitchen Floor Linoleum and Ground in Dirt
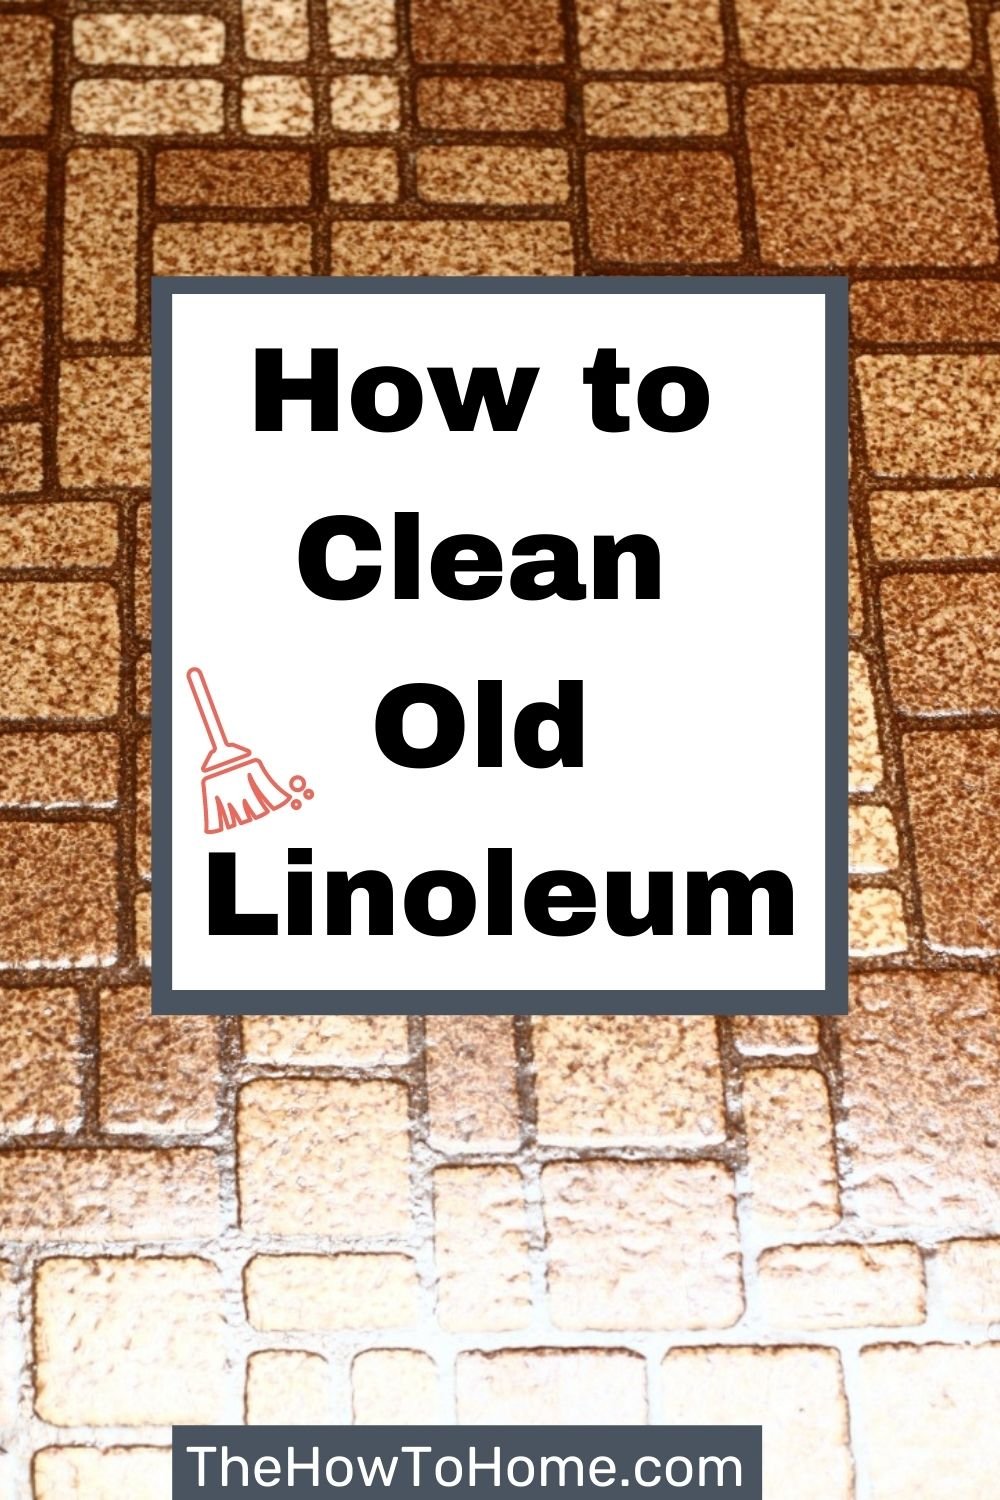

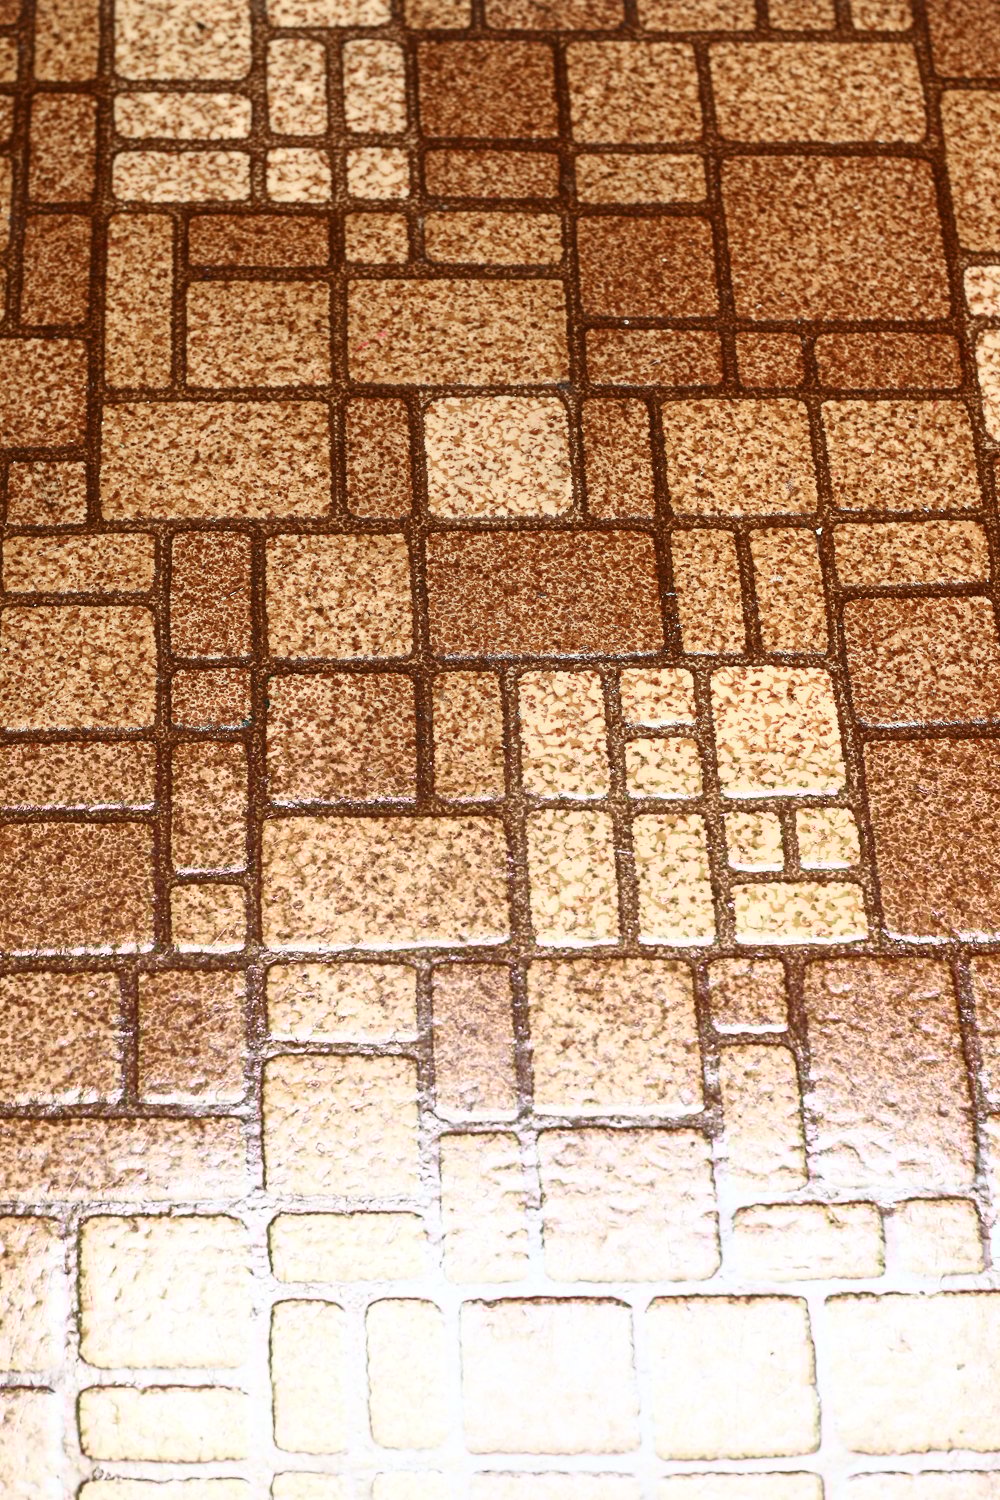
In this post I'll be delving into the care and maintenance of my kitchen's authentic gem - a linoleum floor that boasts an age of over four decades. In a nod to the past, this popular choice in flooring material was a beloved trendsetter when my home was initially constructed, cementing its timeless appeal.
*This post may contain affiliate links and I'll earn a commission if you shop through them. You can read my full disclosure here.
Even with routine
Jump to:
Overview of Linoleum Flooring
Materials and Durability
Linoleum is a versatile flooring material made from natural materials like linseed oil, wood flour, cork, and jute. This combination creates a durable and long-lasting floor that can withstand heavy foot traffic while retaining its appearance. Linoleum flooring is resilient and flexible, allowing it to bounce back from minor dents and impacts. This quality, coupled with proper care and routine cleaning, can help prolong the life of your linoleum floors.
- Ingredients: Linseed oil, wood flour, cork, and jute
- Durability: Withstands heavy foot traffic and impact
- Life: Prolonged with proper care
Environmentally Friendly
One of the most notable benefits of this flooring type is its eco-friendliness. As a natural, biodegradable material, linoleum is sustainable and easy to recycle. Not only does installing linoleum contribute to a healthier indoor environment due to its low VOC emissions, but it also helps reduce waste and negative environmental impact. This is in contrast to vinyl flooring, which is a synthetic material that can take a long time to decompose.
- Eco-friendly: Natural, biodegradable, and sustainable
- Indoor air quality: Low VOC emissions
- Compare to vinyl: Synthetic, longer decomposition time
Resilient Floor
Resilience is a key advantage of linoleum flooring. Unlike harder materials such as wood or tiles, linoleum has a softer, slightly cushioned feel underfoot. This makes it ideal for areas like kitchens, where you spend a lot of time on your feet. Plus, it's naturally slip-resistant, offering an added layer of safety. With proper maintenance, your linoleum floors can retain their resilience and continue to provide comfort and durability throughout their lifespan.
- Comfort: Soft, cushioned feel
- Safety: Slip-resistant surface
- Suitable areas: Kitchens, high-traffic areas
The Best Way to Clean Linoleum Floors
Before diving into
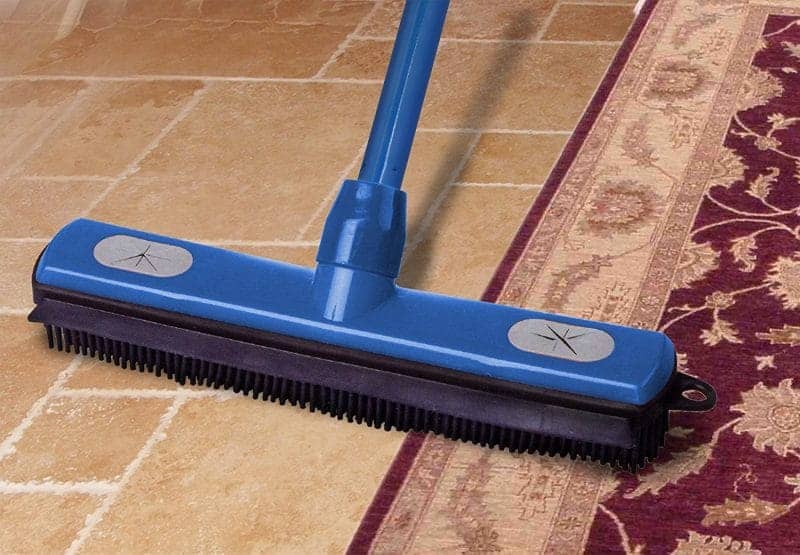
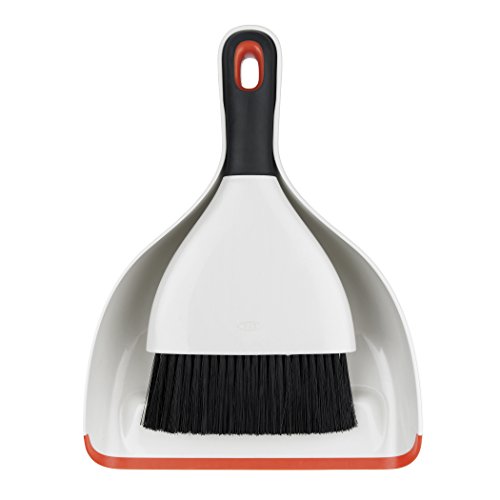
I like to use a rubber broom rather than a traditional broom to sweep the floor first. The rubber broom doesn't scratch the surface and you can even give the broom a static electricity type charge and it will pull stray hairs off the floor. This is an especially helpful tool for pet owners.
After Christmas I shared how easy it is to clean pine needles (yes, even pine needles) off of and out of carpeting with a rubber broom - (you can check out that post here).
After sweeping the floor I like to use a small handheld whisk broom to get any remaining dirt out of the corners and small spaces where the larger rubber broom can't reach.
As an alternative you can also remove any loose dirt and debris with a soft-bristle broom or vacuum cleaner. All of these methods help to get rid of the surface-level dirt particles that can scratch and damage your linoleum over time. If using a vacuum cleaner disengage the beater bar, as this can also cause scratches.
- Sweep all of the dirt into a dust pan and discard.
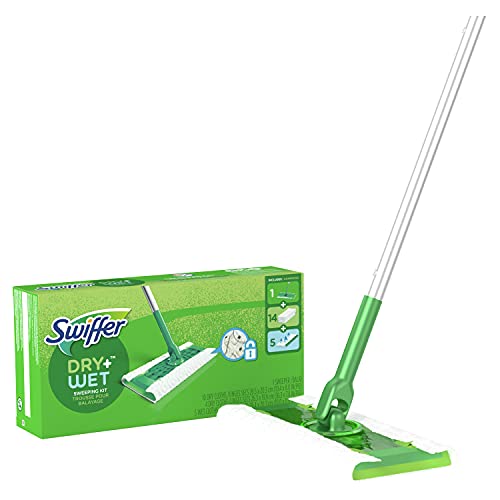
- Next, I use a Swiffer sweeper (dust mop) on the floor to get the last of the dust and dirt.
- Since I'll be using a product to "shine" the floor as well I want to be sure to pick up as much loose dirt as possible from the surface so that I start with clean floors. This step is necessary so that a noticeable shine, similar to that of a fresh coat of wax, can be achieved resulting in what looks like a new floor.
- Now that the linoleum is properly prepped we'll move on to the next step.
Handling Stains and Spills
Next, it's crucial to address any spills and scuffs on your linoleum floor. Promptly clean up spills using a damp cloth or sponge to avoid them turning into stubborn stains. Here are a few tips for specific types of spills:
- Liquid spills: Blot the spill with a paper towel or cloth, then clean the area with a plain water dampened sponge or dry microfiber cloth to prevent permanent stains.
- Scuffs: If you notice scuff marks, gently rub a magic eraser on the mark. Be gentle to avoid damaging the floor surface.
Now that you've properly prepared your kitchen floor linoleum, you're all set to proceed with a thorough
Cleaning Linoleum
Your linoleum floor can benefit from using the right
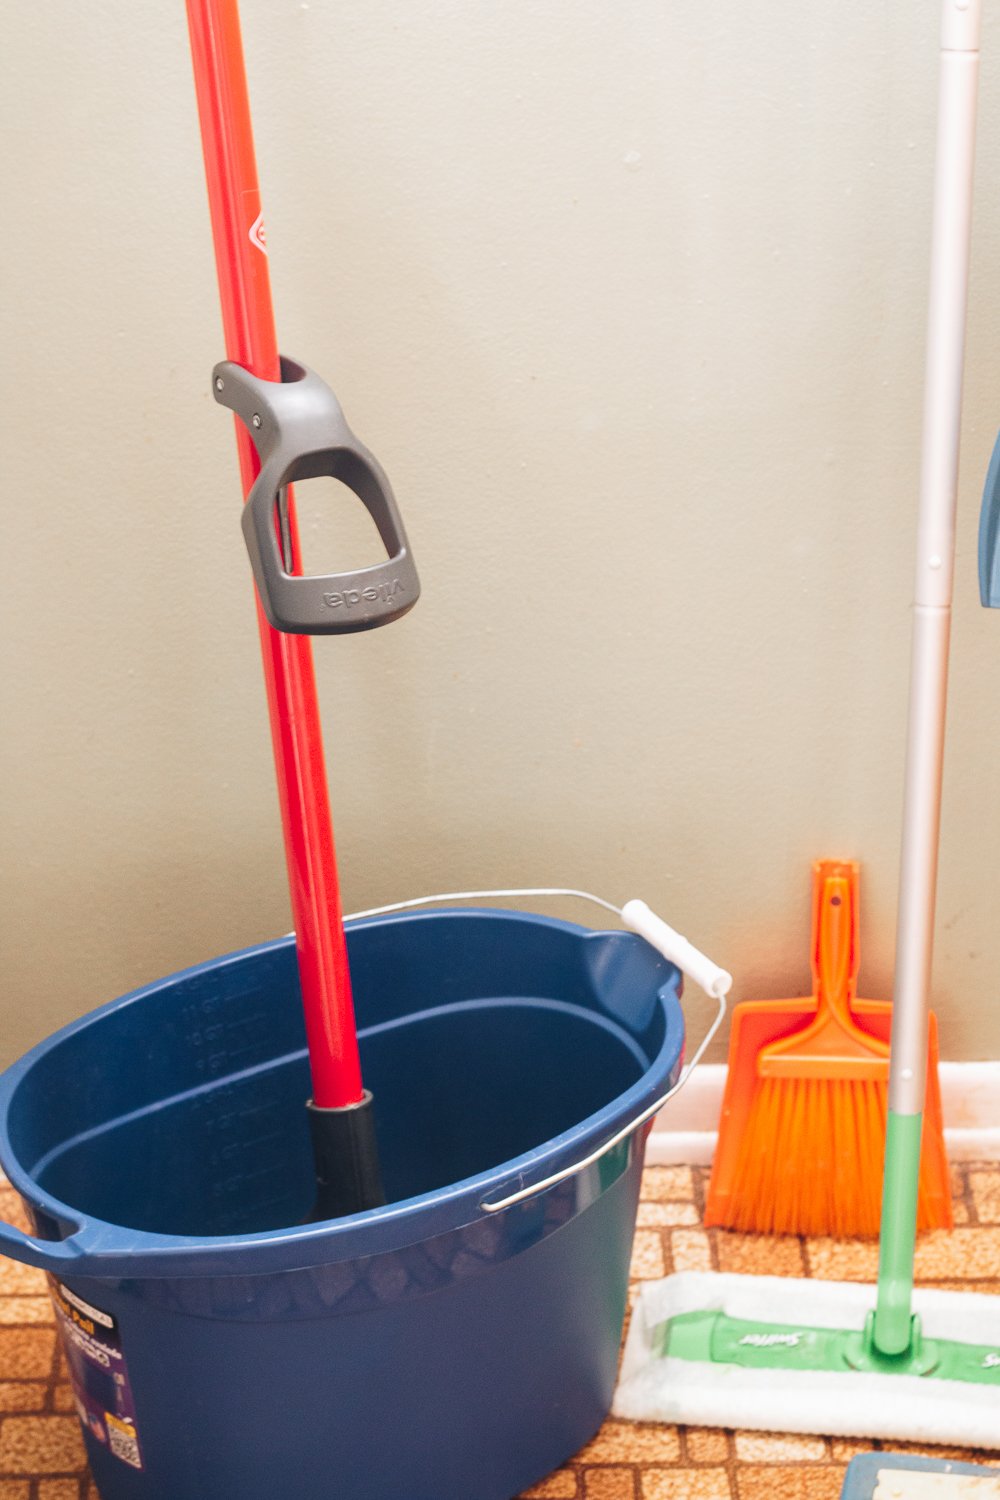
- Fill a large bucket with approximately one gallon of warm water.
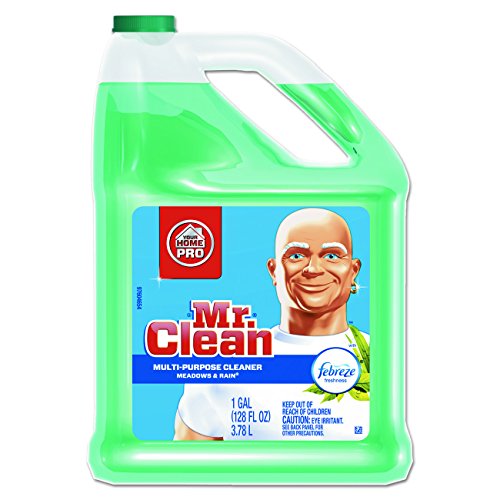
- To the gallon of water I add whatever cleaning solution product I have on hand following the directions on the label for diluting the product appropriately. My favorite is Mr. Clean .
- *Natural ingredients can also be used - A cup of white vinegar or apple cider vinegar, and a few drops of liquid dish soap (Dawn is my preferred soap) can be added to plain water.
- Gently agitate the vinegar solution in the bucket and proceed with your damp mopping routine.
- Once the entire floor has been mopped, dump the dirty water, rinse out your bucket and start with fresh, warm water. Using a slightly damp mop, go over the entire surface with clean warm water. Finally, dry the floor with a soft towel or a dry mop or air-dry to restore its shine and prevent any water spots or streaks.
- Even if the label on the cleaner indicates that rinsing is not necessary I always do! After
cleaning the floor thoroughly I wait for it to dry.
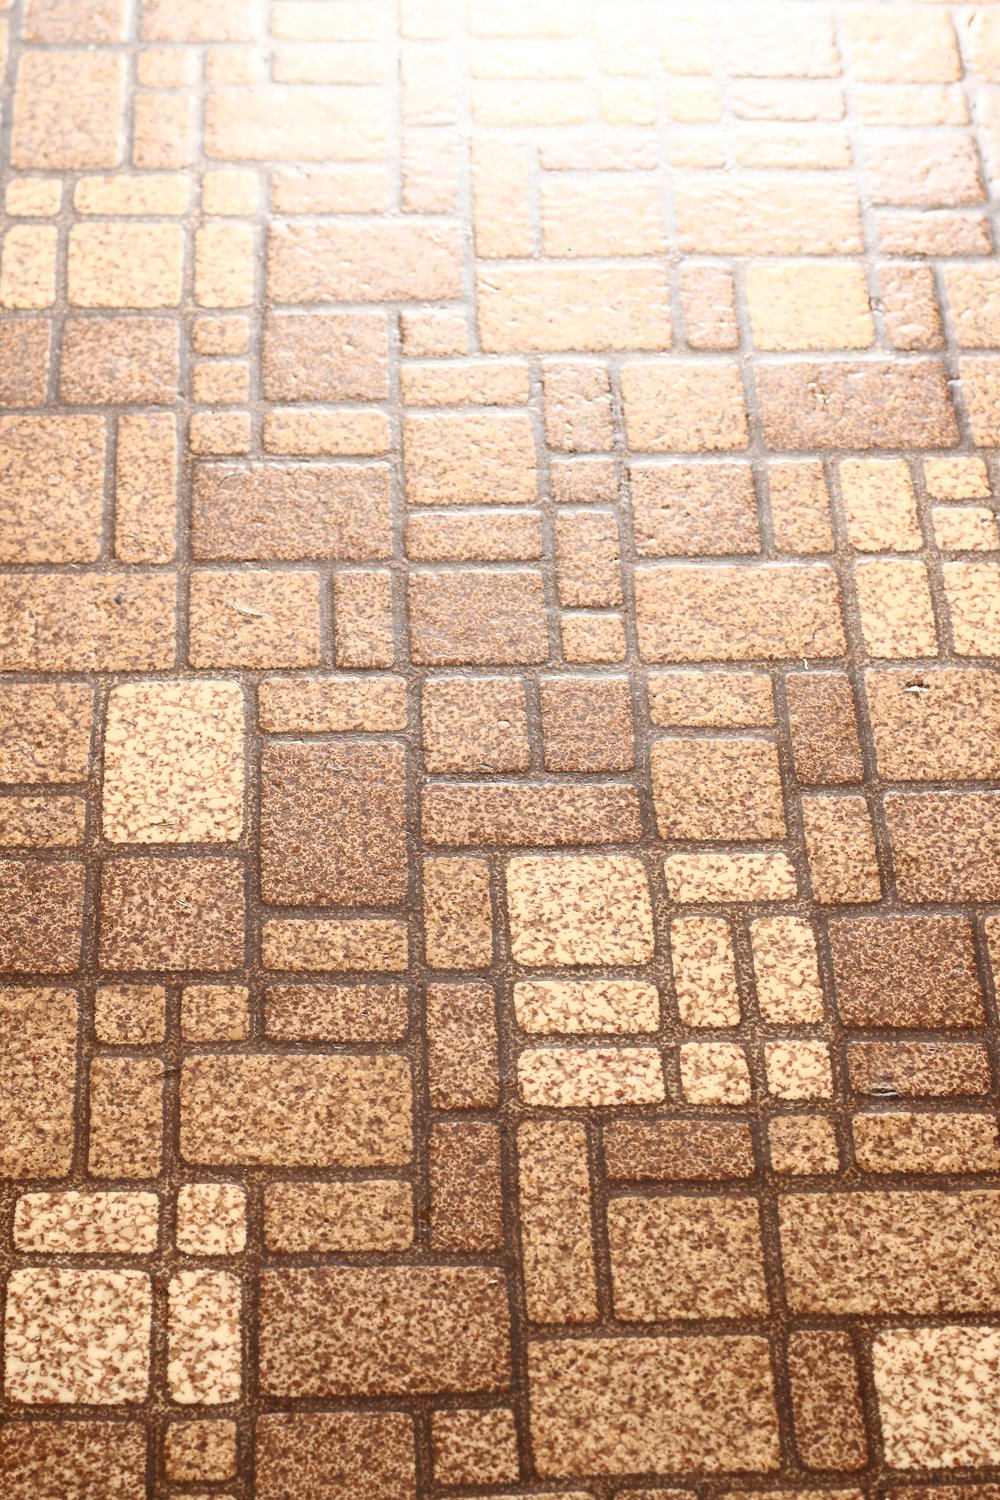
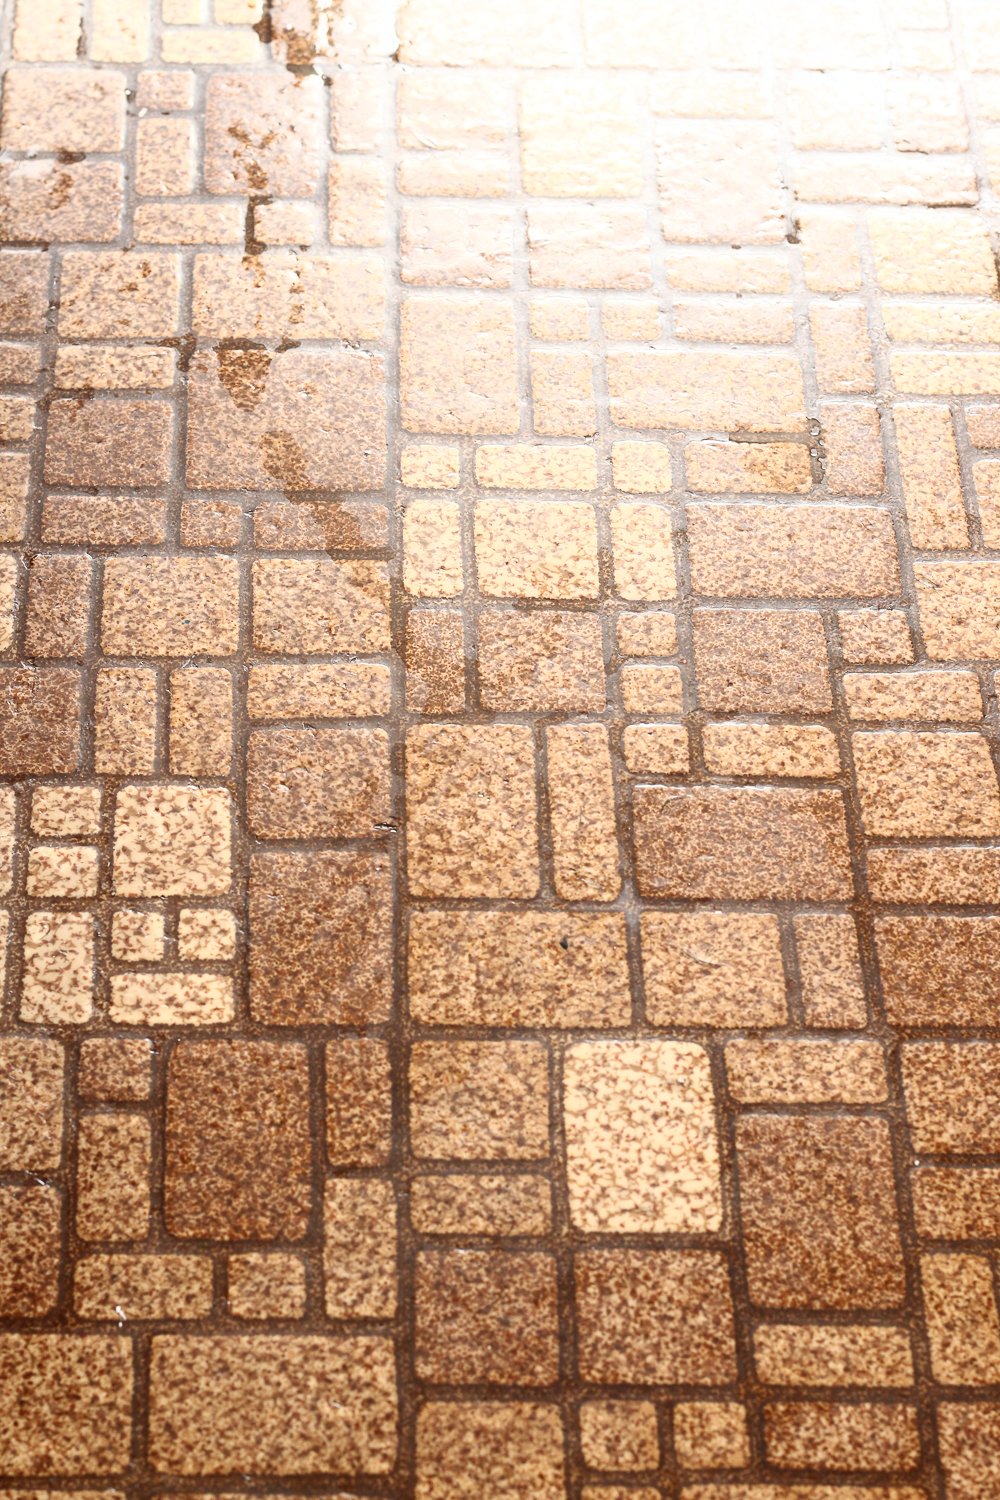
The floor above is clean but not shiny….yet!
How To Get Your Linoleum Floor to Shine
Dump the bucket and thoroughly rinse out the mop. You don't want a wet mop, but a damp one.
Get a fresh bucket of warm clean water and let's start the shining process.

My first choice for floor wax is no longer available 🙁 but a close second, and the one I've been using lately is Holloway House Quick Shine, which is a gentle cleaner that provides the perfect amount of shine.
I've tried several products and this is my favorite as it gives the best results without the use of harsh chemicals.

Squirt the Quick Shine on the floor working in small sections covering about a 3 foot by 3 foot square.
Then use a damp mop to spread the Quick Shine over the area evenly. A long handled mop head fitted with a washable chenille pad can be used as well (these are my favorites).
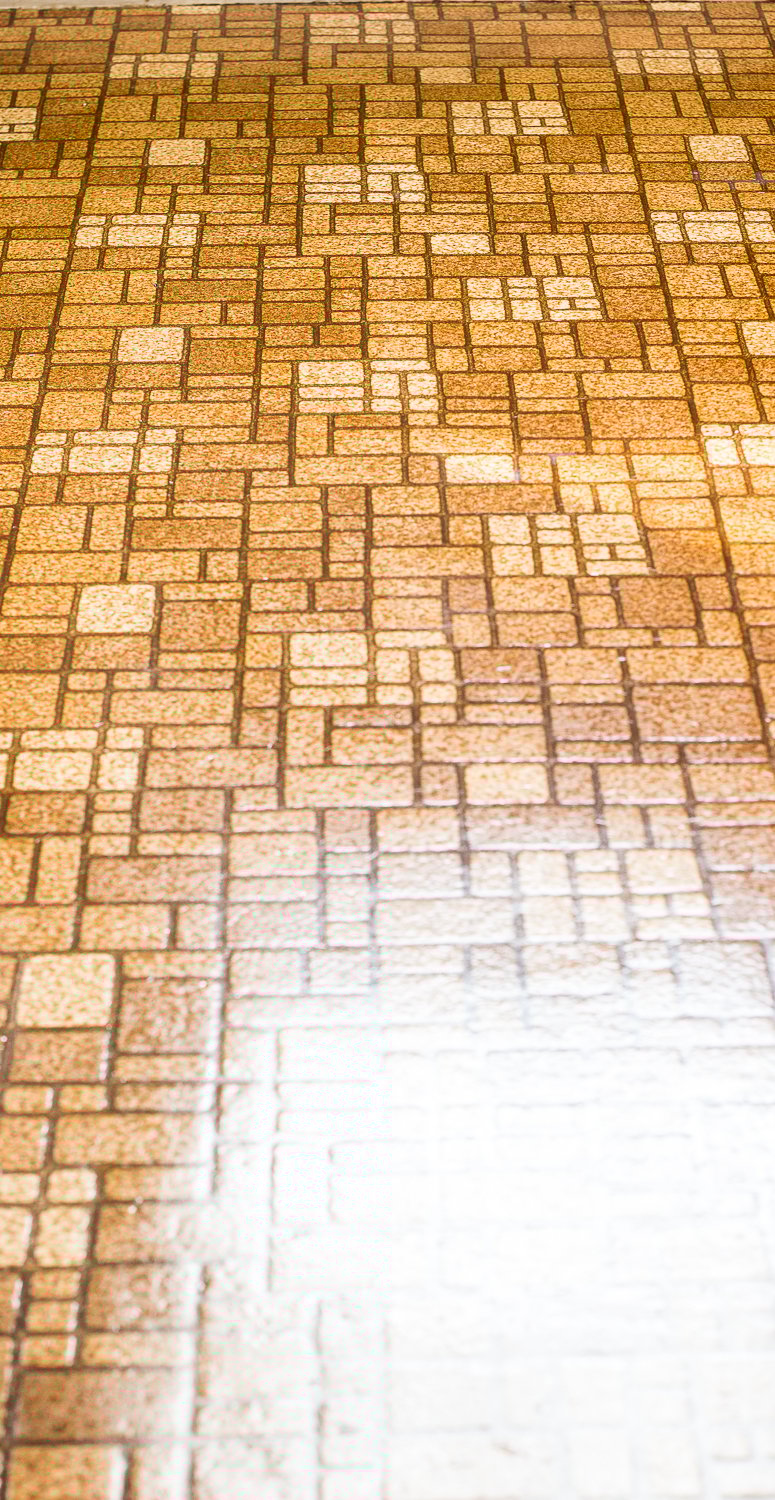
When the entire floor is done let it dry thoroughly and enjoy the shine!
The sun was shining as I took the after picture and my old floor and it really does shine this much - I love it….now to keep my kids out of the kitchen. 😉


Extra Care, Tips, and Maintenance
Bathroom and High-Traffic Area Cleaning
Cleaning linoleum floors in high-traffic areas such as bathrooms or kitchens requires extra care. Regular maintenance tasks, such as sweeping or vacuuming, remain important. When dealing with these spaces, be sure to:
- Use a mild detergent or a couple drops of dish soap and cool water to damp mop your floor.
- Scrub grout lines with a soft bristle brush, such as a nylon brush, or this convenient battery-operated scrubber from Rubbermaid.
- Rinse the floor with a sponge mop and clean water to remove residues.
- Dry the floor with a microfiber towel or leave it to air dry.
Protecting and Prolonging Your Linoleum Floor
Linoleum is a durable and eco-friendly flooring option, but it requires proper care to maintain its longevity and appearance. Here are some tips to protect and prolong your linoleum floor:
- Place felt pads under furniture legs to prevent scratches or dents.
- Avoid dragging furniture across the floor.
- Use non-toxic, biodegradable
cleaning products, such as mild detergents or dedicated kitchen floor cleaners. - Prevent yellowing by not using rubber-backed mats, as they can cause discoloration.
- Maintain your floor's shine by applying a linoleum floor polish as needed.
A few years after this post was originally published I did get my new floors! You can see them here as well as tips for cleaning laminate flooring here.


We have the exact same linoleum! I love this floor wax and also use it client's homes and businesses. Great product and thank you so much for the cleaning tips 😀 and I'm a housekeeper by trade lol 😂
Thank you so much for sharing your experience with Quick Shine, Beth. I appreciate you taking the time to comment and what a great trade...people love clean homes and having an expert like you to do that for them must be wonderful. xo
Thanks for the tip on using a rubber broom vs a traditional broom. I have always just used a scrub brush and found that it wasn't exactly the tool I was looking for. Some of my clients have linoleum floors and I want to give them the best shine possible.