How to Refresh a Rental Property Between Tenants Without a Major Renovation
My mother was an interior decorator, and she had one rule for every single room: find the piece or detail you absolutely love and don't want to live without, then build the rest of the room around it. The flow of our house was always amazing because of it.
My dad built that house to her specs, so everything in it was unique and had my mother's touch (well, her ideas and Dad's work). That included a wall in the dining room made of custom bricks. Mom wanted a certain color and texture, so Dad had to get clever and have custom molds created just for that one wall!
Most of us aren't going to have bricks made to order….but her rule works anywhere, including a rental sitting empty between tenants. Before you start tearing things out, figure out what's worth keeping and let it carry the room.
From time to time, articles on The How-To Home may reference third-party websites, businesses, products, services, or review platforms as part of editorial research. When evaluating companies or services, we may consider publicly available information such as customer reviews, business websites, service offerings, licensing information when available, and overall relevance to the topic.
An empty house tells on itself. Once the furniture and personal things are gone, every faded wall, mismatched light fixture and crooked window covering is right there in plain sight. Thankfully, dated doesn't automatically mean it has to go.
Windows are one of the first things you notice in an empty room. Swapping out damaged or mismatched coverings for pleated shades gives you a cleaner, more consistent backdrop without paying for structural work.
The most practical way to refresh a rental property is to sort out what's simply old from what's been neglected. An older cabinet that's clean can stay. A newer drawer that sticks every single time you open it needs attention. The goal is simple: every room should feel ready, work the way it should and look cared for.
Use a Keep, Repair, or Replace Test
Before you buy a single can of paint or a new drawer pull, walk through the house and sort everything into three piles:
- Keep: It works, it cleans up well, and it doesn't drag the room down.
- Repair: The material is solid, but there's a loose fitting, a stain or a small defect to fix.
- Replace: It's damaged, unsafe, unreliable, or too far gone to get truly clean.
This keeps your turnover budget from disappearing into cosmetic projects while the real problems sit there waiting. It also gives you a simple standard for rental property improvements. Does this item do its job and look reasonably nice? Then it can stay.
Do this first walk-through before the cleaners show up. Dust and that flat light in an empty room can make finishes look worse than they really are….but an empty house also shows you the dinged corners, hard-to-reach spots and fixtures that were hiding behind furniture the whole time.
Let the Windows Set a Cleaner Baseline
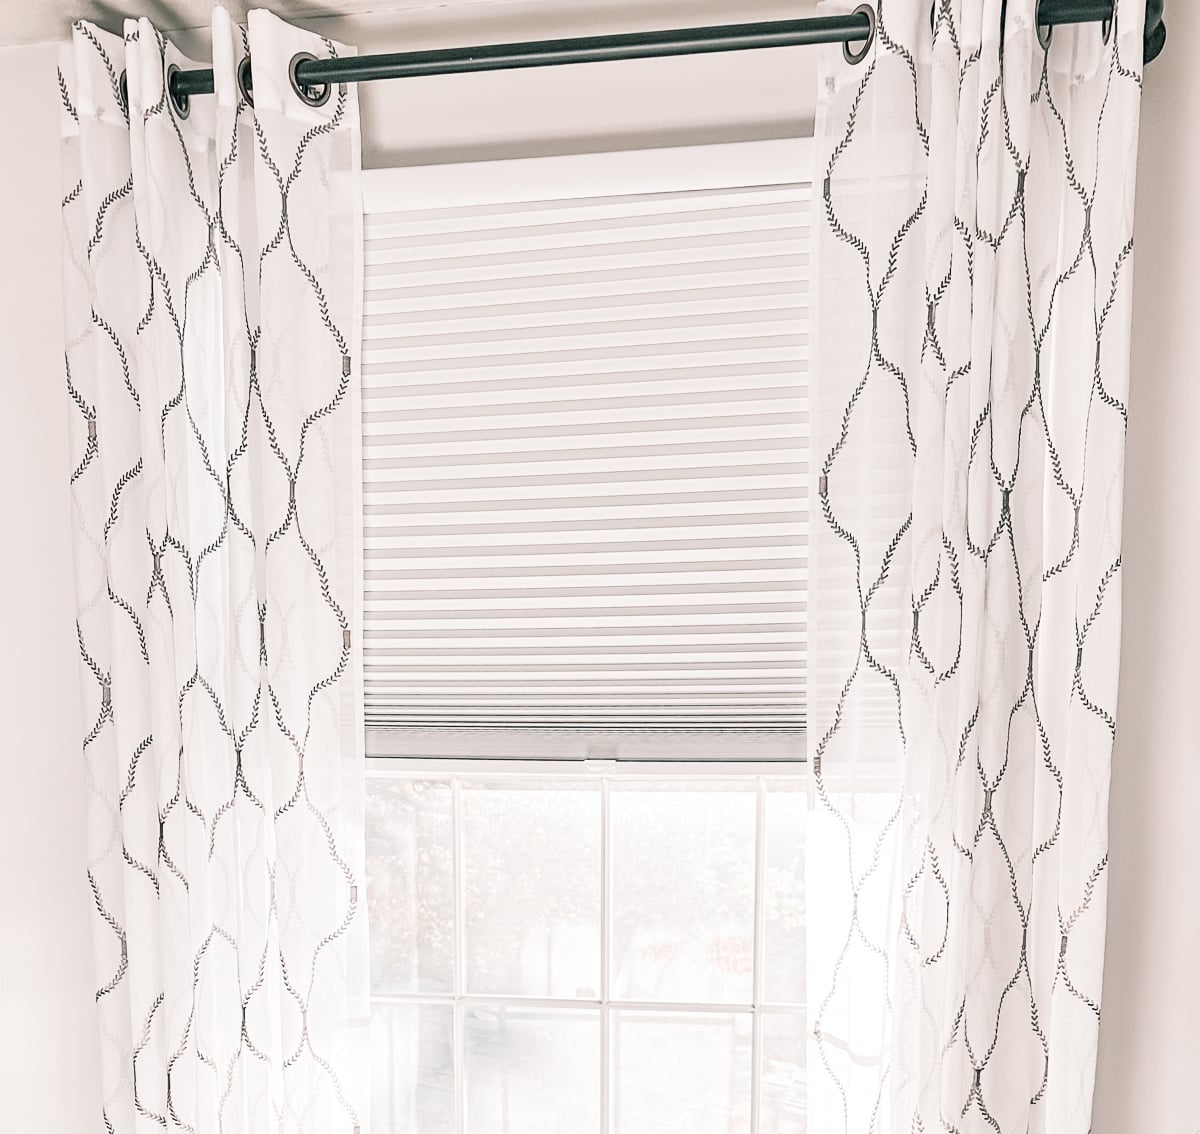
These are the shades in my own dining room and living room, layered under sheer curtains. The living room ones are top-down bottom-up shades, which I love....depending on the time of year, I can let light in up high and still keep my privacy down low. The whole look stays clean and consistent from room to room.
A pleated design can update a window without stealing the show. The fabric folds into a neat little stack when it's raised, and light-filtering options soften the daylight without the bulk of lined curtains.
First, decide whether the covering you have really needs replacing. Stains that won't come out, broken controls and missing hardware are all good reasons. A style that's a few years old? Not so much. A neutral shade that still works may suit the next tenant just fine.
Run each one through its full range. It should hang level, stop where you want it to, and close far enough to give the room the privacy it needs. Then (don't skip this one) go outside after dark with the lights on inside and take a look. A light-filtering fabric that looks lovely during the day might show a lot more of the room at night than you'd expect.
For a consistent look:
- Use the same style of covering on windows you can see together.
- Measure every opening, even the ones that look identical.
- Pick a fabric that fits each room's privacy and daylight needs.
- Write down the product details so you can match a damaged shade later.
If children may live in or visit the home, pay close attention to cords. The U.S. Consumer Product Safety Commission recommends choosing cordless window coverings in any space young children can reach.
Edit the Living Room (No Redesign Required)
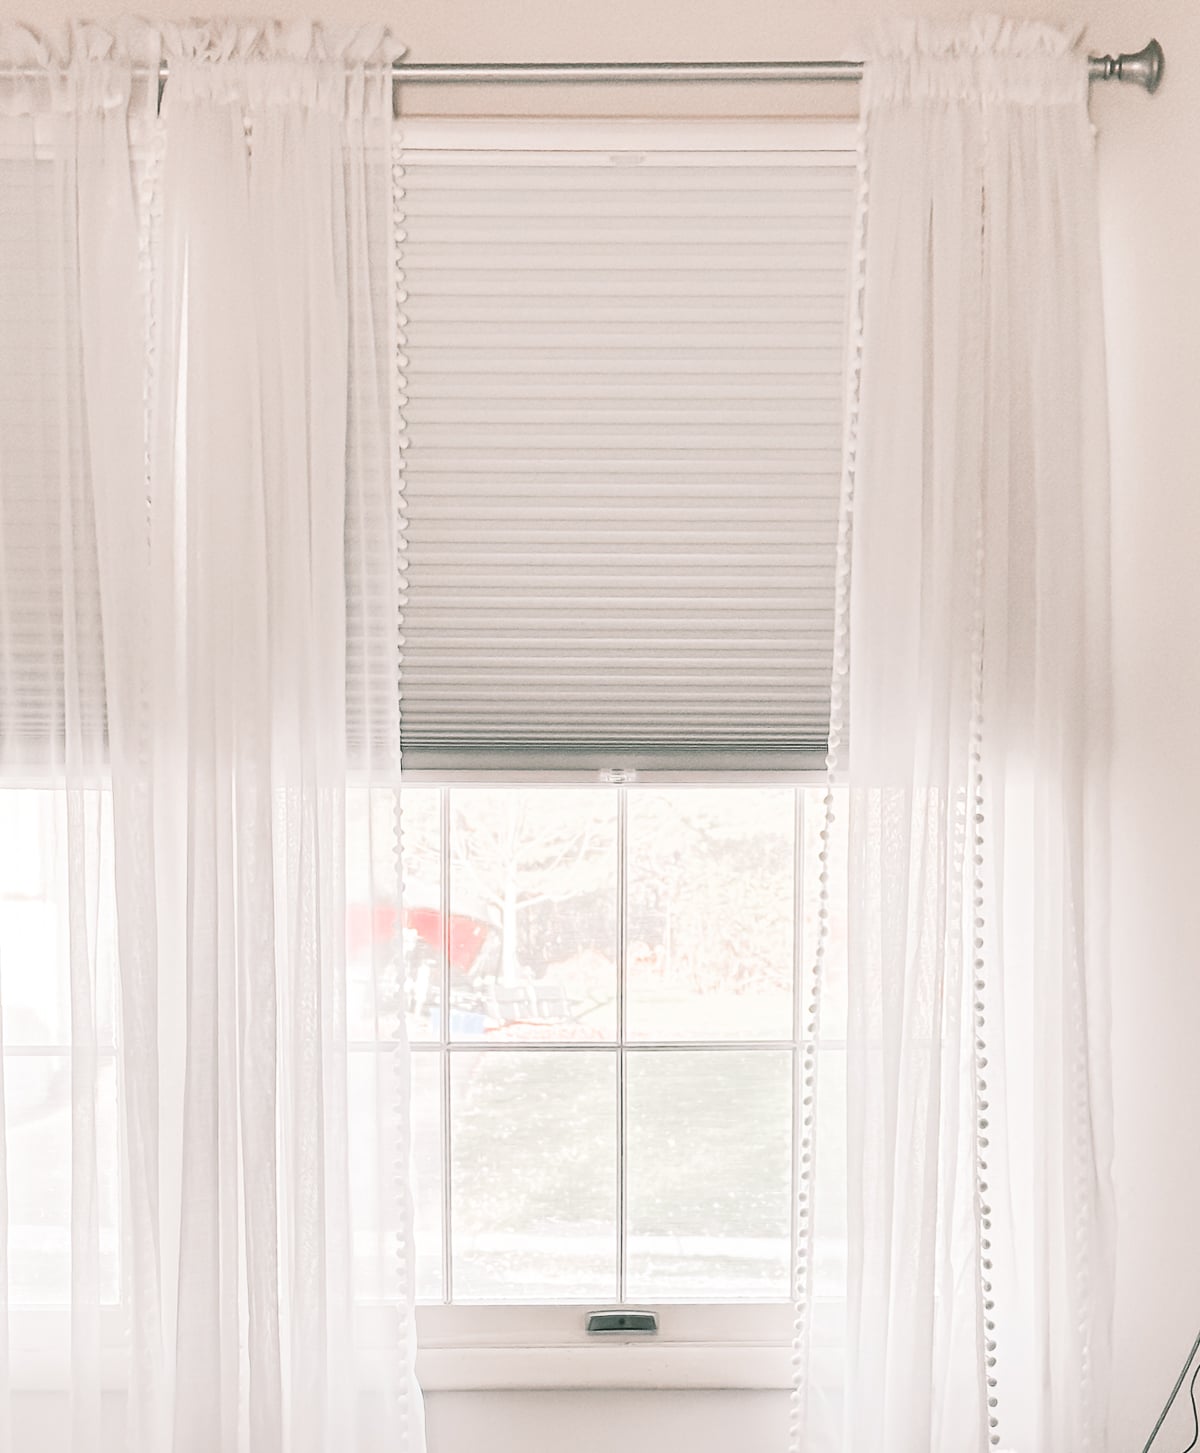
Shared rooms start looking tired when lots of little things compete with each other: one cool-white bulb in a fixture full of warm ones, a bright patch of touch-up paint, or window treatments hung at slightly different heights. (Lighting that doesn't make sense is my biggest pet peeve….)
Fix those little inconsistencies before you plan anything decorative. When a switch plate has yellowed, a new one can do more for the wall than a fresh coat of paint. Matching the bulbs in one fixture can make the paint and flooring you already have look like they belong together.
When the living room blinds need replacing, pick them out alongside the wall color and the floor instead of grabbing them as a one-off purchase. A light neutral treatment calms things down in a room with several windows. A darker one adds contrast, but it will also call attention to uneven trim or blinds mounted at different heights.
Paint should fix a problem you can actually see. Full repainting makes sense when the walls are heavily marked, a bold color will turn off a lot of people, or old repairs left obvious patches. If the finish is in good shape, washing the walls and doing careful touch-ups may be all you need.
Some of the best budget rental property upgrades take things away. Matching bulbs, secure trim and a window treatment that's lined up properly make a room feel settled, and nobody had to start a design project to get there.
Bring Back the Surfaces You Already Have
A scratched countertop or dated tile might still have years of life left in it. Dirt, grease and failed sealant can make these materials look a lot closer to replacement than they really are.
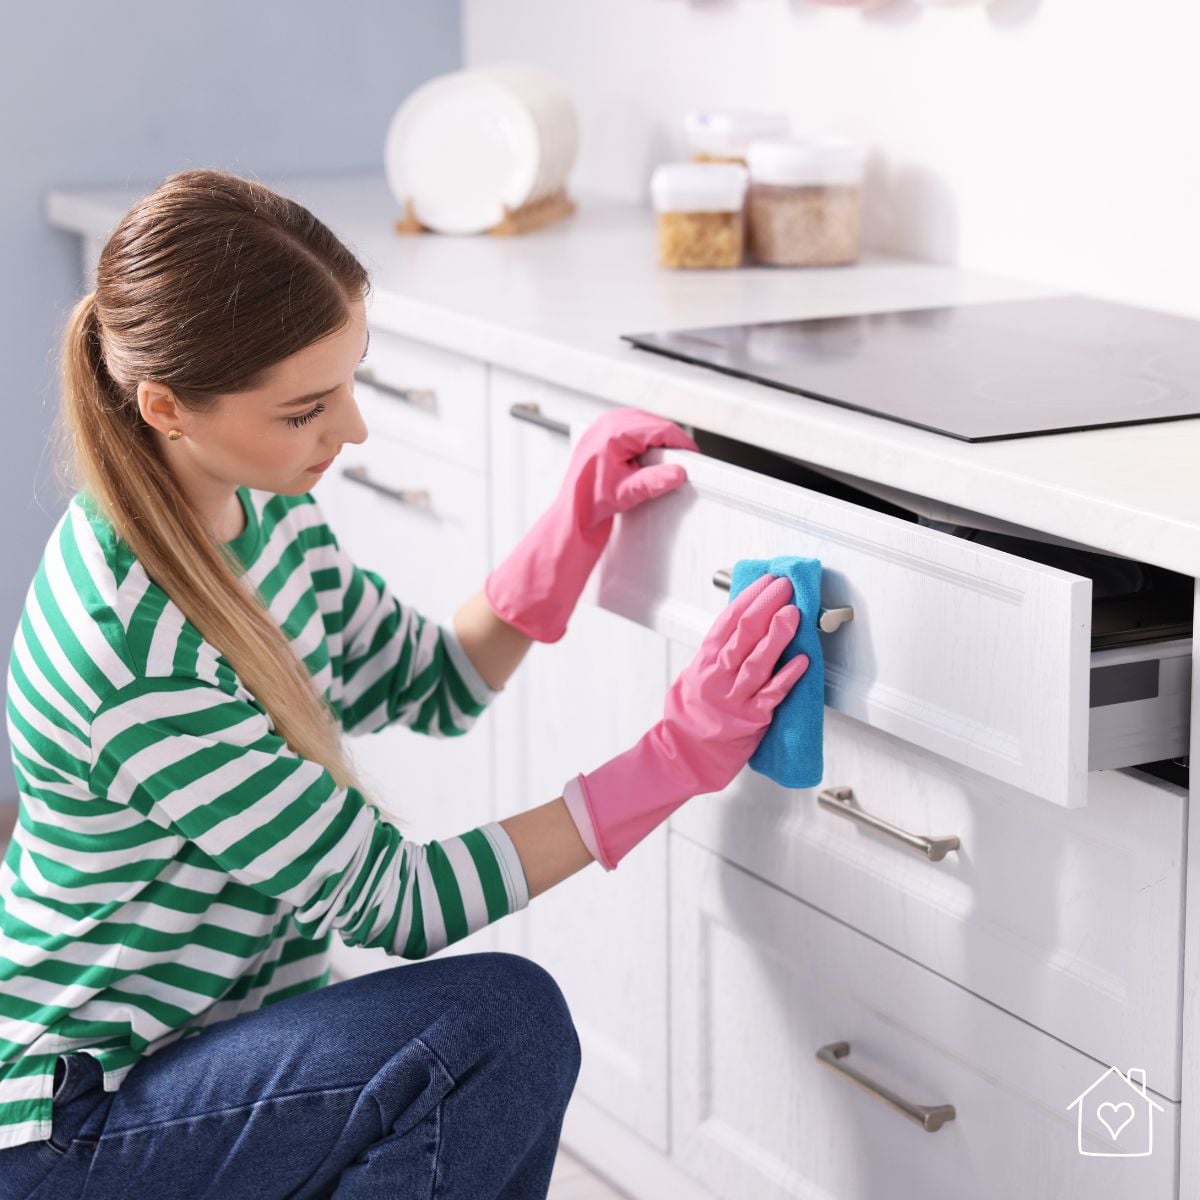
Clean from top to bottom so you aren't
Pay extra attention to:
- Grease around cabinet handles and above the stove
- Mineral deposits on faucets, shower doors and tile
- Darkened grout and failed sealant around wet areas
- Appliance interiors, seals, filters and drip trays
- Floor edges, corners and tracks that regular
cleaning misses
An odor is a clue, so go looking for where it's coming from. Check drains, the trash area, carpet and other soft flooring, refrigerator trays, and anywhere you see signs of moisture. If the smell comes back after
Grout can often be cleaned and patched in spots. Cabinet doors may just need an adjustment and new bumpers. A hard floor might come back to life with the right
Fix the Problems That Lead to Immediate Maintenance Calls
The most telling part of a turnover inspection is hands-on. Use the house the way someone living there would.
Turn every handle. Open every drawer. Lock every window and outside door. Run the hot and cold water, then check under the sinks. Leave the fans and lights on long enough to notice noise, flickering or weak airflow. Run any appliances that come with the home through a normal cycle when you can.
A loose hinge or a slow drain may seem minor in an empty house. For a new tenant who uses it every single day, it's the first sign that nobody checked the place carefully.
Choose hardware for durability and how easy it will be to find later. Standard-size cabinet pulls, common faucet parts and widely available finishes make the next repair so much easier. Swapping every handle just to chase a trend adds cost without making anything work better.
Older homes need one more layer of care. If your work will disturb painted surfaces in U.S. housing built before 1978, read through the EPA's Renovation, Repair and Painting guidance for property managers. Lead-safe certification and work practices may apply to landlords, their employees or any company they hire, and state and local rules may go even further.
Stage the Handover, Then Take the Photos
Preparing a rental property for new tenants should include one last visit after all the
Walk through twice: once as the tenant and once as the property manager. The first time, look for everyday comfort, like lights that work, storage you can actually use, privacy and clean surfaces. The second time, write up the condition record.
A good rental property turnover checklist should confirm:
- Keys, locks, windows and any remotes are accounted for.
- Plumbing, appliances, lights and ventilation have all been tested.
- Required alarms and safety devices meet current local rules.
- Dated photos clearly show each room and any existing wear.
- Product details and invoices for finished work are saved for later.
Take your listing photos only when the house is completely ready. Open the window coverings to the same height, turn on the matching lights, and photograph each room the way it really looks. Super wide-angle shots might get more clicks, but they can lead to disappointment at a showing.
Hang on to that turnover record after the lease starts. Over time it will show you which materials hold up and which "affordable" products keep failing….and that's worth more than repeating the same renovation formula every time a unit sits empty.
A refresh doesn't have to replace a lot of things to be a good one. If the house is clean, the everyday things work, and the new tenant isn't handed a list of unfinished jobs, you did it right. Have you ever moved into a place where it was obvious nobody did a walk-through? I'd love to hear about it in the comments!