Making Old Family Photos Usable Again for Prints and Digital Frames
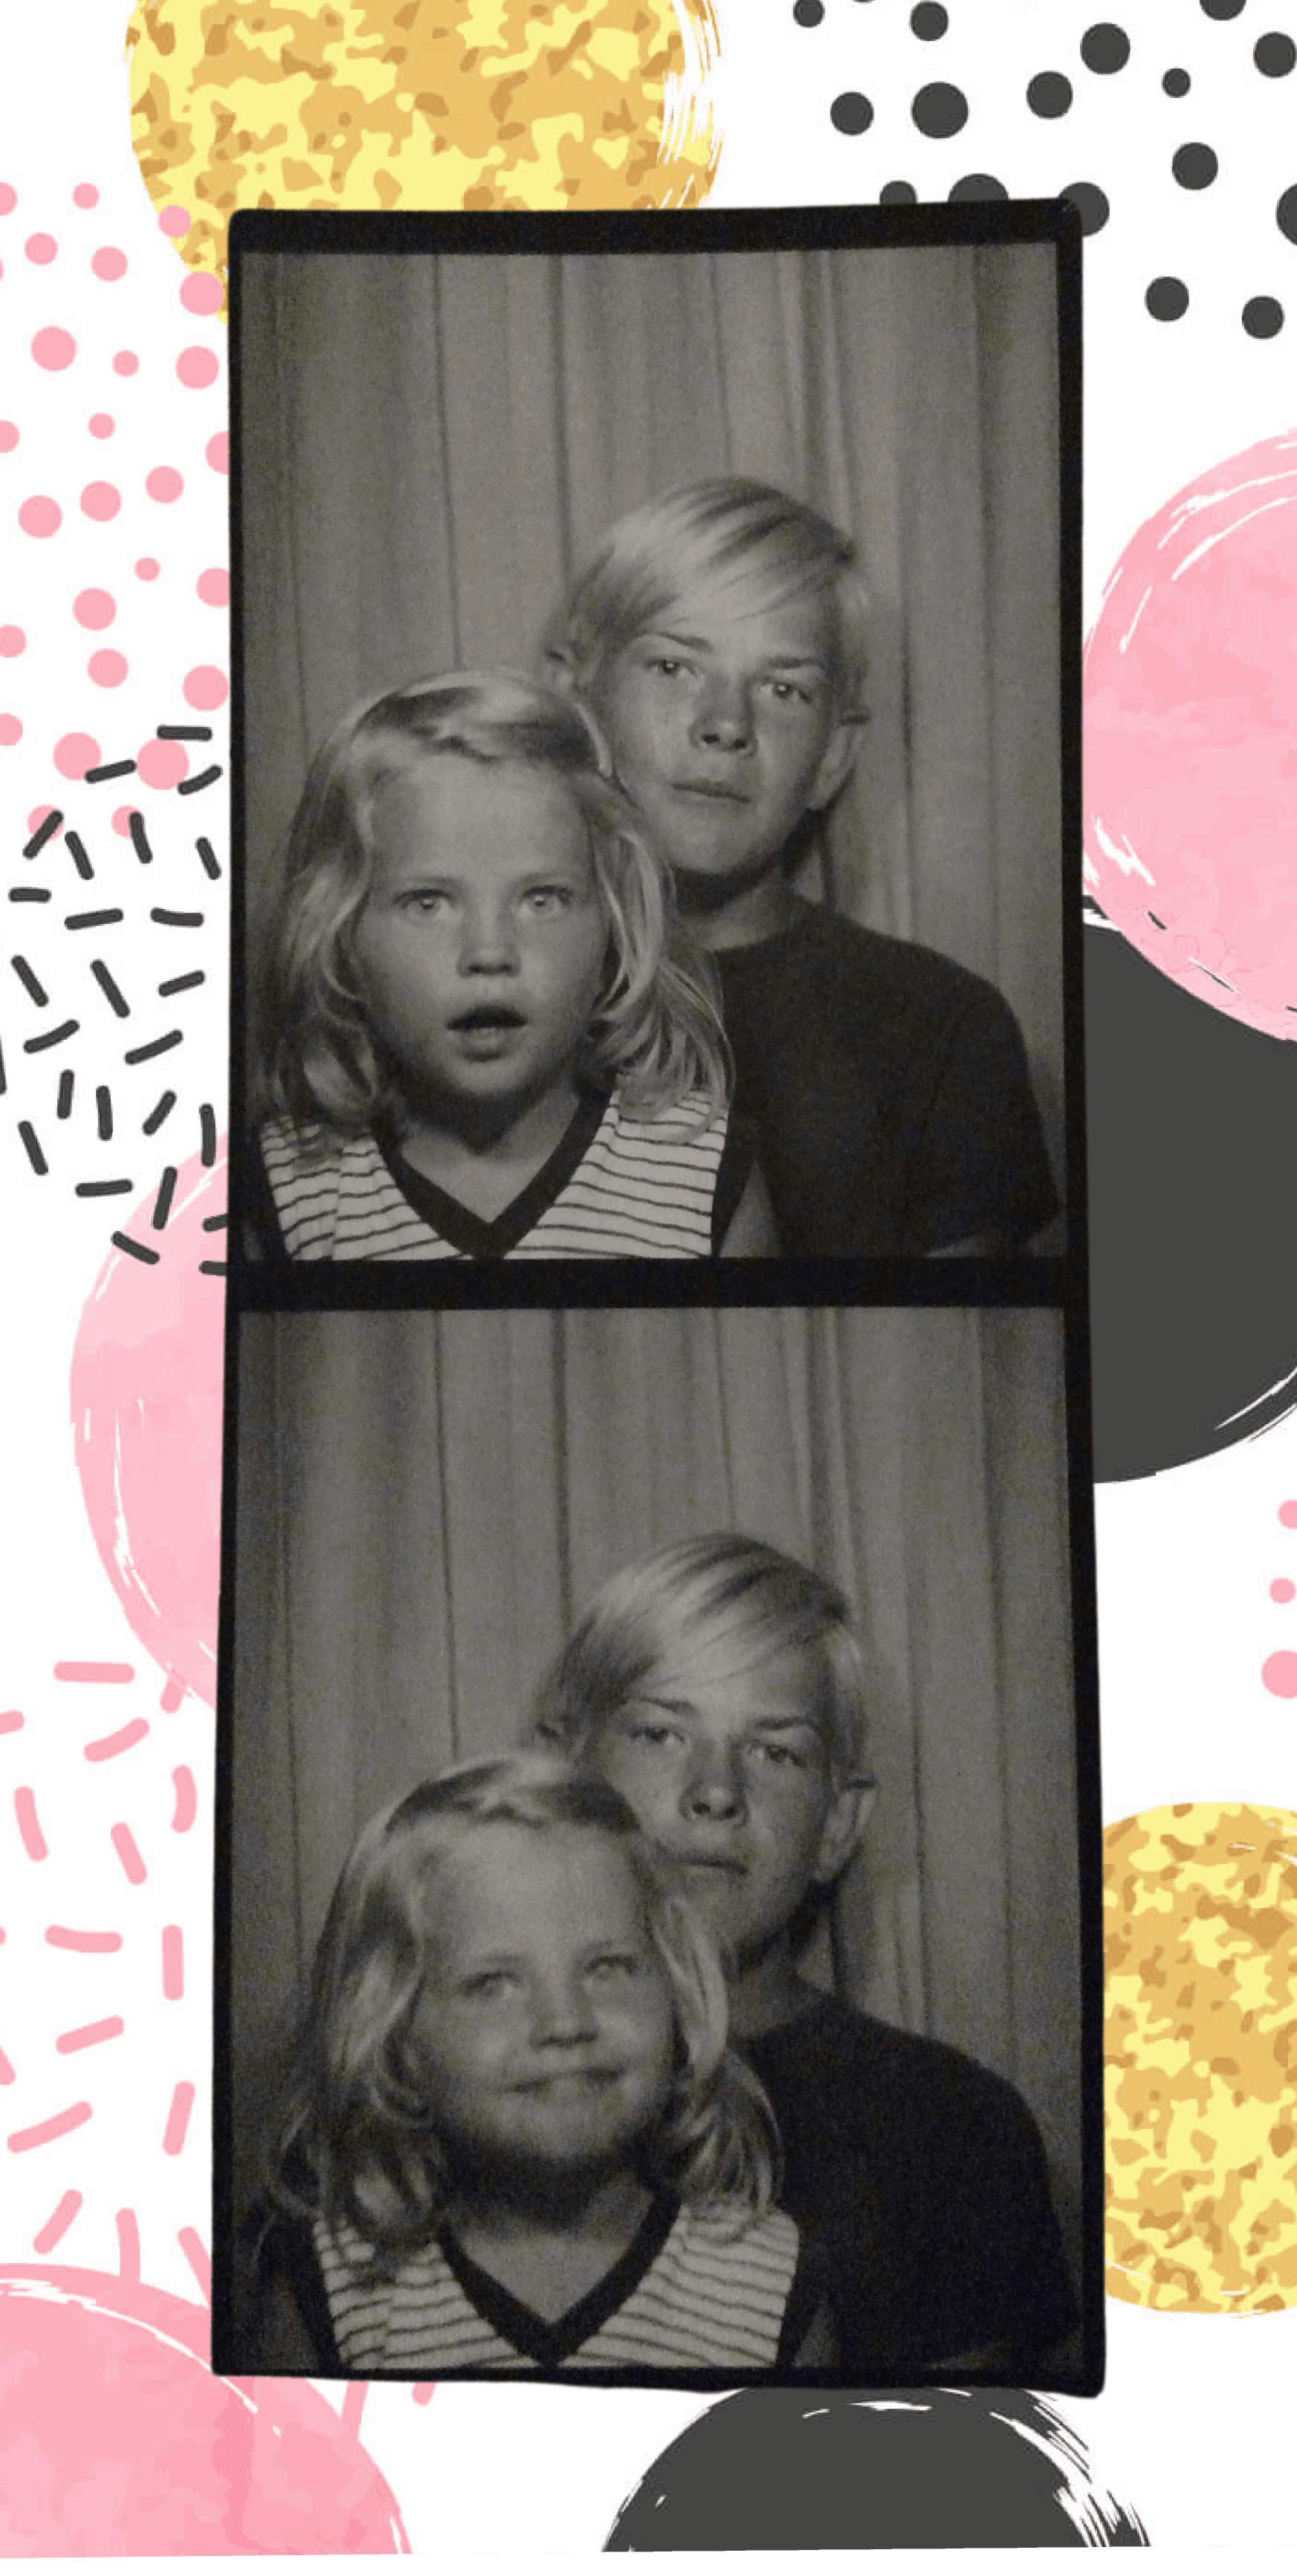
I like to think of myself as the keeper of my family's memories. My mom passed away when I was a young mother myself, and my dad passed while I was pregnant with my second child....which means my oldest son is the only one of my kids who actually remembers having a grandparent. Keeping their stories alive matters more to me than almost anything, and old family photos are such a huge part of that. Some of mine are old Polaroids that have faded and yellowed over the years, and those are always at the very top of my preservation list.
So if you're like me and want to print old family photos or put them on a digital frame, you've probably run into the same issues I have: old photos that are too small, too soft, too faded. A photo that looks fine as a tiny original becomes pixelated the moment you make it larger. This guide covers how to make those photos usable again and how to increase resolution without making them look artificial, bring back real detail in faces, and clean up the distractions so they're ready for printing and sharing.
From time to time, articles on The How-To Home may reference third-party websites, businesses, products, services, or review platforms as part of editorial research. When evaluating companies or services, we may consider publicly available information such as customer reviews, business websites, service offerings, licensing information when available, and overall relevance to the topic.
Why old files break on bigger displays
A print from the early 2000s that you scanned at home is often under 1000 pixels wide. When a 1080p or 4K frame tries to display it, the file has to stretch three or four times over and that just makes the softness even bigger.
On top of that, you are dealing with:
- Color shift from age (warm yellows, faded blues, flat contrast)
- Scanner noise and paper grain that looks like speckles on a bright screen
- Slight motion from when the original was taken, which becomes obvious once enlarged
Sharpening by itself can't fix these issues. You have to rebuild the structure first, then bring the color and light back.
Rebuild size before you fix anything else
Start with the photo's resolution first. If the original file is too small, every other edit will have limited room to work with. Enlarging it first just gives you a better base for
Here's the thing though: a normal resize just duplicates pixels. An AI upscaler works differently...it actually tries to guess what the missing detail should be. It's not just stretching the old file, it's building a bigger version with real, defined detail. That matters most when the photo is headed for a large digital frame or a bigger print.
For this first step, you'll want Wink's AI Image Upscaler. Wink is an AI photo and video editor that helps you improve quality, bring back detail, clean up grain, and bump up the resolution, all in one place. It's a practical option for old family photos since the process is mostly automatic (no advanced skills or hours of manual editing needed).
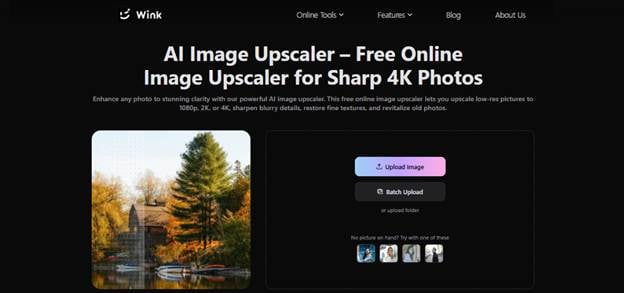
Upscaling in Wink is genuinely simple. You upload the old photo, pick the output resolution you want, and let it do its thing.
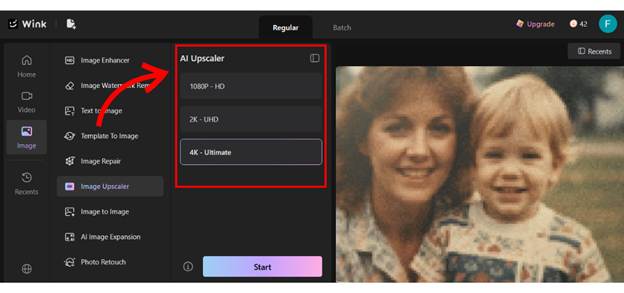
In just a few seconds, you get a bigger version that actually holds up, even when you zoom in or print it larger.
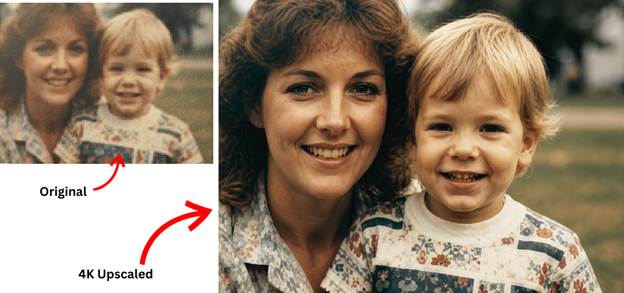
Once it's done, use the before/after slider and check the parts that really matter...eyes, hairlines, text on clothes, those little background details.
You're not trying to make it look fake or overly sharp here. The idea is to bring back just enough real detail so the photo still feels natural up close. If you're getting photos ready to frame, this one step is usually what turns a blurry enlargement into something actually worth hanging on the wall.
Bring back light and color in one pass
Even after you enlarge the file, the colors can still look flat and washed out. This is the part where most people go too far and end up with skin that looks orange or skies that look fake blue.
You want the photo to look like a clean, well-kept version of itself...not like it was shot last week.
One quick pass with the image enhancer in Wink fixes all of that at once...the grain, the light, and the color, so you don't have to tackle everything one by one. It picks up on the typical problems aged prints have and balances them out together, so you don't end up with a bright face and a dull room behind it.
Here's how it works in practice:
Go to Image > Image Enhancer in Wink. In the panel, you'll find several enhancement modes: HD, Ultra HD, Portrait, AI UHD, and Professional. For old family photos like these, go with Portrait. That mode is tuned for skin, eyes, and hair, so it focuses on bringing back natural facial detail instead of just sharpening everything in sight.
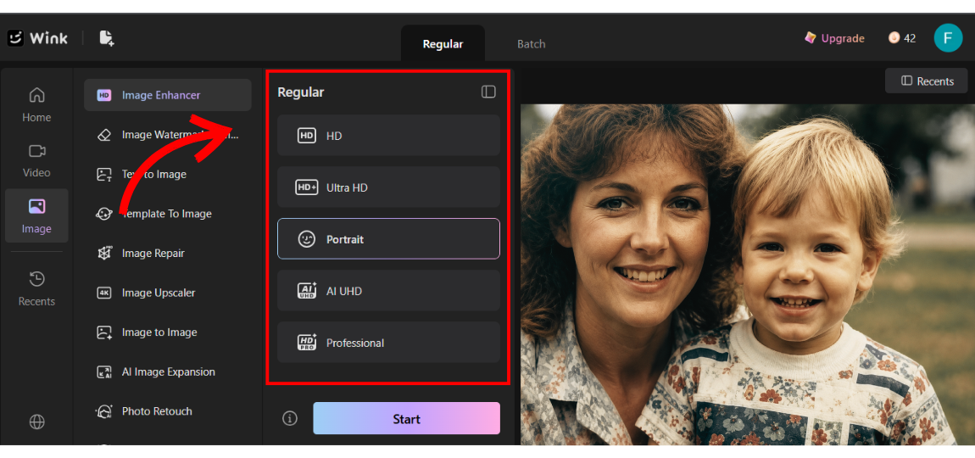
Once you click "Start," Wink processes the image in just a few seconds, and you'll see a side-by-side before and after.
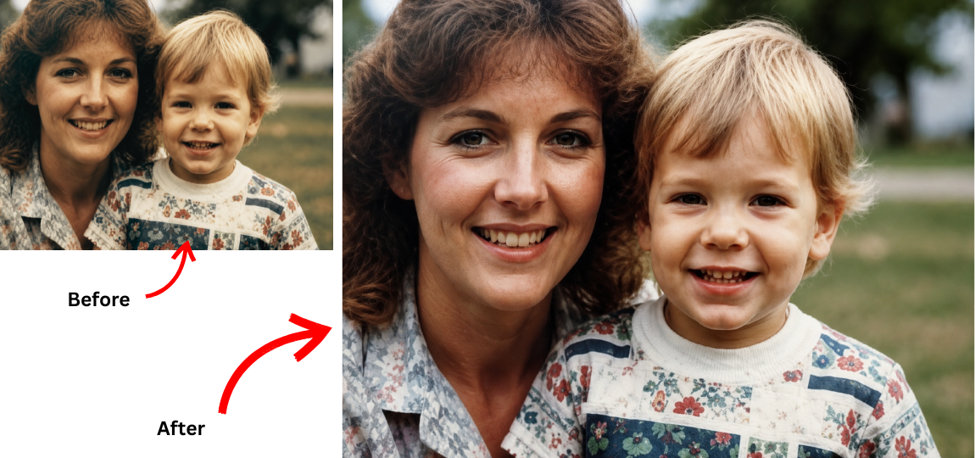
A light, realistic result has a few signs:
- Whites look white again - shirts, curtains, borders of the old print
- Skin warms up slightly but keeps variation, not one flat tone
- Background separates - you can tell where a sofa ends and a wall begins
If you have a whole album's worth, switch to the Batch option and queue them up. Same Portrait setting, same one-click Start...so you can restore 10-20 photos at once instead of doing them one at a time.
Export correctly for print vs. frame
The final file should match where it will be seen.
For a wall print:
Don't add extra sharpening after upscaling. Print labs already add sharpening based on the paper, and double sharpening makes pores and lines look harsh. Leave a small safe margin if the lab asks for bleed. For very soft originals, matte or luster paper forgives a lot more than high-gloss.
For a digital frame:
Export at the frame's native size, usually 1920x1080 or 1920x1200. If you're loading photos via USB, keep each file under 4-5 MB, otherwise some frames start to lag on you. If the original is square, let the tool expand the background rather than stretching the person wider.
Quick final check before you order prints or copy files to the stick:
- Step back a little - are the faces still clear enough to recognize?
- When you swipe through the same day, does the brightness stay even or does it keep jumping?
- Look closely at hairlines, glasses, hats - is there any halo or smudgy edge?
If the first two are yes and the third is no, the set is ready.
The best restored family photo doesn't look restored at all...it just looks like someone took good care of the original. Clear enough to live on the wall, natural enough that the memory still feels like yours. For me, that's the whole point: keeping those faces clear so my kids and grandkids can still see them.