Transform Old Furniture With These DIY Techniques
That old dresser collecting dust in the attic or the tired-looking side table you found on the curb holds incredible potential. With a little creativity and effort, you can turn forgotten furniture into stunning statement pieces for your home. Let's explore how you can transform old furniture with these DIY techniques.
*This post may contain affiliate links and I'll earn a commission if you shop through them. You can read my full disclosure here.
Give It a Deep Clean and Minor Repairs
Before you jump into any exciting changes, the first and most crucial step is preparation. A thorough
Start by wiping down the entire piece with a damp cloth and a mild soap solution to remove dust, grime, and any sticky residues. For tougher spots, a vinegar-and-water mixture can work wonders.
Once the furniture is clean and dry, carefully inspect it for any damage. Look for loose joints, wobbly legs, or stuck drawers. You can often fix these minor issues yourself with some wood glue and clamps to tighten joints. Use wood filler to patch any scratches, dents, or small holes.
After the filler dries completely, sand it smooth to blend seamlessly with the surrounding surface. This foundational step ensures your finished project is beautiful, sturdy, and functional.
Touch It Up With Paint
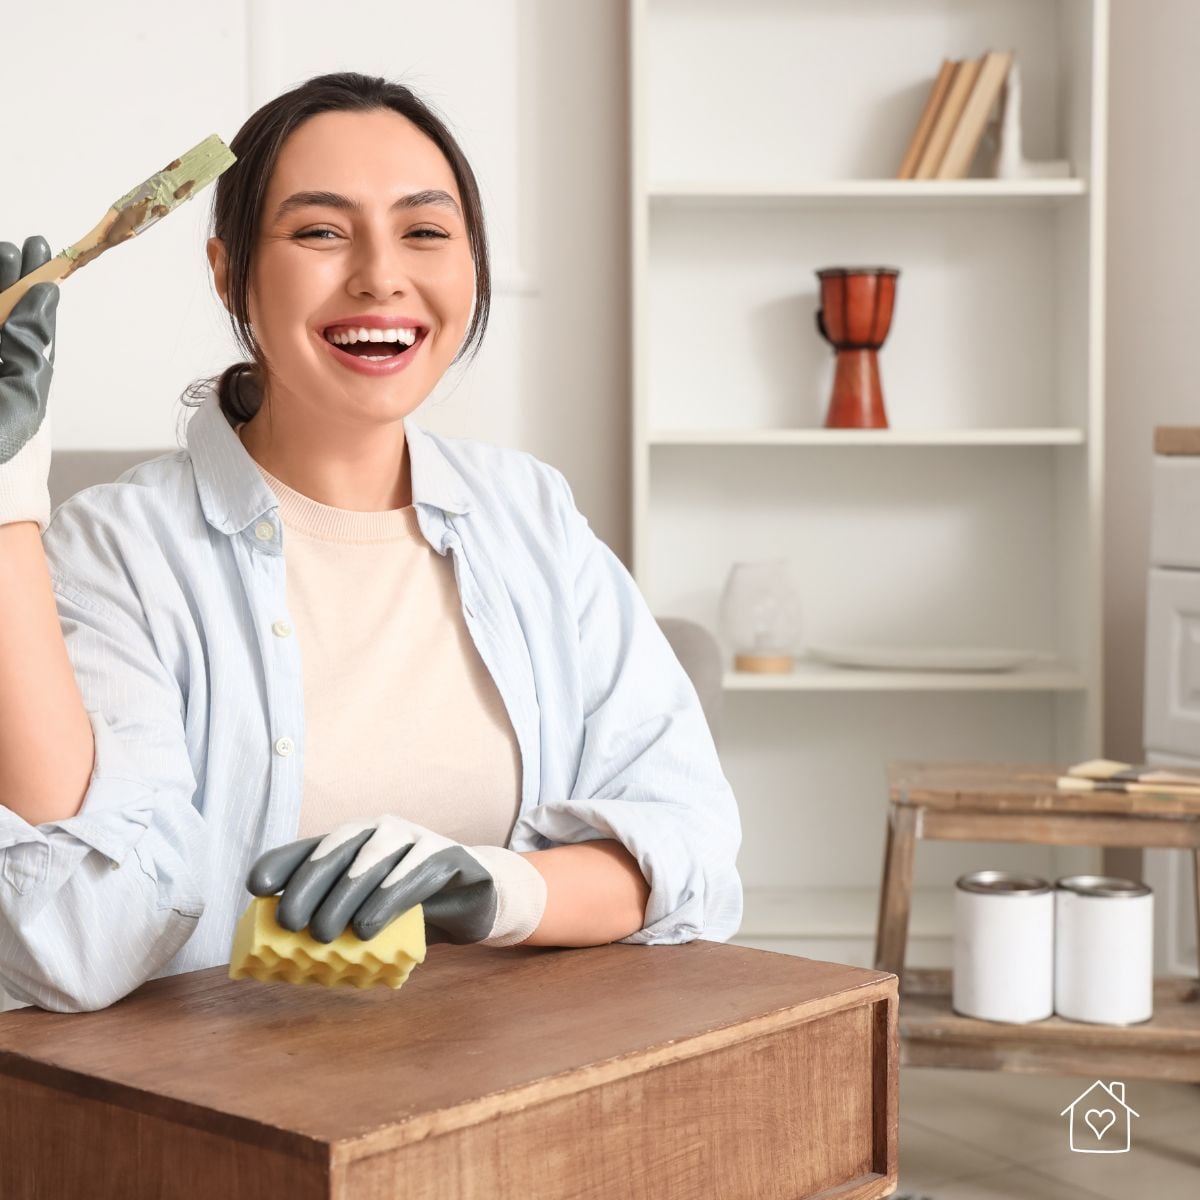
A fresh coat of paint is arguably the most dramatic way to update a piece of furniture. It can take a dark, dated item and make it bright, modern, and completely new. The possibilities are endless, from a classic white or a bold, vibrant color to a sophisticated two-toned look. Your choice of paint finish, such as matte, satin, or gloss, will also significantly impact the final appearance.
For a professional-looking result, proper preparation is key. Always sand the piece lightly to remove the old finish and create a surface the new paint can grip. After sanding, wipe away all the dust before applying a coat of primer.

When you are ready to create a truly unique color, getting the shade just right is a project in itself. Try mastering paint mixing with handy mixing lids and measuring cups to customize hues for a perfect match to your décor. Following these steps will make the process cleaner and easier.
Introduce New Hardware
Another DIY technique for transforming old furniture is to add new hardware. This small change can instantly modernize a traditional dresser, add a touch of glamour to a plain cabinet, or give a rustic feel to a simple nightstand.
You can find a vast array of hardware options at home improvement stores, online retailers, or even antique shops for a unique, vintage find. Consider materials like brushed brass for a modern look, crystal or glass for a bit of sparkle, or matte black for a sleek, industrial vibe. When selecting new hardware, measure the distance between the screw holes on your existing pieces to ensure the new ones will fit, unless you are ready to drill new ones.
Add a Stencil for Personality
Stenciling is an excellent technique for adding a unique pattern or a touch of artistic flair to your furniture. It allows you to apply intricate designs with clean, sharp lines, even if you do not consider yourself an artist. You can find stencils in countless patterns, including geometric shapes, floral motifs, intricate mandalas, or even custom lettering.
To start, secure the stencil to the furniture surface with painter's tape to prevent it from moving. Use a stippling brush or a small foam roller to apply a very light coat of paint. It is better to build up the color in thin layers to prevent the paint from bleeding under the stencil's edges.
Once you have achieved the desired opacity, carefully lift the stencil to reveal your design. Stenciling can turn a plain piece into a personalized work of art.
Create a New Surface With Decoupage
Decoupage is the art of decorating an object by gluing colored paper cutouts onto it combined with special paint effects. This technique is a fantastic way to add pattern, color, and texture to furniture. You can use almost any type of paper, including decorative napkins, wrapping paper, wallpaper remnants, fabric, or even pages from old books or maps.
To begin, cut your paper to the desired shapes and sizes. Apply a thin layer of decoupage medium to a small section of the furniture. Place your paper onto the glued area and smooth it out carefully to remove any air bubbles.
Continue this process until you cover the surface. Once everything is in place, apply several top coats of the decoupage medium to seal and protect your design, allowing each coat to dry completely before applying the next.
Distress Your Furniture
Distressing is the perfect technique for those who love a rustic, farmhouse, or shabby-chic aesthetic. It gives furniture a charming, time-worn appearance. There are several methods to achieve this look, but one of the most popular involves a two-layer paint technique.
Start by applying a base coat of paint in the color you want to peek through, often a dark brown or gray. After the base coat dries, rub a wax candle over the areas you want to appear worn, such as edges, corners, and raised details. Next, apply a top coat of your primary color.
Once the top coat is completely dry, use fine-grit sandpaper or a putty knife to gently scrape away the paint from the waxed areas. The wax prevents the top coat from fully adhering, making it easy to remove and reveal the base color underneath for a naturally aged effect.
Reupholster a Seat or Bench
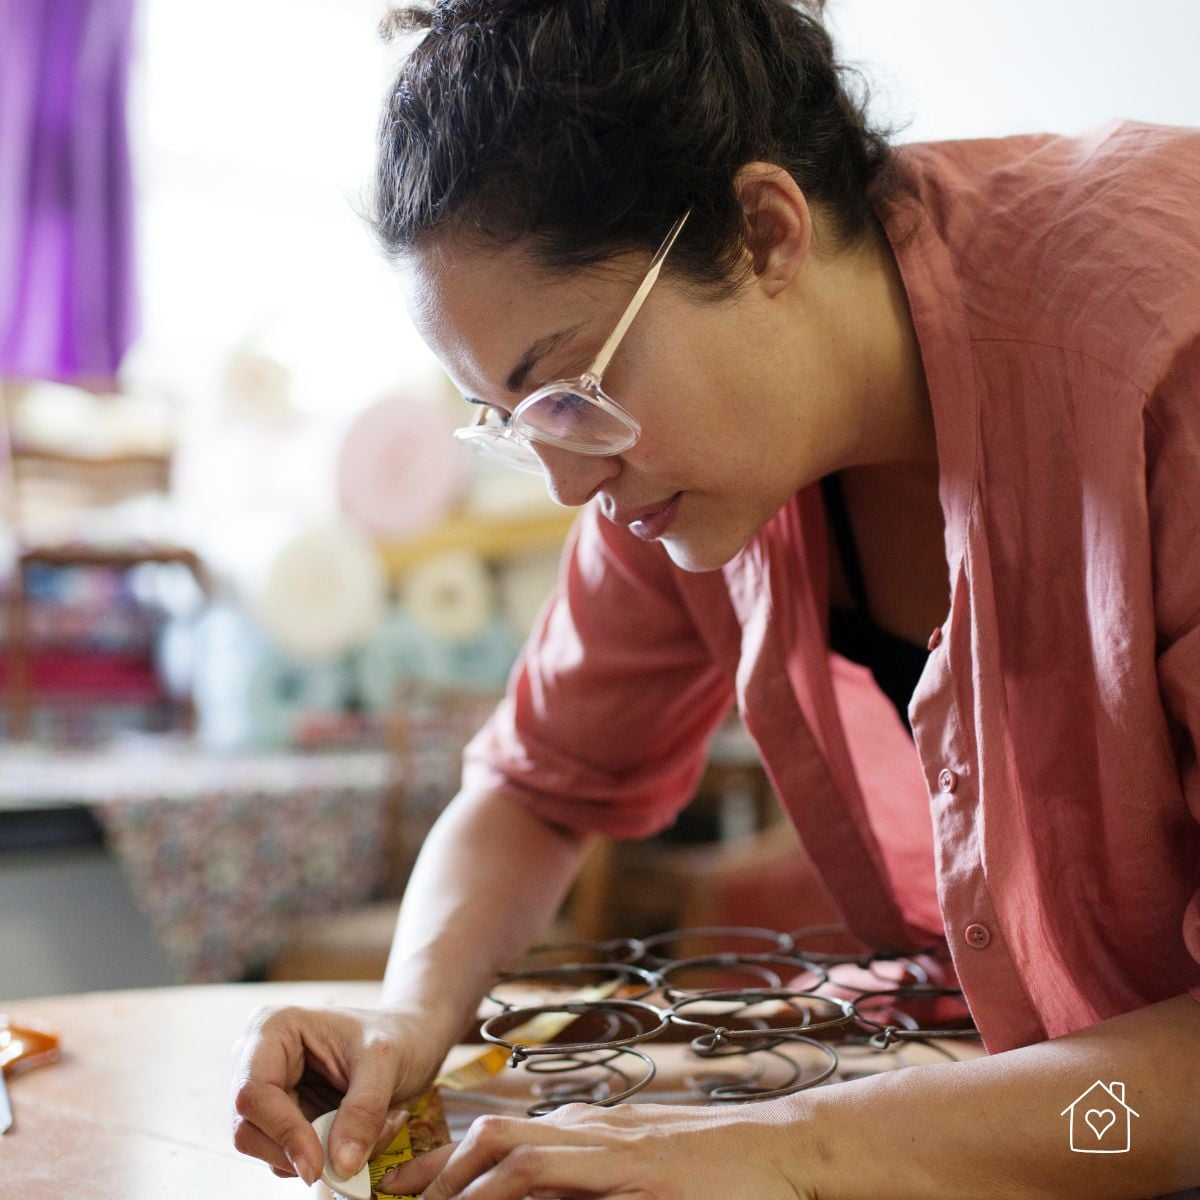
Reupholstering is a game-changing update for chairs, benches, and stools with fabric seats. Replacing worn, stained, or dated fabric with a fresh, new pattern can completely transform a piece's look and feel.
This project might sound intimidating, but for simple drop-in seats, it is surprisingly straightforward. You will just need your chosen fabric, a staple gun, and a screwdriver.
First, unscrew the seat from the chair frame. Use a flathead screwdriver or pliers to carefully remove the old staples and fabric. This is also a good opportunity to replace the foam or batting if it has become compressed or damaged.

Lay your new fabric face down, place the seat on top, and trim the fabric, leaving several inches of excess around all sides. Begin stapling the fabric to the underside of the seat, pulling it taut as you go to ensure a smooth, tight finish.
Giving old furniture a second chance is a rewarding experience that allows you to express your creativity while making sustainable choices. With a bit of vision and some hands-on effort, you can turn any forgotten item into a beloved treasure.