5 Mistakes to Avoid When Installing Butcher Block Surfaces in New Homes
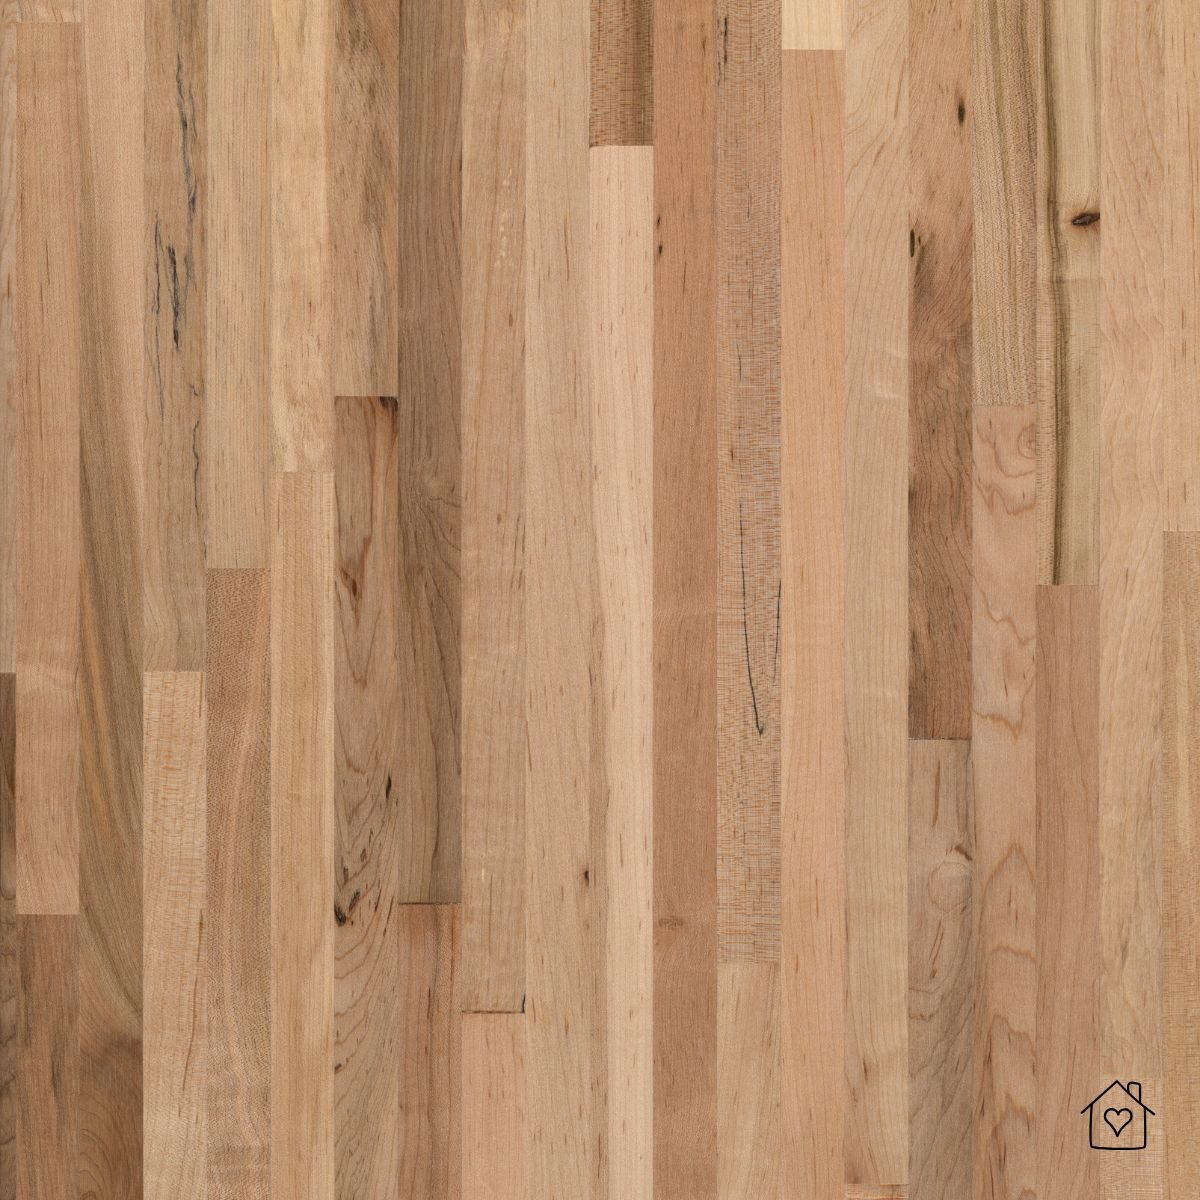
The instant real wood replaces sterile stone, a kitchen changes character. Sunlight dances across the grain, the surface warms beneath forearms dusted with flour, and evening meals feel more intimate because the island glows instead of gleams. Its affordability compared with stone further sweetens the appeal, especially in new builds where every dollar is measured.
Yet wood is still alive, subtly breathing with every seasonal shift. Overlook that truth, and yesterday's showpiece can warp, split, or disappoint a brand-new homeowner.
Fortunately, those pitfalls are easy to dodge. Below are five of the biggest installation mistakes - plus one post-install blunder - that professional installers (and ambitious DIYers) should avoid.
*This post may contain affiliate links and I'll earn a commission if you shop through them. You can read my full disclosure here.
Mistake #1: Not Letting the Wood Acclimate
Wood straight from the supplier hasn't adjusted to your home's climate. Installing it immediately is like forcing a puzzle piece, it might fit temporarily, but movement is inevitable.
The fix is simple: patience.
Store every slab flat on spacers in the future kitchen for at least 72 hours, keeping the thermostat between 60 and 80 °F and relative humidity between 30 and 50 percent. Direct sunshine or a blasting vent can dry one face faster than the other, locking a permanent cup into the surface before the first screw is driven.
Use the buffer time to position cabinets, level bases, and double-check appliance specs - by the time the tops are acclimated, the rest of the room will be ready to receive them.
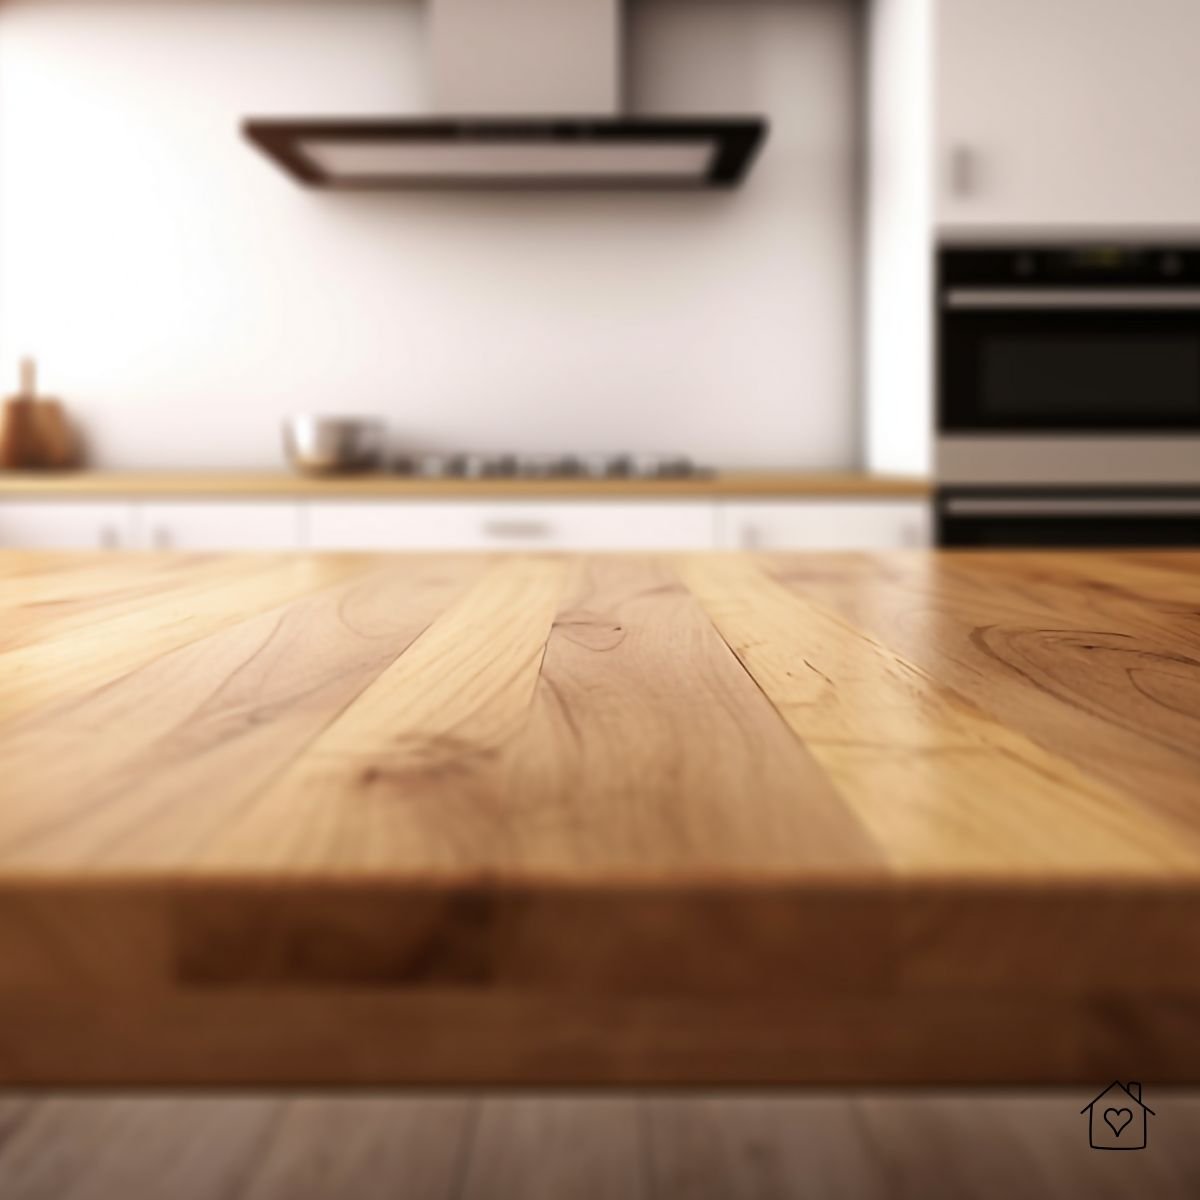
Mistake #2: Skipping Finish or Using the Wrong One

Moisture wears many disguises - steam from a stock-pot, lemonade splashes, or an ice bucket sweating through a linen napkin. All can find unprotected end grain. Solution? Seal all six sides - including sink and cook-top cut-outs - before final installation.

Two finish families dominate professional practice:
- Food-safe oil: Factory-conditioned tops arrive saturated with mineral oil and beeswax. A quick wipe every few weeks at first, then every few months once the pores are filled, keeps the wood supple and golden - perfect for households that slice bread or knead dough directly on the counter.
- Varnique semi-gloss varnish: This furniture-grade film turns a work surface into a low-maintenance serving stage. It shrugs off red wine, coffee, and toddlers' juice boxes but can be scarred by a chef's knife, so reserve Varnique for bars, bath vanities, or laundry counters.
Match the coating to real-world use, then emphasize that protection is a routine, not a one-time event. Oiled tops need refreshing, and Varnique still demands prompt wipe-ups.
Mistake #3: Poor Fastening to Cabinet Bases
Wood expands and contracts with humidity changes. Fight this movement, and something will break - usually the wood itself.
Never glue butcher blocks to cabinet bases. Solid adhesive bonds will tear apart during the first seasonal humidity swing.
Instead, anchor with figure-8 clips or L-brackets fitted with elongated holes so screw shanks can glide as the block moves. Drill pilots into the underside - dense species like maple and walnut can split without one. Snug each screw, then back it off a quarter-turn; the washer should capture the head without locking the slab rigidly.
Mistake #4: Improper Cutouts for Sinks and Cooktops

Every opening removes structure and exposes thirsty end grain. Tackle the task in three deliberate steps:
- Lay out generous clearances - at least ⅛ in. around sinks and a full 1 ½ in, where radiant heat is involved.
- Cut cleanly with a sharp jigsaw blade or template router, working from the show face to avoid tear-out.
- Seal twice. Flood the raw edge with the chosen finish, allow it to soak, then repeat before bedding the fixture in flexible
silicone .
Those extra brushstrokes keep drip water or steam from wicking into fibers and swelling the rim - damage that is nearly impossible to reverse once stains set in.
Mistake #5: Insufficient Support for Island Overhangs
Breakfast bars and extended countertops create a dramatic visual impact, but remember, wood has structural limits that must be respected. That is why top-rated retailers like Butcher Block Co. have set simple limits: overhangs running parallel to the grain may extend 8 in. unsupported; those running perpendicular may reach 12 in. Anything beyond must rest on brackets, corbels, or hidden steel plates spaced no more than two feet apart.
Tip: Install the hardware on cabinet framing before you set the top so supports disappear and knees stay bruise-free!

Ignoring Long-Term Maintenance Guidance for Homeowners
Even a perfect installation fails if homeowners treat butcher blocks like engineered stone. Include clear care instructions with every project:
- Wipe spills immediately
- Refresh oil finishes as needed (typically once a month
- Clean film finishes with mild soap only
- Avoid standing water
- Use cutting boards for food prep
Five minutes of education prevents expensive callbacks and demonstrates your commitment to long-term satisfaction.
Final Thoughts: Avoiding Mistakes Is Easier Than Fixing Them
Wood's warmth is unmatched, and when installed with respect for its natural movement, butcher block rewards builders and homeowners for decades. Acclimate it, finish it, fasten it thoughtfully, protect cut-outs, and brace those stylish overhangs; each step is simple, but skipping any can prove expensive. Stick to these basics and you'll enjoy the quiet confidence of a surface that performs as beautifully as it looks.