6 DIY Fixes Every New Homeowner Should Know

Owning a home for the first time is an exciting experience. You have a space to call your own, a place to build memories, and a new sense of freedom. Along with that freedom comes responsibility for maintenance and repairs.
Mastering these six DIY fixes that every new homeowner should know empowers you to handle minor problems independently. Save money and enhance your confidence in managing your home with these simple repairs.
Disclaimer: The DIY and home repair projects shared on this blog are based on personal experience and research, but I am not a professional. Always use caution, follow safety guidelines, and wear appropriate protective gear. Some tasks may require professional expertise-if you are unsure or inexperienced, consult a qualified professional before attempting any project. By following any advice or instructions on this site, you assume full responsibility for your safety.
Unclog a Blocked Drain
A slow or clogged sink or shower drain typically indicates a blockage in the drain. Instead of using chemical drain cleaners immediately, consider trying a drain snake. This flexible tool can navigate the pipe to remove hair, food particles, and other debris, often resolving the issue quickly.

Another effective method involves a natural mixture of
- Pour approximately one cup of
baking soda into the drain. - Follow with a cup of white vinegar.
- Allow the mixture to fizz and sit for about 15 minutes.
- Rinse the drain thoroughly with hot water.
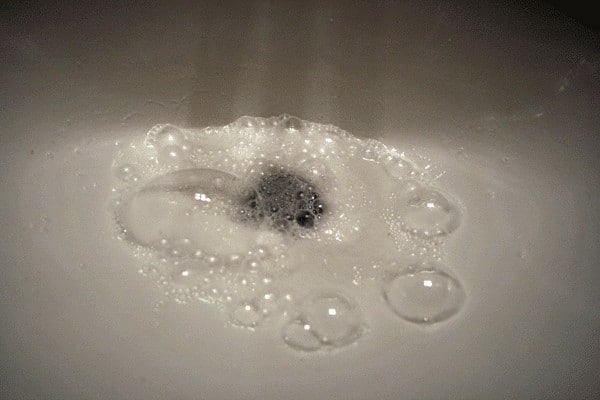
This approach can help clear minor blockages caused by soap scum or grease. It's important not to ignore slow drains or blockages. Over time, clogs can worsen, causing water to drain slowly or come to a halt. Stagnant water can emit unpleasant odors and promote the growth of mold, bacteria, and pests, posing health risks.
Persistent blockages may also exert pressure on the pipes, increasing the likelihood of leaks or pipe bursts, which can result in water damage. Addressing drainage issues promptly maintains the integrity of your plumbing system and prevents costly repairs.
*This post may contain affiliate links and I'll earn a commission if you shop through them. You can read my full disclosure here.
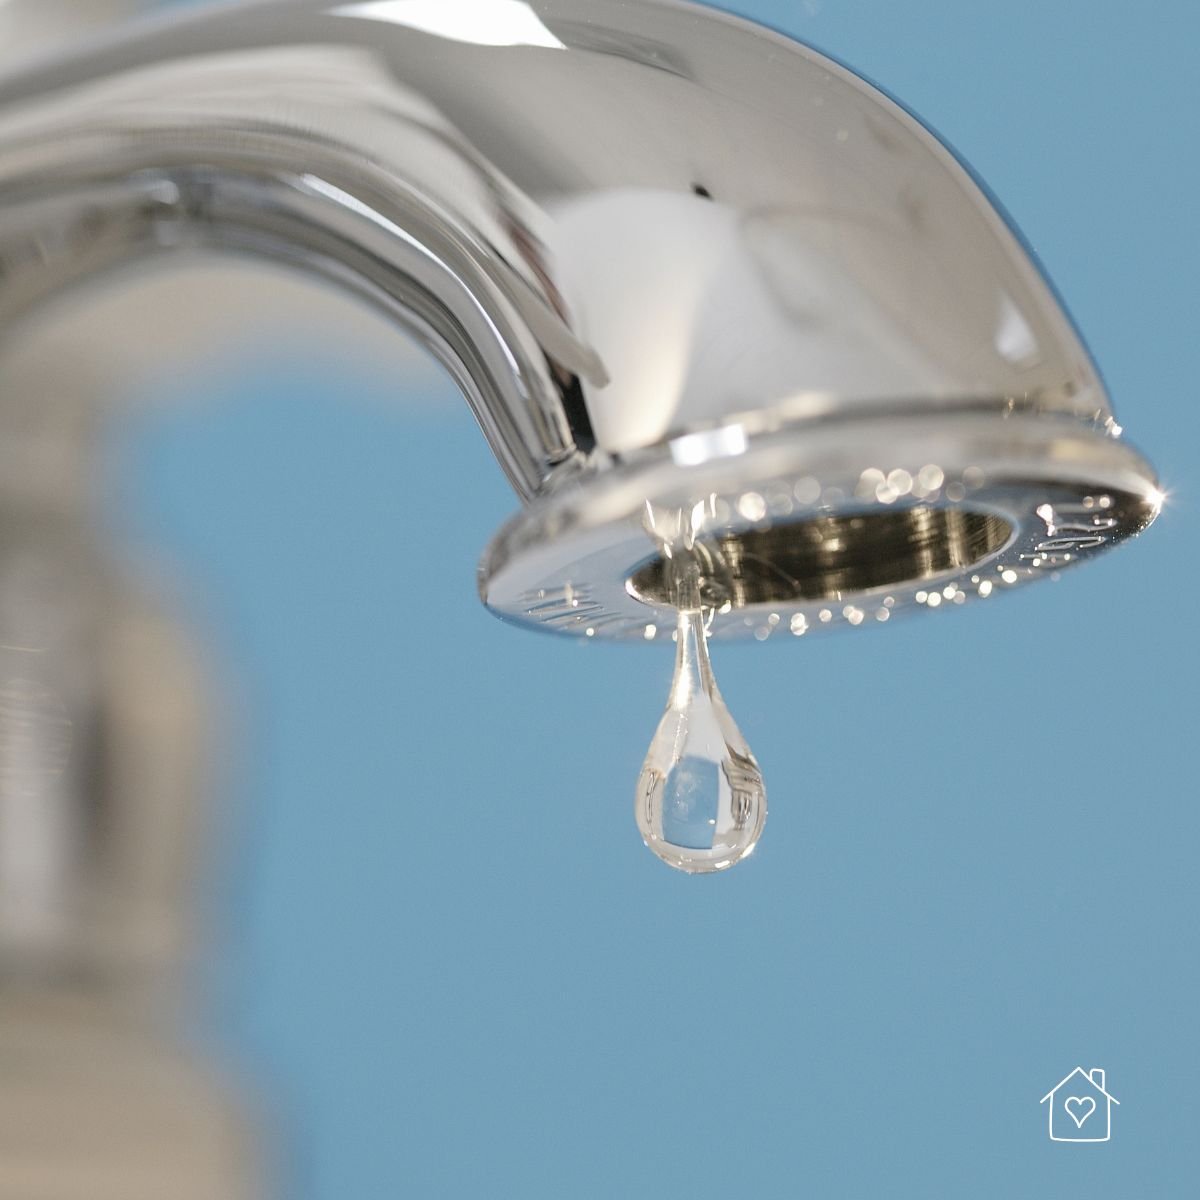
Fix a Leaky Faucet
A dripping faucet wastes water and creates an annoying sound. Most leaks originate from a worn-out washer or O-ring, which the homeowner can easily replace.
Here are the quick steps to fix it:
- Turn off the water supply to the sink. The shut-off valves usually sit under the sink.
- Use a wrench to loosen the packing nut on the faucet handle.
- Remove the handle and expose the inner components.
- Replace the old washer or O-ring with a new one of the same size.
- Reassemble the faucet and turn the water back on.
A leaky faucet is more than just an annoyance; it wastes water, driving up your utility bills and potentially hundreds of gallons annually. Constant moisture can also lead to mold, mildew, and damage to your cabinets or countertops, resulting in costly repairs.
For new homeowners, proactive maintenance is essential. Regularly check faucets and plumbing fixtures for leaks and familiarize yourself with the location of your main water shut-off valve. Addressing small problems quickly saves money and maintains the integrity of your home.
Patch Small Holes in Drywall
Nail holes, scuffs, and small dents in walls happen. Patching them creates a smooth surface for painting, making your walls look fresh again. For small nail holes, you only need spackling paste and a putty knife.
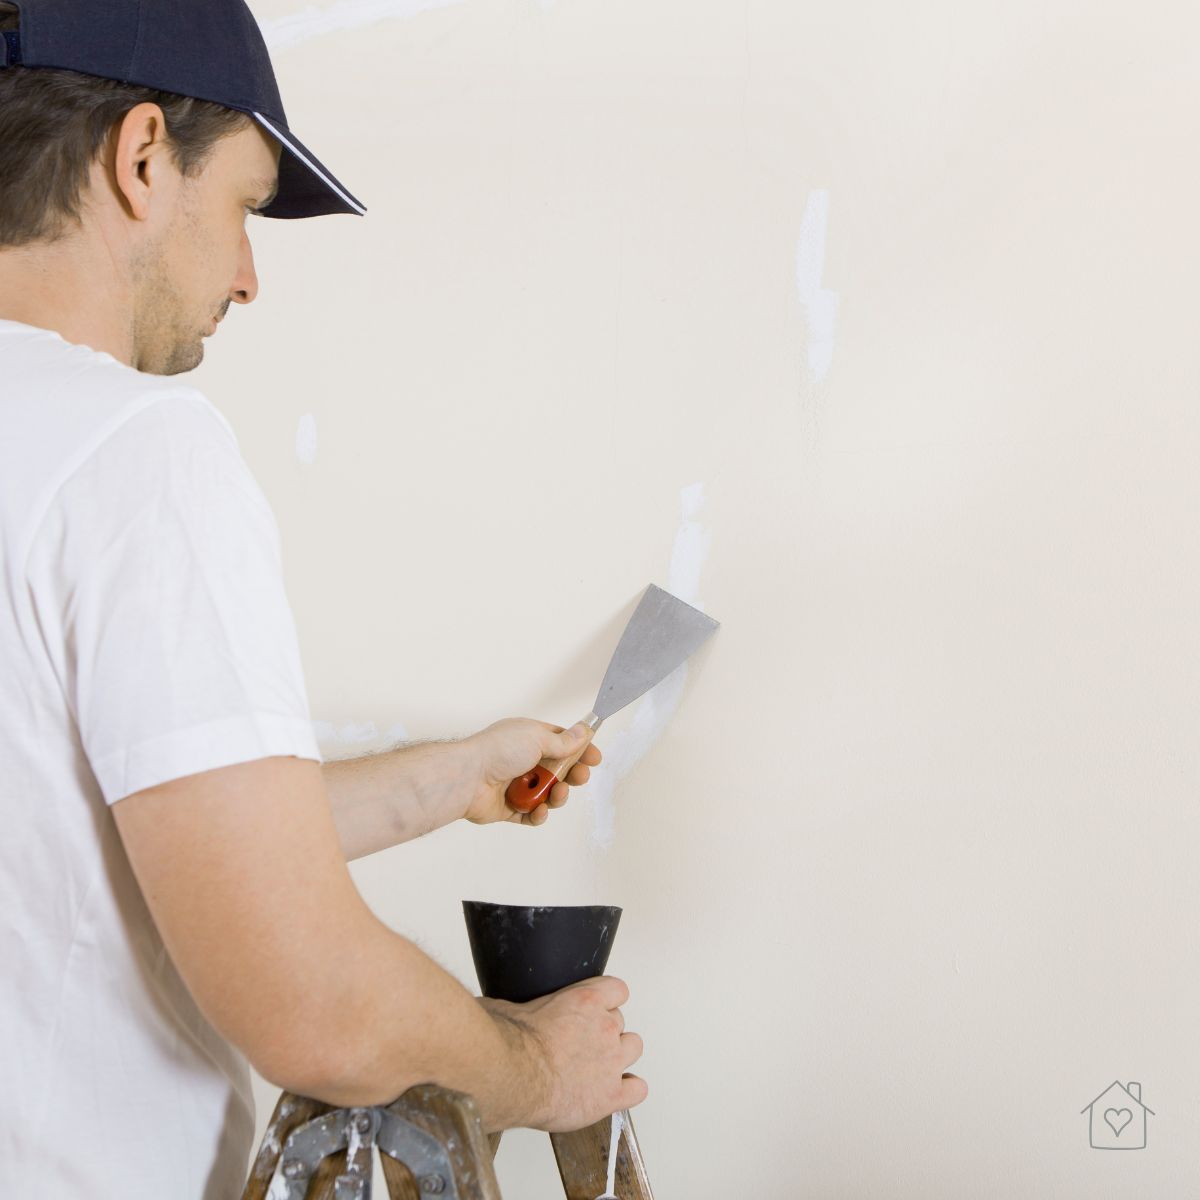
- Apply a small amount of spackling over the hole.
- Use the putty knife to smooth it flush with the wall.
- Let the spackle dry according to the product instructions.
- Lightly sand the area until it feels smooth.
- Wipe away the dust, and the spot becomes ready for a coat of paint.
Leaving holes, scuffs, and dents unattended can do more than make your walls look neglected; they can attract pests, allow moisture in, and make future paint jobs appear uneven. For larger holes, you might need a self-adhesive mesh patch for extra support before applying the spackling compound.
Maintain Your Plumbing System

Understanding your home's plumbing can help prevent major issues. Regular inspections ensure everything runs smoothly and help you spot problems early. During self-inspection, check for slow drains, unusual noises from pipes, and visible leaks under sinks or around toilets.
Professional plumbers take it a step further by inspecting faucets, fixtures, water heaters, and shut-off valves to ensure they function properly and identify signs of wear. Between professional visits, performing your own visual checks can help you address small issues before they escalate.
Modern innovations, such as PEX pipes and smart leak detectors, have made plumbing systems more durable and easier to monitor and maintain. However, basic awareness remains your best defense. A quick inspection can save you time and money in the long run.
Reset a Tripped Circuit Breaker
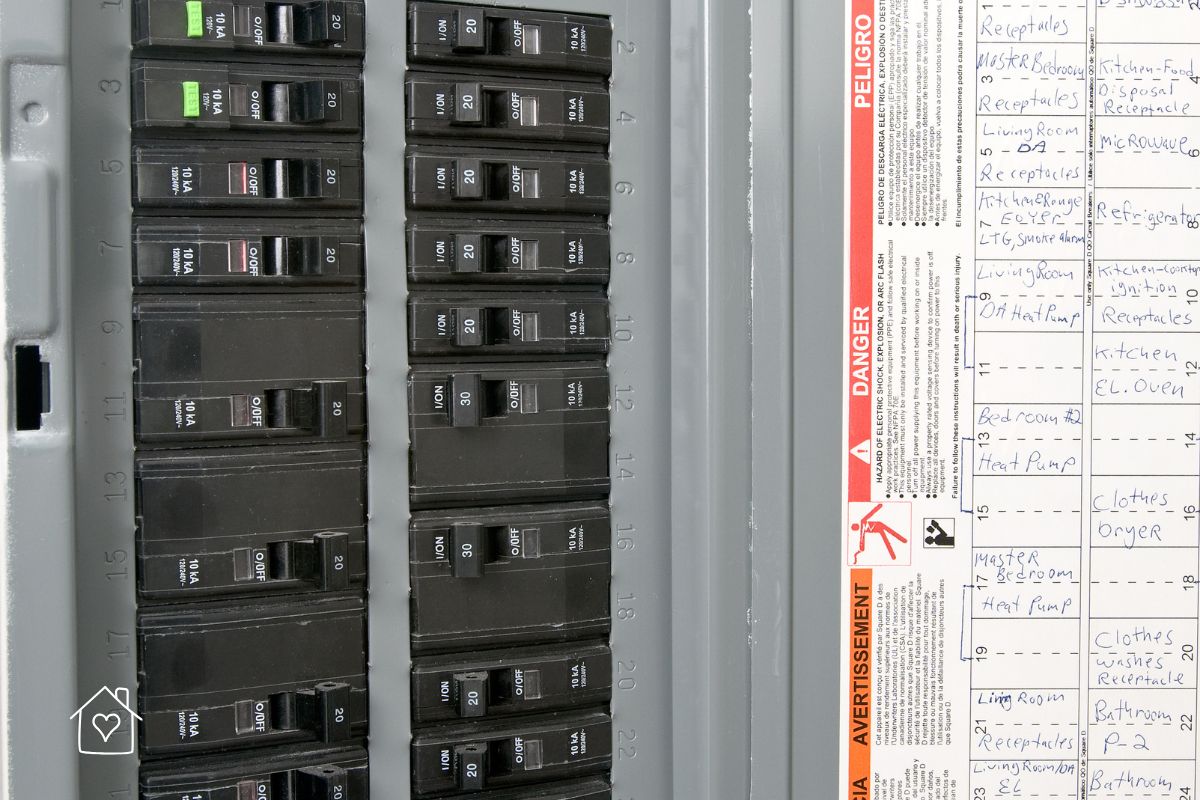
A circuit breaker trips when a circuit overloads, cutting power to that area of your home. Instead of calling an electrician, you can often fix this yourself.
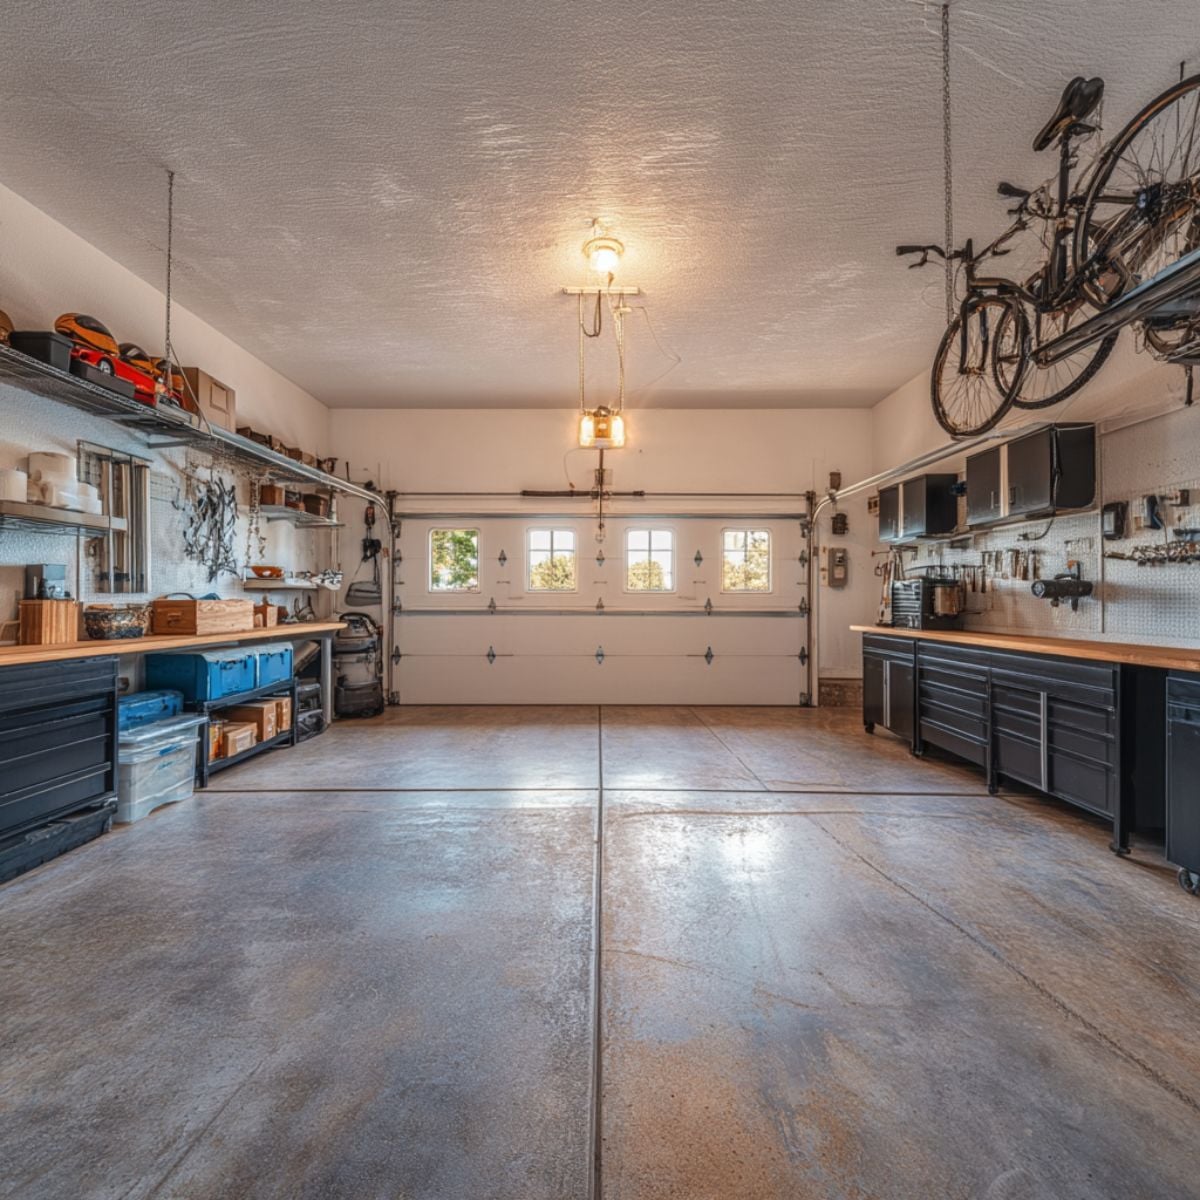
First, locate your home's main electrical panel. It's usually in the basement, garage, or a utility closet. Inside the panel, you will see rows of switches.
To Reset It:
- Unplug appliances in the affected area to reduce the electrical load.
- Firmly push the breaker switch to the full "off" position.
- Flip it back to the "on" position.
Power should return. If the breaker trips again, it indicates a more serious issue with the circuit or an appliance, and you should call a professional.
Safety Tips When Handling Circuit Breakers
Working with electrical systems carries inherent risks. Proper precautions can reduce these dangers, but if you're ever unsure about handling a situation safely, it's best to step back and contact a professional. Safety should always be the top priority when dealing with electricity.
- Ensure hands are dry before touching the breaker panel to avoid electric shock.
- Wear rubber-soled shoes and stand on a dry, non-conductive surface.
- Never force a stuck breaker switch; it can cause damage.
- If you see signs of burning (smoke, scorch marks), do not reset the breaker; call an electrician immediately.
- Keep the breaker panel closed and securely in place.
Caulk Gaps Around Tubs and Sinks
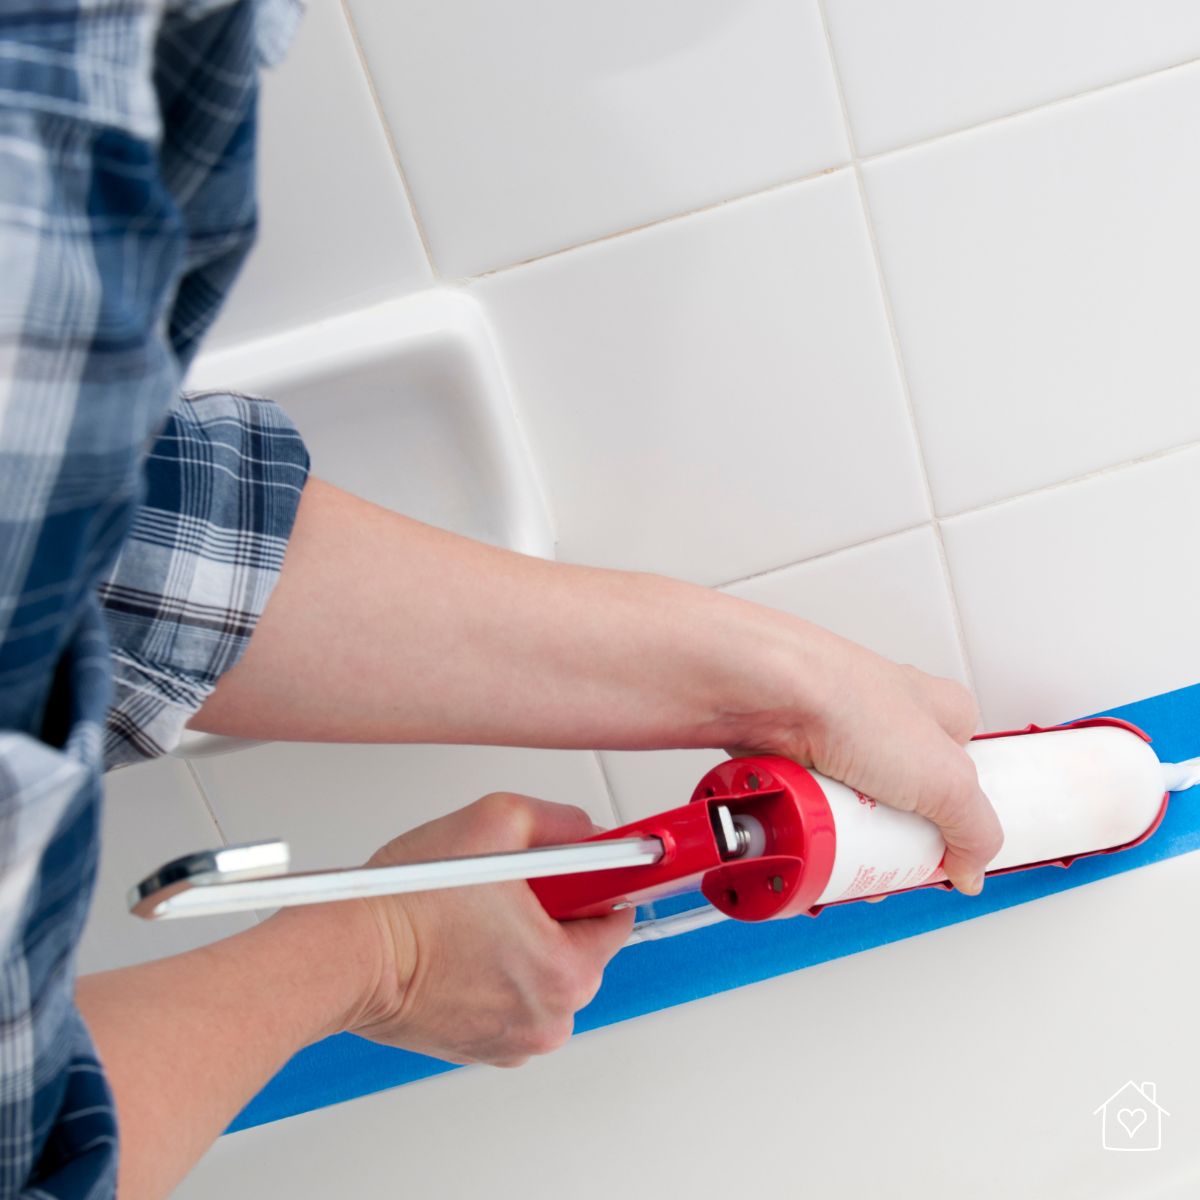
The caulking around your bathtub, shower, and sinks prevents water from seeping into the walls and causing damage. Over time, caulk can crack, peel, or grow mold. Replacing it improves your bathroom's appearance and protects against water damage.
To do this, you first need to remove the old caulk with a utility knife or caulk removal tool. Clean the area with rubbing alcohol to remove soap scum and residue. Once the surface dries, apply a new bead of painter's caulk or
Mastering these basic DIY fixes every new homeowner should know helps you feel more capable and in control of your new space. Each small repair you complete builds your skills and saves you money, turning your house into a well-maintained home you can truly feel proud of.