DIY Infrared Saunas: Three Paths from a $400 Tent to a Custom Cabin
A sauna came up at our house recently, and I have my son to thank for it. He's our resident Mister Physical Fitness, and he made his case for one (quite persuasively, I'll admit). We'd want it in the sunroom. It's roughly 160 square feet, it's been more or less a man cave lately, and it opens right out to the patio and the firepit. It also has exactly one outlet. One.
That one outlet is why I'm not shopping yet. Our electrician is coming out soon to install a new bathroom mirror, and while he's here I'm having him look at our panel. I'd like to add more electric "stuff" to this house anyway, and a sauna would be the biggest thing on that list. Once I have his numbers, I'll add them here...
In the meantime, I went straight down a build-or-hire-or-buy rabbit hole here at The How To Home.
Once you start pricing out infrared heat for your own house, you find out pretty quickly that "DIY sauna" actually splits into three completely different paths, and each one leaves a different pile of chores on your plate. You can put together a near-infrared bulb and canvas tent setup for under $400 with basic living room assembly. You can order a pre-cut custom wood kit that hands you the boards and heaters and leaves the wall framing and installation to you. Or you can buy a prefabricated cabin, which skips the carpentry but still leaves you managing site prep and a serious electrical hookup. Which route works in your house comes down to two things a brand name won't tell you: your electrical panel capacity and how the heaters are laid out around your body.
From time to time, articles on The How-To Home may reference third-party websites, businesses, products, services, or review platforms as part of editorial research. When evaluating companies or services, we may consider publicly available information such as customer reviews, business websites, service offerings, licensing information when available, and overall relevance to the topic.
Key takeaways
- You can put together a usable near-infrared sauna for under $400 with a canvas tent, a wooden shoe rack, four clamped bulbs, and a heavy-duty extension cord plugged into a regular household outlet.
- Custom projects like SaunaCloud's pair room-specific plans with pre-cut wood, heaters, and controls. You'll still need to budget for room prep, installation, glass, and electrical work.
- Prefab cabins can go together in roughly two hours once the site is ready, but wiring and assembly can add thousands to the equipment price.
How infrared heat differs from traditional saunas
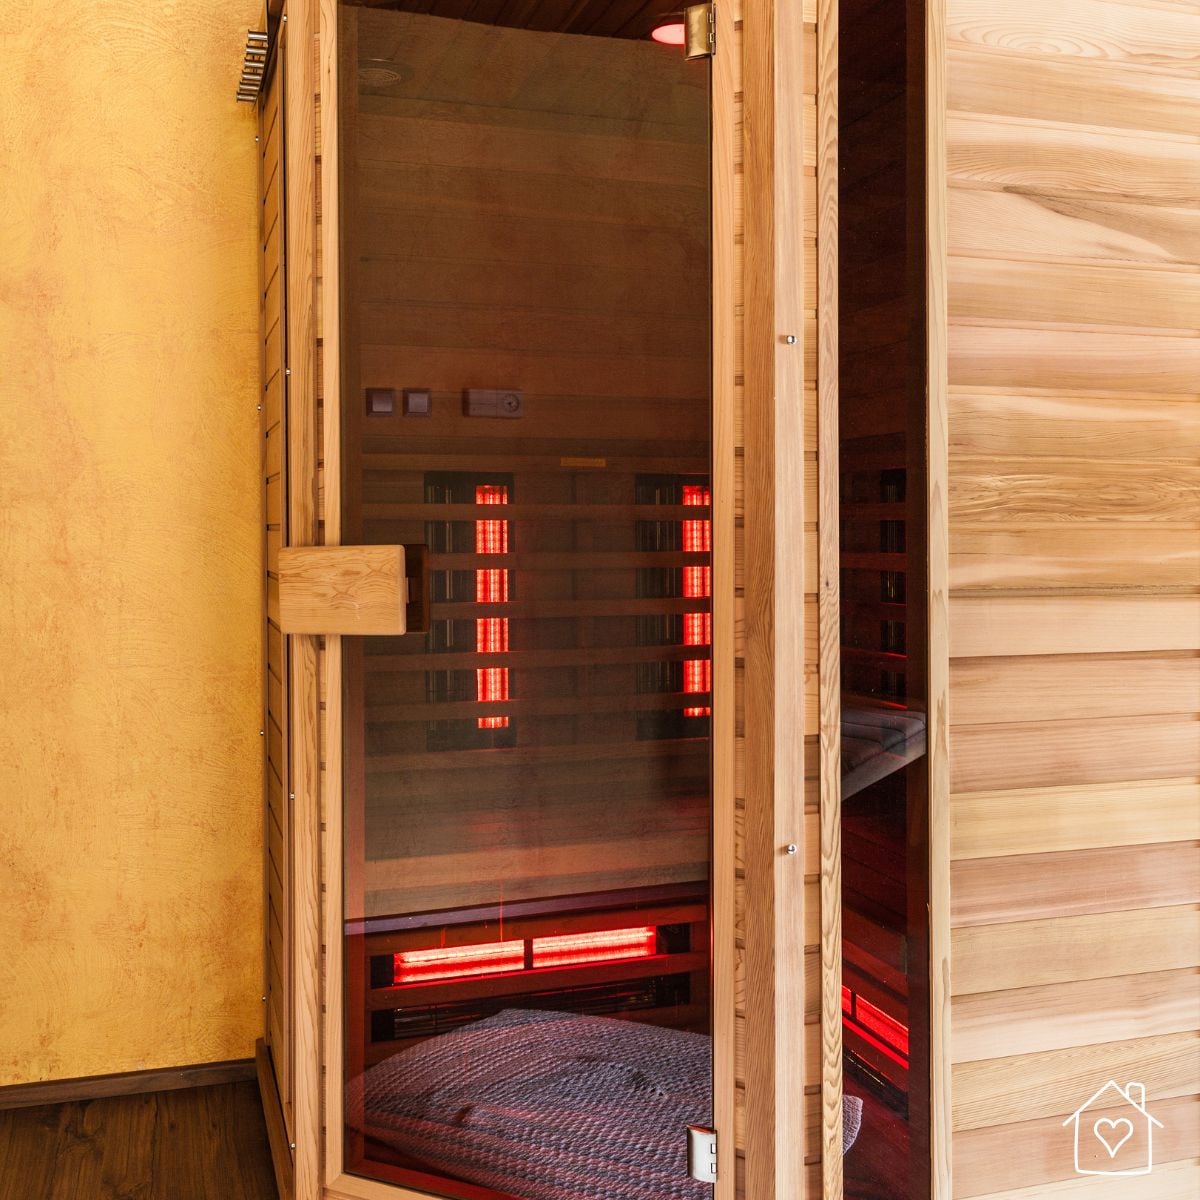
Infrared saunas warm your body directly with light waves (near-, mid-, or far-infrared, or all three in full-spectrum units) instead of heating the air in the room first. They top out around 170°F, compared to as high as 220°F in a traditional sauna. Dermatologist Dr. Viktoryia Kazlouskaya notes that infrared rays reach deeper into the skin, which may help your muscles relax.
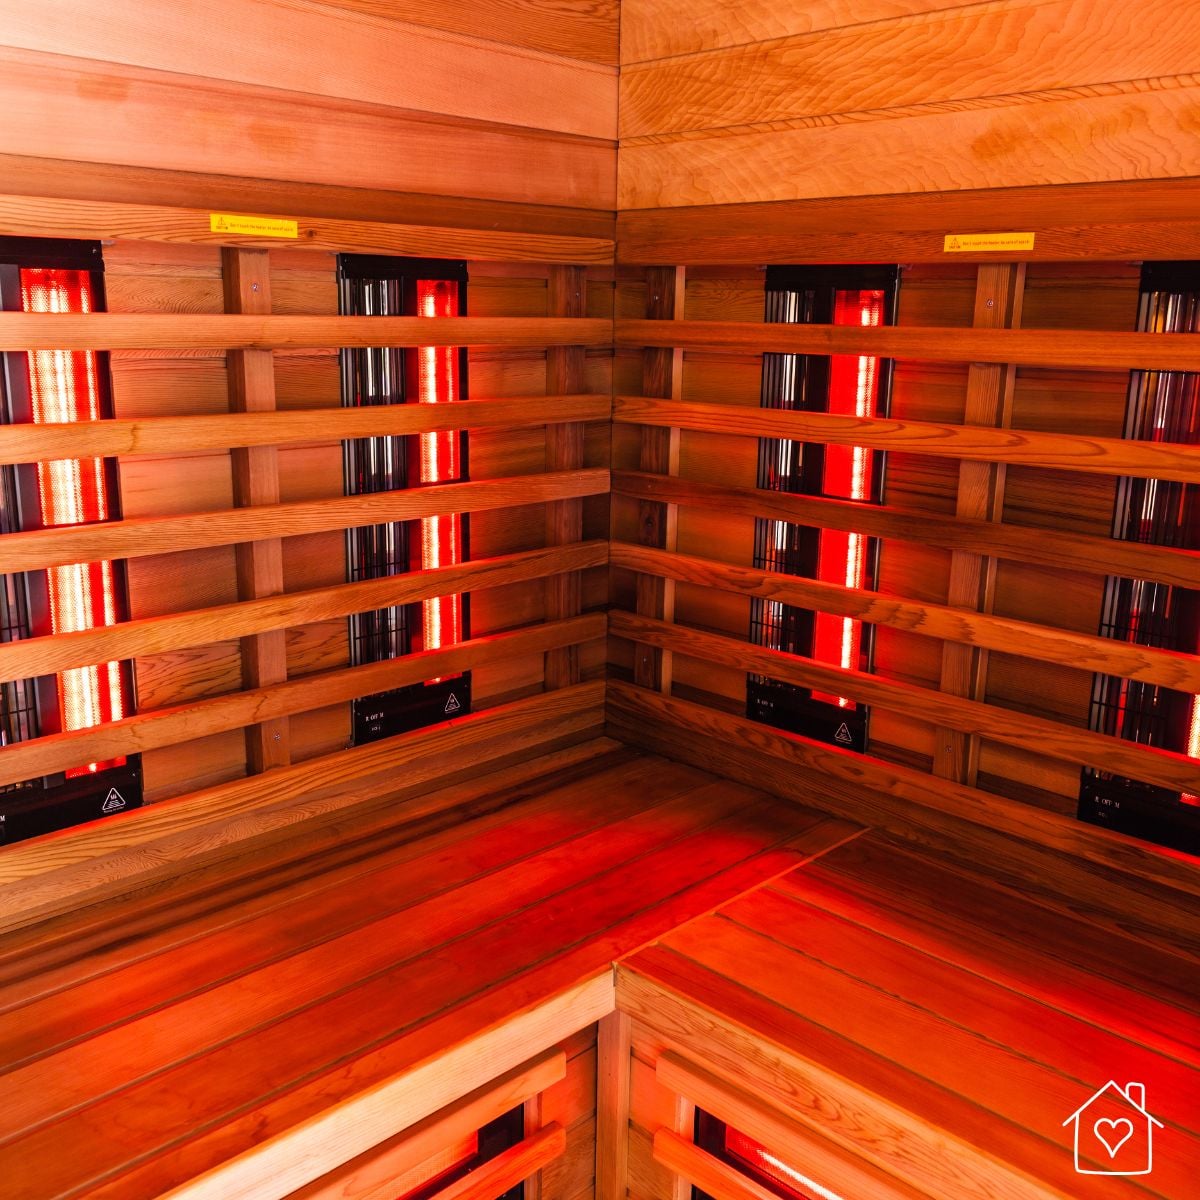
Two saunas can both read 150°F on the control panel and feel completely different once you're sitting in them. Some leave your legs cold while your upper body overheats. Whatever you're hoping to get out of a session depends on how much infrared heat actually reaches your body, so heater placement and surface area matter far more than the air temperature reading on the panel.
Your three realistic paths to a home infrared sauna
Store-bought infrared saunas usually run $2,500 to $7,000 or more, which is exactly why so many of us start poking around DIY options. Path one is a sub-$400 near-infrared bulb-and-tent build. People like it for its low electromagnetic fields and because it doesn't heat up the whole house, and all it needs is a regular extension cord and some simple assembly.
Path two is a custom build like SaunaCloud's, with a planned layout and supplied components for your contractor to install. Pre-cut kits from Finnleo are another reference point for this approach. Path three is a prefab cabin that shows up ready to bolt together once you've finished the site prep and electrical work.
The sub-$400 near-infrared tent build
Yes, you can build a usable near-infrared sauna at home for under $400. It's a good fit if you want a low-cost, low-EMF setup for a spare room or a rental. The trade-off is that you give up the full-body surround heat and permanent wood cabin of a full-spectrum unit and get directional lamp heat inside a fabric enclosure.
What the $400 build requires
The whole shopping list comes in under $400 with basic hardware: one canvas tent, four near-infrared bulbs, four clamps, and one wooden shoe rack. Inside the tent, you'll want a wooden stool, a towel, a head cap, eye-protection goggles, and a heavy-duty extension cord.
Assembling the tent sauna step by step
Before you touch a single pipe, measure your final floor spot and check the door swing. In a documented DIY build by Fully Marissa, a guest bathroom door swing hit the frame and forced a complete teardown and rebuild (nobody wants to build the thing twice...). With your spot cleared, here are the four steps:
- Build the tent frame: lay out the pipes, connect the joints, attach the Velcro bottom sheet, drape the canvas cover (grab a second person for this part), and zip it shut.
- Put the wooden shoe rack together by screwing the rungs into both side frames and latching the top half.
- Clamp all four light fixtures onto the wooden rack.
- Pull off the rubber clamp covers, screw in the four bulbs, and pop the covers back on. Angle the bulbs toward where you'll sit, set your stool and towel inside, and plug everything into your extension cord.
A quick fire safety note
Four heat bulbs inside a fabric tent deserve real respect. Keep every bulb and clamp fixture several inches away from the canvas, your towel, and the stool, and check the clamps before each session so nothing can tip toward the fabric. Make sure the clamp fixtures are rated for the bulbs you're using, then add up the wattage on all four bulbs and confirm your extension cord is rated above that total. Plug the cord straight into a wall outlet (no power strips, no second extension cord), never run the setup while you're asleep or out of the room, and unplug it every single time you're done. A working smoke detector nearby is cheap peace of mind.
What a bulb build can't do
Most first-time builders get the rack and clamps together in minutes, then sit down and realize bulb angles and goggles matter a lot more than they expected. People like these near-infrared tents as a wind-down after a workout or before bed, and they don't warm up the rest of the room... but four bulbs on a rack can't give you the even, head-to-toe heat of a permanent wood cabin.
What a pre-cut custom kit includes
An infrared sauna kit gives you pre-cut lumber, heating panels, and controls so you can skip the millwork, though you'll still need to arrange the wall framing and electrical rough-in. Most DIY sauna builders pick one of two methods: bolting together a modular prefab cabin on a dry, level hard floor (tile, wood, or concrete), or framing a custom insulated room from scratch. SaunaCloud bridges those two approaches with plans and components tailored to your room, plus installation support.
What comes in the crate
SaunaCloud supplies cut-to-spec wood, VantaWave heaters, CORE 5 power and controls, hardware, and plans. Your trades provide the structure, glass, and installation. For comparison, the Finnleo kit below includes a pre-hung door. Use it as a reference checklist, since what's in the box differs by manufacturer.
| Project Component | Included in Finnleo Kit | Provided by Homeowner or Installer |
| Pre-cut tongue-and-groove wall and ceiling boards (Nordic White Spruce, Hemlock, or Cedar) | Yes | No |
| Custom-sized infrared heating panel kit and SaunaLogic2-IS Wi-Fi control | Yes | No |
| Pre-built benches, pre-hung door with handle, and entry duckboard | Yes | No |
| Foil vapor barrier, interior molding/trim, vent valve with grills, and RGBW ceiling puck lights | Yes | No |
| Optional windows, upper bench skirts, Bluetooth soundbar, or hybrid traditional Finnish heater with guard, bucket, and ladle | Partial (optional upgrades) | No |
| Framed stud walls, insulation, electrical rough-in, and physical installation | No | Yes (dealer can often provide install crew) |
If you were buying an electric sauna heater on its own instead of inside a kit, the heater alone would run about $600 for a basic model to $2,000 for a premium unit with digital controls.
From measurements to an installation plan
Before anything gets cut or shipped, lock in your room measurements, bench layout, and door position. SaunaCloud offers 3D renderings and a proposal, and the assembly manuals and electrical drawings follow once you order. Go over the plan with your contractor and electrician before you start prepping the space. Finnleo uses a dealer-led process with a CAD drawing that you and the installation team approve before anything is manufactured.
Buying prefab when a standard cabin fits
Once the site prep and electrical wiring are done, a two-person crew can assemble a prefab two-person infrared sauna in roughly two hours. Framing and cladding a stick-built sauna takes days. In a Family Handyman review updated on September 14, 2026, Nancy Snyder timed the third-party crew putting together her Sun Home Saunas Luminar Outdoor Two-Person Sauna right at that two-hour mark.
That two-person cabin measures 57 inches wide by 51.5 inches deep by 82.7 inches high, with an aluminum exterior and a cedar interior. Those fixed dimensions are the part worth paying attention to. Before you choose prefab, check whether a standard footprint actually works with your room, your doorway, and the way you like to sit.
If the standard sizes leave you compromising on the layout, price out a custom design alongside them. Either route still leaves site prep, electrical work, and installation to account for.
The electrical reality check before you build
Your electrical needs depend completely on which sauna path you pick. Full-size cabins require a dedicated circuit wired by a licensed electrician, while a sub-$400 near-infrared bulb tent plugs into a standard wall outlet with an extension cord. A cabin like the Luminar 2-Person, for example, needs a dedicated 240-volt, 20-amp GFCI circuit (a ground-fault circuit interrupter, which cuts power immediately if it senses a current leak).
In the Family Handyman install, having a licensed electrician run that 240V/20A GFCI wiring cost about $1,350 for parts and labor. Hiring the third-party crew, Pure Install, added another $1,100 to $1,300. It's painfully easy to budget for the wooden box and only notice the electrical specs right before delivery... the installers even mentioned they rarely see a cabin powered up on install day, because homeowners almost never have the wiring ready in time. And if the breaker box in your garage or basement is already full, having an electrician put in a whole new electrical panel is roughly a $3,000 job. That alone makes a plug-in tent a lot friendlier for renters and apartment dwellers.
Judge heat delivery, not the panel temperature
When you're comparing infrared sauna heaters to buy or build around, look at heater placement, panel surface area, and distance to your body before you look at the air temperature on the control panel. As sauna reviewer Matt Justice points out across his testing catalog, two cabins can both read 150°F on the display and feel completely different to your body.
A poorly designed layout can leave your upper body hot while your legs stay cold. Look at where the heaters sit relative to the benches and the people using them. SaunaCloud's build guide makes heater proximity and coverage central to planning, and it's a good question to bring to any supplier: can they show you where the heat reaches your back, sides, and legs in the exact layout you're ordering?
EMF and material safety for DIY builders
Cheap DIY and budget infrared saunas are a much safer bet when you keep adhesives and foam away from the heat and check electromagnetic fields (EMF, the invisible electric and magnetic fields given off by wiring and heaters) on your own. The infrared sauna industry is largely unregulated, so it's on you to look hard at the materials yourself and not coast on marketing labels.
When you check EMF, measure magnetic fields and electric fields separately. One combined number doesn't tell you what's actually going on, and some cheap pocket EMF meters don't register at all. Manufacturers have brought EMF levels down over the last five years with better shielding, and some builders add a grounding board (on top of a grounding cable) to keep their body from collecting electric fields near an emitter. Independent testing and community verification still beat a company's lab report on a single disassembled part, and near-infrared bulb setups start out lower in EMF anyway.
For off-gassing (when heated materials release chemical fumes into the air you're breathing), watch out for glues and foams. Double-contact adhesive behind the felt on metal heater guards and formaldehyde-based enclosure glues can off-gas when they get hot, and neoprene foam guards in portable saunas off-gas heavily. Never mount adhesives directly in front of your heaters.
The real cost ladder from a tent to a custom room
A DIY near-infrared bulb-and-tent setup costs under $400, while a prebuilt infrared sauna cabin runs between $2,500 and $14,599 before electrical and assembly fees. The tent is dramatically cheaper upfront and needs zero electrical upgrades. Prebuilt cabins cost more, and for that money you get permanent cabinetry, full-spectrum surround heaters, and multi-year warranty coverage. Using the September 2026 Family Handyman review figures (prices may vary), a sub-$400 tent build plugs into a wall outlet for $0 in labor, while the two-person prefab example ($10,599 to $11,499) needs roughly $2,450 to $2,650 in combined electrical wiring and professional assembly.
| Sauna Option | Base Equipment Cost | Electrical Work | Pro Installation Labor | Outdoor Rated | Warranty Coverage |
| DIY Near-Infrared Bulb Tent | Under $400 | $0 (uses standard outlet) | $0 (2-person DIY assembly) | No | No |
| SaunaCloud Custom Build | Room-specific quote | Per approved electrical plan | Local contractor quote | Project-specific | Confirm component terms |
| Sun Home Equinox 2-Person | $7,499 | ~$1,350 (if 240V required) | Optional DIY or paid crew | No (indoor only) | Yes (manufacturer terms) |
| Sun Home Luminar 2-Person | $10,599 to $11,499 | ~$1,350 | $1,100 to $1,300 (Pure Install) | Yes | 6 years outdoor / 7 years indoor |
Running costs depend on your sauna's power draw, session length, and your local electricity rate. For a SaunaCloud project, get a room-specific proposal and budget separately for shipping, glass, site preparation, and local trades. A custom room doesn't share the price ceiling of the prefab examples above.
A higher sticker price doesn't automatically buy better heat delivery. Compare the layout, build quality, customer support, and written warranty, along with who handles installation and hauls away the packing materials. Those are the details you'll care about long after the novelty of a new sauna wears off...
Siting your sauna: indoors, outdoors, and delivery day
You can only put an infrared sauna outdoors if it's designed for exterior weather. Indoor-only models have to stay inside your house, and a patio roof alone won't turn an indoor cabin into an outdoor one.
Clearances and base requirements
Whether you're tucking a cabin under a patio roof or into a basement, set it on a level, elevated concrete or wood base that's sheltered from rain and snow. A gazebo or patio cover works nicely as long as the overhang is wide enough. Leave 4 to 6 inches of breathing room around the sides of the cabin and 20 to 24 inches of clearance above the roof.
In the Family Handyman backyard install, the best sheltered patio spot facing the pool ended up blocking a kitchen window, which is a very real compromise when you're working around roof overhangs and outlets. Installers also note that homeowners almost always leave permanent saunas behind when they sell, so if you rent or plan to move soon, stick with a portable or tent setup.
Delivery logistics and long-term weathering
Free shipping on a prefab cabin means curbside drop-off on a massive pallet. Either schedule your install crew for the very next day, or round up some extra hands and a dolly to break down the pallet and wheel the heavy panels somewhere safe.
Owning one outdoors also means keeping up with the cover and weather protection. In the Family Handyman follow-up, the cabin was still working well after nearly two years, but its protective cover had torn at the roof corners. Ask about replacement covers and ongoing maintenance, too, along with the enclosure itself.
Your first session and weekly routine
For your very first infrared session, start at 140°F for 30 minutes, sitting on a towel in a swimsuit or shorts. A common routine is 3-5 times per week once you're used to it. If you're pregnant, take medication, or have a heart condition or any other health concern, check with your doctor before you start. In the Family Handyman test, the reviewer turned her first 30-minute sweat into a backyard spa session with the built-in Bluetooth music and color-changing lights, while one builder of the $400 tent setup immediately started eyeing the backyard swimming pool as a makeshift cold plunge.
Some people like to start their routine before they even step inside, with dry brushing and an Ayurvedic warm-oil massage (called abhyanga), followed by a 15-to-20-minute sweat and a shower right after to rinse the oil off. Whatever your routine looks like, replenish your fluids and electrolytes afterward with coconut water, fruit juice, water with a pinch of salt and honey, bone broth, or an electrolyte drink.
Which path fits your space and your goals
Whether a sub-$400 DIY sauna is worth it over a $7,000-plus prebuilt cabin comes down to your electrical panel, whether you own your home, and whether you want a budget setup or turnkey, full-body heat with a warranty. How much you get out of any sauna depends on how much infrared energy actually reaches your body, and that comes down to your distance from the heaters, your seating position, and the wiring layout. Get those wrong and even a multi-thousand-dollar cabin is just a warm wooden box. So skip the hunt for the single "best" brand online and match the build path to your actual house:
- Build the sub-$400 near-infrared bulb tent if you rent, live in an apartment, want a low-EMF setup that won't heat up your room, or want to skip a $1,350 electrician bill (or a $3,000 breaker panel upgrade).
- Consider a custom SaunaCloud build if you own your home, have an awkward alcove or basement room, and want the sauna planned around that space with your contractor handling installation.
- Buy a prebuilt cabin when a standard size fits, you want minimal carpentry, and you've checked the heater layout, warranty, floor clearances, and electrical requirements. Leave room in the budget for wiring and assembly.
So which way are you leaning... a weekend tent build, a custom room, or a cabin out back?
Frequently Asked Questions
How do you build a DIY infrared sauna at home step by step?
For a sub-$400 tent setup, start by checking your floor space and nearby door swings so you don't end up tearing the frame down later. Then connect the tent pipes and joints, fasten the Velcro bottom sheet, and have a second person help you drape and zip the canvas shell. Next, screw the wooden shoe rack together, clamp four light fixtures onto its rungs, and fit the near-infrared bulbs inside the rubber clamp covers. Aim the bulbs toward your sitting position, keep them clear of the canvas, set a wooden stool and towel inside, and run the power through a heavy-duty extension cord rated for all four bulbs. For a permanent custom room, start with measurements, bench layout, and a confirmed installation plan. SaunaCloud's DIY guide is a helpful starting reference for the work involved. Agree on what the supplier provides and what your contractor has to build before you order, and have your electrician review the electrical requirements.
What electrical requirements does a home infrared sauna need?
A basic sub-$400 near-infrared bulb tent runs on a standard household wall outlet with a heavy-duty extension cord. The two-person prefab example in this article needs a dedicated 240-volt, 20-amp GFCI circuit installed by a licensed electrician, which cost about $1,350 in the cited installation. Other designs and local quotes will differ. If your breaker box is already maxed out, upgrading the whole electrical panel to support a cabin can add roughly $3,000 to your project.
What comes in an infrared sauna kit and what do you still have to build yourself?
A pre-cut kit usually supplies the interior wood, heaters, controls, and bench components. Doors, glass, insulation, and accessories vary by supplier, so ask for an itemized list before you assume everything is in the crate. You or your installer still handle the structural prep, electrical rough-in, and assembly, and the electrical work belongs with a licensed electrician.
Are cheap DIY infrared saunas safe when it comes to EMF and off-gassing?
They can be, if you choose the right materials and test the electronics yourself. Near-infrared bulb tents naturally put out low electromagnetic fields, while panel-based builds should be checked with separate electric and magnetic field readings on a reliable meter (some builders also add a grounding board). To keep chemical fumes from off-gassing as things heat up, keep neoprene foam, formaldehyde-based glues, and double-contact adhesives on felt heater guards away from direct heat. With a bulb tent, keep the bulbs clear of the canvas and never leave it running unattended.
Can you build a usable infrared sauna for under $400?
Yes. You can put together a working near-infrared sauna for under $400 with a canvas tent, a wooden shoe rack, four clamped near-infrared bulbs, and a heavy-duty extension cord. You'll also want a wooden stool, a towel, a head cap, and eye-protection goggles for sitting inside. Four directional bulbs can't match the even, surround heat of a permanent wooden cabin, but this budget build works well for renters and anyone who wants a low-cost way to sweat without warming up the rest of the house.
How long does it take to assemble a two-person infrared sauna?
Once your floor base and electrical wiring are ready, a two-person crew can bolt together a prefab two-person cabin in about two hours. A DIY near-infrared bulb rack and tent goes together in minutes once you clear the floor space. Framing, insulating, and cladding a custom room from scratch takes several days of carpentry.