How Rubber Pool Decking Is Installed: Step-by-Step Process
*This post may contain affiliate links and I'll earn a commission if you shop through them. You can read my full disclosure here.
A pool deck is more than just a walkway around the water - it's the heart of the swimming space. Families gather there to relax, kids race across it with wet feet, and friends lounge in the sun. Because this area sees so much activity, it needs to be safe, durable, and comfortable. Rubber surfacing has become a top choice for pool decks, but many homeowners and facility managers wonder what exactly goes into installing it.
If you're planning to improve your pool area, understanding the installation process will give you a clear picture of what to expect. While the work is best left to professionals, knowing each stage helps you see why rubber is valued for both safety and style.
Preparing the Surface
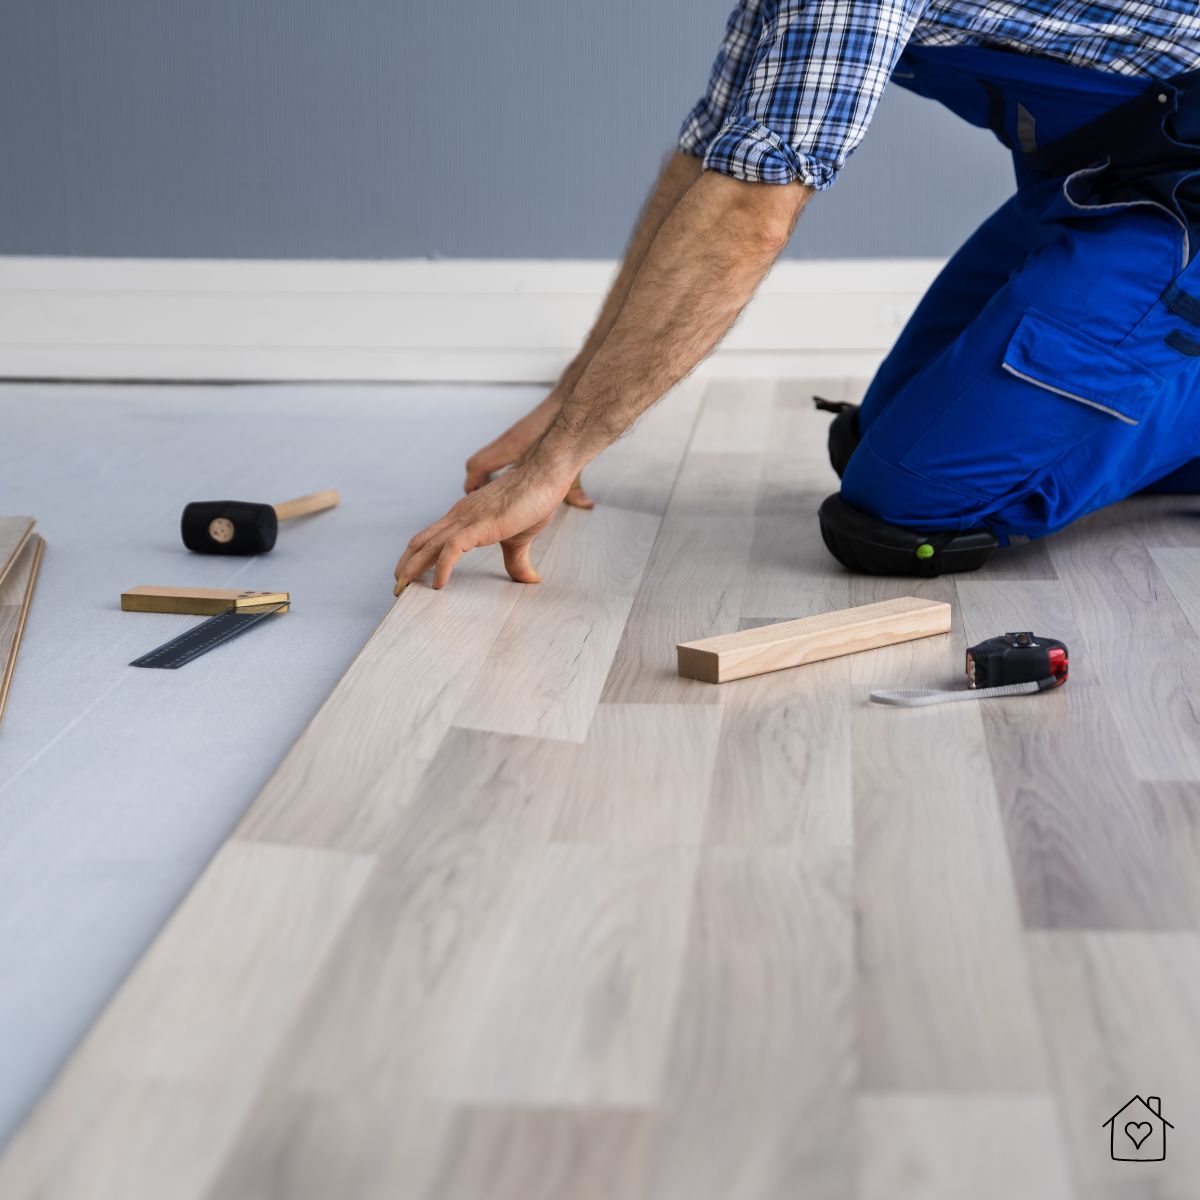
The first step is preparation, and it's one of the most important. A rubber pool deck needs a stable, clean base to bond properly. Typically, this base is concrete or asphalt, though in some cases compacted stone can be used. Any cracks, chips, or uneven spots must be repaired before work begins. Dirt, dust, and debris are cleared away, ensuring the binder can adhere without interference.
Moisture testing may also be done at this stage, since too much trapped water beneath the surface can cause future problems. The idea is to create a smooth, strong foundation so the rubber layer has the best chance to last.
Laying Out the Design
Unlike plain concrete, rubber decking allows for a wide range of colors, blends, and even patterns. Before any material is mixed, installers map out the design. This can include borders around the pool, different shades for seating areas, or playful designs if the pool is part of a family space or community center.
Planning at this stage avoids surprises later. It also ensures the right amount of material is prepared, since thickness can vary depending on whether extra cushioning is required for safety.
Mixing the Rubber and Binder
The actual surfacing begins with a blend of rubber granules and a strong binder. The rubber is often made from recycled material, while the binder is a specialized resin that holds everything together. These are mixed carefully on site, and timing matters - once blended, the mixture begins to cure.
Installers typically work in batches, preparing only as much material as they can spread before it sets. This keeps the surface consistent and prevents weak spots.
Spreading and Leveling
Next comes the hands-on work. The rubber mixture is poured onto the prepared base and spread evenly with trowels or squeegees. The goal is to achieve a smooth, uniform surface with no gaps or air pockets. Installers pay close attention to the edges around the pool and any curves or corners, since these areas can be tricky.
Thickness matters here. For general comfort, a thin layer may be enough, but for areas where falls are more likely, a thicker layer can provide added cushioning. Precision ensures the deck not only looks good but also performs well for safety.
Compacting and Sealing
Once spread, the rubber is compacted to press the granules together and create a solid bond with the base. Specialized rollers or trowels help with this step. Afterward, a sealant is often applied to lock in the surface and protect it from UV rays, pool chemicals, and everyday wear.
The sealant also brings out the colors in the rubber, giving the deck a clean, finished look. Some installations may use multiple coats for extra durability, especially in commercial or high-traffic pool areas.
Curing Time
Just like concrete needs time to set, rubber surfacing needs curing. The deck is left undisturbed for at least 24-48 hours, depending on the product and weather conditions. During this time, the binder hardens and the surface stabilizes. Walking on it too soon could cause marks or weaken the finish, so patience is key.
Once cured, the deck is ready for use - soft underfoot, slip resistant, and comfortable even on hot days.
Adding Final Touches
The installation process doesn't always end with the curing stage. Some projects include extra details like decorative borders, custom graphics, or drainage adjustments. Lighting around the pool may also be considered during this time, making sure the new surface works seamlessly with the overall design.
Final inspections are done to check for any uneven spots, surface imperfections, or areas that may need touch-ups. A well-installed rubber deck should feel smooth, even, and inviting.
Maintenance After Installation
One of the benefits of rubber decking is its low maintenance, but some care is still recommended. After installation, pool owners should get clear guidance on how to clean and maintain the surface. Usually, it comes down to rinsing with a hose, using a mild detergent if needed, and avoiding harsh chemicals that could damage the binder.
Resealing may be recommended every few years, depending on exposure and usage. This keeps the surface looking fresh and helps extend its lifespan.
Why Professional Installation Matters
Though the steps may sound straightforward, installing rubber surfacing is a skill. The timing of mixing, the consistency of spreading, and the precision of sealing all play a role in the finished product. Amateur attempts often result in uneven surfaces, weak bonding, or premature wear.
Professional installers bring experience, the right tools, and an understanding of how temperature and humidity affect curing. Their work ensures that the investment in rubber decking pays off with years of safe, attractive use.
Common Challenges During Installation
Even with a solid plan, challenges can arise. Uneven base surfaces, unexpected weather, or design changes midway can slow progress. Professionals know how to adapt, whether by adjusting the mixture, preparing additional base work, or altering timelines.
Weather in particular plays a big role. Rubber installation requires dry conditions and moderate temperatures for the binder to cure correctly. This is why scheduling matters, and why some projects are best tackled in spring or early summer.
Benefits You Notice Immediately
Once installed, the advantages of rubber pool decking show up right away. Walking barefoot feels softer, slipping hazards are reduced, and the deck doesn't roast your feet under the sun. The design also stands out - bright, clean, and often more inviting than plain concrete.
Families appreciate the peace of mind, while facility managers notice fewer repairs and easier upkeep. It's a transformation that goes beyond looks, changing how people actually use and enjoy the pool area.
Long-Term Payoff
Over time, the value of rubber decking continues to show. Unlike wood that warps or stone that stains, rubber resists many of the problems common around pools. With proper maintenance, it can last for years without major repairs. This longevity helps offset the initial installation cost and makes it an economical choice in the long run.
Conclusion
Installing rubber pool decking is a detailed process that combines careful preparation, skilled application, and patience during curing. From repairing the base surface to spreading and sealing the final layer, each step contributes to a deck that is safer, more comfortable, and visually appealing.
For anyone considering this upgrade, knowing how the process unfolds can remove uncertainty and highlight the value of choosing professionals. After all, the right installation ensures that your deck not only looks good on day one but continues to perform season after season. And when it comes to dependable results, experienced Safestep installers can make all the difference.