How to Upgrade Your Drawers With Dovetail Drawer Boxes
My dad's father was a gunsmith, a carpenter, a custom furniture maker and a policeman (and that's just a few of his many trades). Growing up, we had a puzzle table he built, and it was beautiful. There was no visible way to open any of the drawers....and that was part of the puzzle.
I don't have that table, but I do have one dresser that Grandpap built. It's oak, ridiculously heavy and an absolute work of art. Because of Grandpap and the furniture he built, I know what a dovetail joint is, and I have a real appreciation for true craftsmanship. It also means I notice drawers (probably more than most people do!).
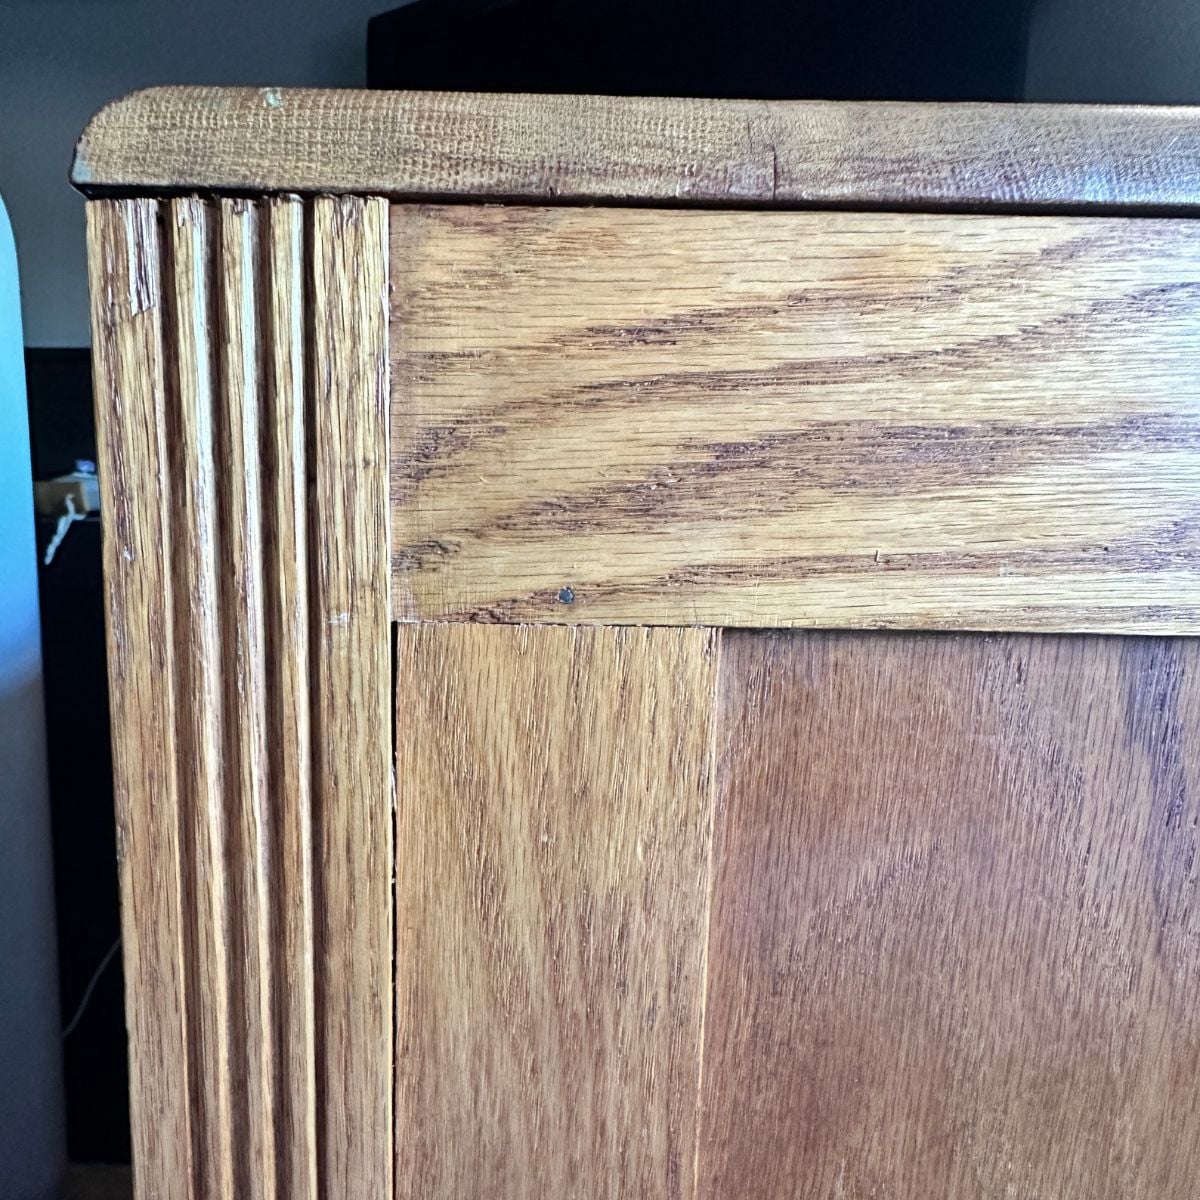
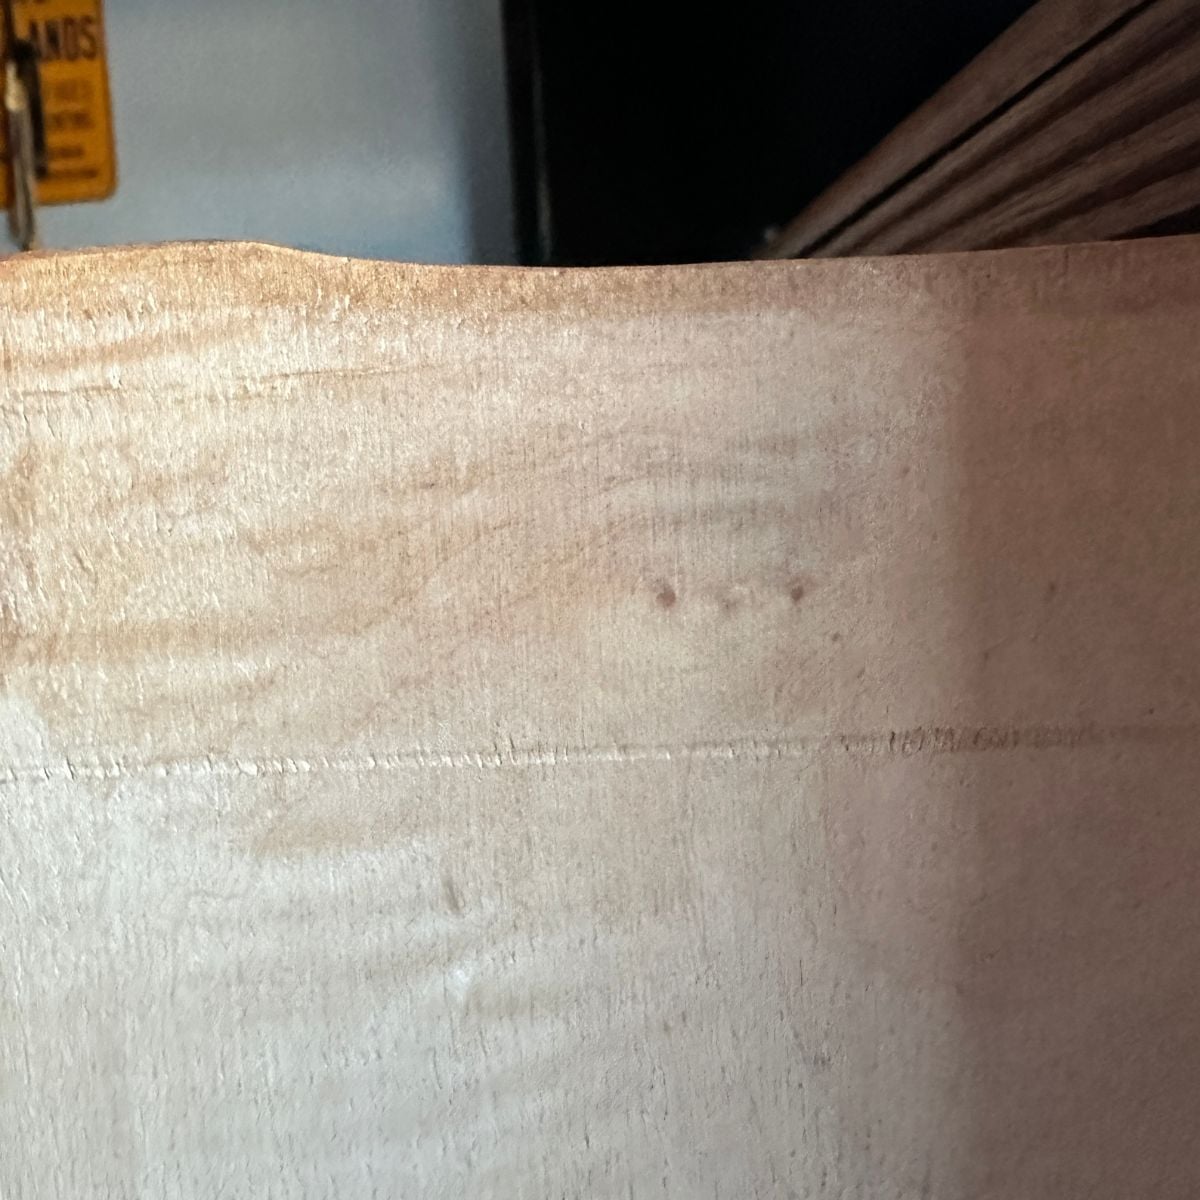
Think about how often you open a drawer in a day. Spoons in the morning, dish towels at lunch, the good scissors at night. After years of that kind of daily use, a lot of drawers start to sag, stick or come apart at the corners, and a cabinet that otherwise looks fine starts to feel worn out.
Replacing just the drawer boxes is one of the most satisfying fixes you can make in a kitchen, bathroom vanity or dresser. It costs far less than new cabinetry, and you'll notice the difference every single day. Below, I'll walk you through what makes a drawer last, how to judge quality, and how to measure, choose and install new boxes.
From time to time, articles on The How-To Home may reference third-party websites, businesses, products, services, or review platforms as part of editorial research. When evaluating companies or services, we may consider publicly available information such as customer reviews, business websites, service offerings, licensing information when available, and overall relevance to the topic.
What Makes a Drawer Fall Apart
Most drawers that fail were built with shortcuts. A lot of older and budget drawers use stapled or glued butt joints, where the front and sides simply meet at a flat corner. Every time that drawer gets yanked open, the weight of pots, pans and canned goods pulls on those corners, and little by little the joint works loose.
Thin bottoms are the other common problem. A bottom made from a flimsy sheet of hardboard can bow under a heavy load, pop out of its groove or crack where it meets the sides. Once that happens, glue and a few nails rarely hold it together for long.
Why Dovetail Joinery Holds Up
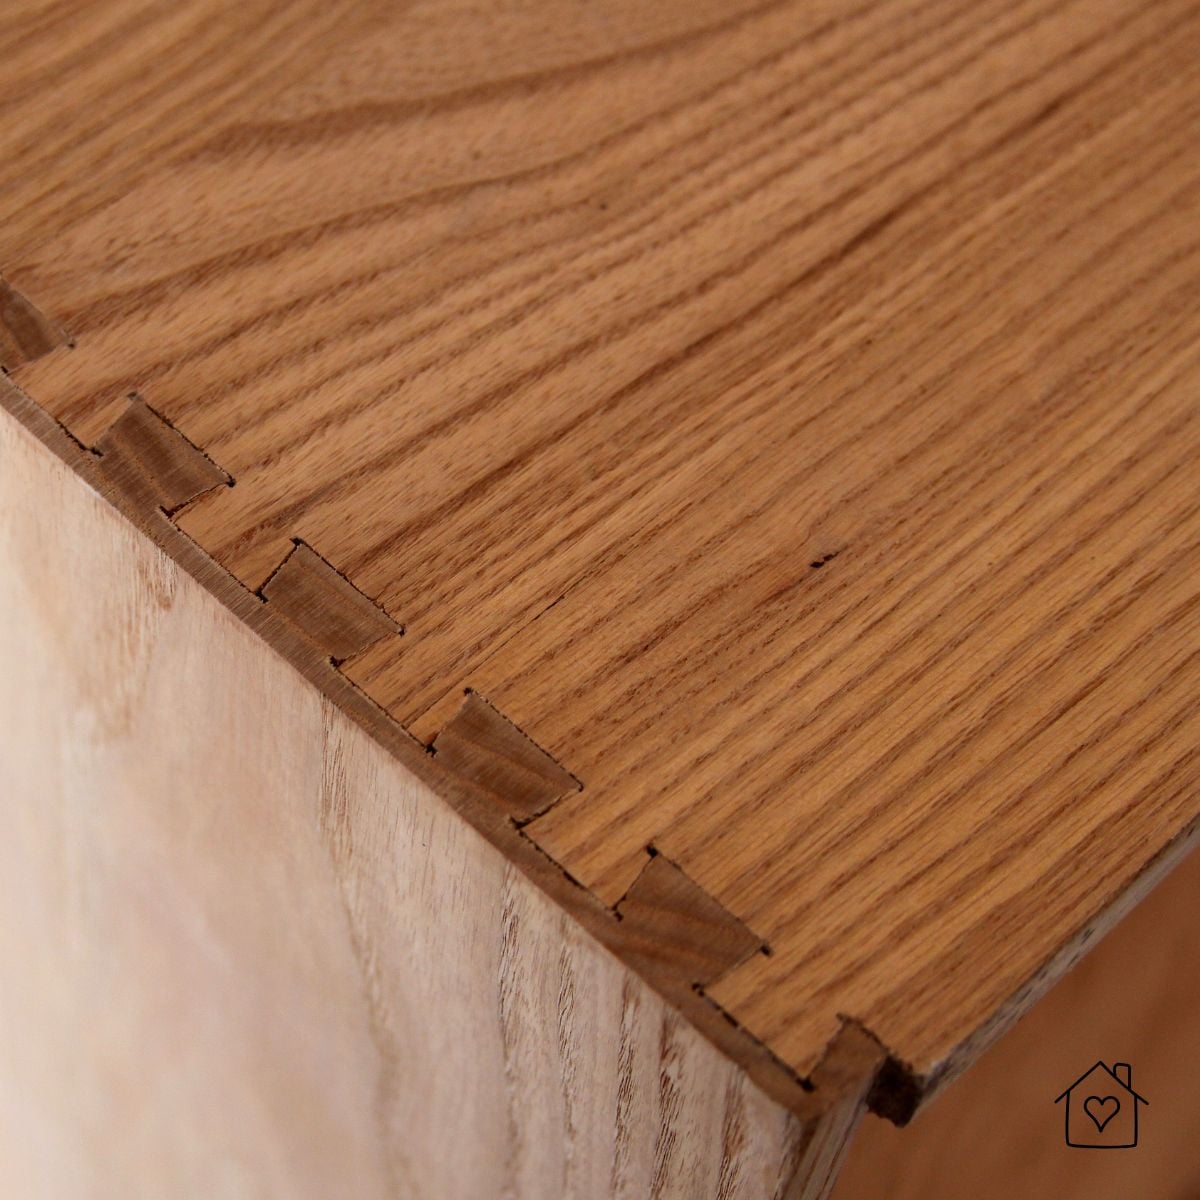
A dovetail joint links the front and sides with a row of interlocking, wedge-shaped pins and tails. Because the pieces lock together mechanically, the joint resists the pull that comes with opening a drawer over and over again. Glue still helps, but the shape of the joint does most of the work.
Woodworkers have trusted this joint on drawers for generations (Grandpap included!), and it's still the standard for quality furniture and cabinetry. A half-blind dovetail hides the joint from the front, so the drawer face looks clean while the sides show that familiar pattern when you pull it open.
How to Spot a Well-Made Drawer Box
Start by pulling out a drawer and looking at the corners. Tight dovetails with no gaps or filler are a good sign. Then check the sides. Solid hardwood sides around half an inch thick feel sturdy in your hand, while thin particleboard sides tend to chip and flex. Finally, press down on the bottom from inside the drawer. It should feel firm, with no bounce or creak, and it should sit snugly in a groove cut into all four sides instead of being stapled to the underside.
If you want to see what a quality box looks like, the dovetail drawers from Eagle Woodworking are a useful reference. The company makes half-blind dovetail drawers at its shop in Methuen, Massachusetts, cutting the joints by CNC and assembling each box by hand. The bottoms are cabinet-grade plywood, set in a groove half an inch up from the bottom edge of the sides, and each drawer gets two hand-applied coats of clear pre-catalyzed lacquer unless you ask for it unfinished.
The finish deserves a close look on any drawer you're considering. A smooth, sealed surface wipes clean and stands up to the spills that happen in kitchen and bathroom drawers (and they will happen!). Run a finger along the top edges too. Well-sanded edges feel soft and rounded instead of sharp or splintery.
Measuring for Replacement Drawer Boxes
Good measurements are the heart of this project, so take your time here. Measure the interior space where the drawer will sit, not the outside of the cabinet opening, and leave room for the drawer slides you plan to use. Every slide maker lists the clearance its slides need, so look that up before you settle on a final width.
Take three numbers for each drawer: the width between the cabinet sides, the depth from the face frame to the back wall, and the height you have to work with. Jot them on a sketch that shows each drawer's position so nothing gets mixed up. If a sink drain or water line runs through the cabinet, measure around it carefully. Eagle can build U-shaped boxes that wrap around plumbing, which is so handy under a bathroom or kitchen sink.
Eagle builds drawers from 2 to 12 inches high and from 4 to 72 inches wide or deep, in sixteenth-of-an-inch steps. The company also has a quick drawer measuring calculator and full measuring instructions on its site, and they're worth reading even if you've measured for cabinets before.
Choosing Wood and Drawer Slides
Maple is a favorite for drawer boxes because it's hard, light in color and takes a clear finish beautifully. Walnut brings a rich, dark tone that looks lovely in a dresser or a special pantry drawer. White oak has a warm grain with plenty of strength (Grandpap's dresser is oak, so I may be a little biased....). Eagle keeps maple, walnut and white oak in stock and offers Baltic birch plywood, hard maple, cherry and red oak on request.
Slides matter just as much as the box. Undermount slides hide beneath the drawer and usually give you a smooth, soft-closing action, but the drawer back needs a notch to fit them. Side-mount slides attach to the drawer sides, cost less and need no notch, though you lose a little interior width. Eagle notches drawers for undermount slides and leaves side-mount drawers unnotched, and it sells Blum and Accuride slides if you'd rather order everything together.
Installing Your New Drawers
Start by removing the old drawers and slides and giving the inside of the cabinet a good
Next, attach the drawer front to the new box. A lot of people reuse their existing fronts, which keeps the outside of the cabinet looking the same while the inside gets the upgrade. Clamp the front in place, check that it's centered, then drive screws from inside the box. Pick screws short enough that they won't poke through the face, and drill small pilot holes first so the hardwood doesn't split.
Slide the drawer onto its runners and test it a few times. Most slides have small adjustment screws for height and side-to-side position, so fine-tune until the drawer glides smoothly and the fronts line up. If you're planning a larger kitchen update at the same time, the National Kitchen and Bath Association shares design guidance and can help you find certified professionals for the bigger parts of the job.
New dovetail drawers are a quiet upgrade, but they change how a room feels to use. Measure carefully, pick a wood and slide that suit the way you live, and take your time with the install. Every time a drawer glides open, you'll be glad you did. Do you have a piece of furniture in your family that was built to last? I would love to hear about it!