Snowflake and Reindeer Christmas Banner with the Cricut
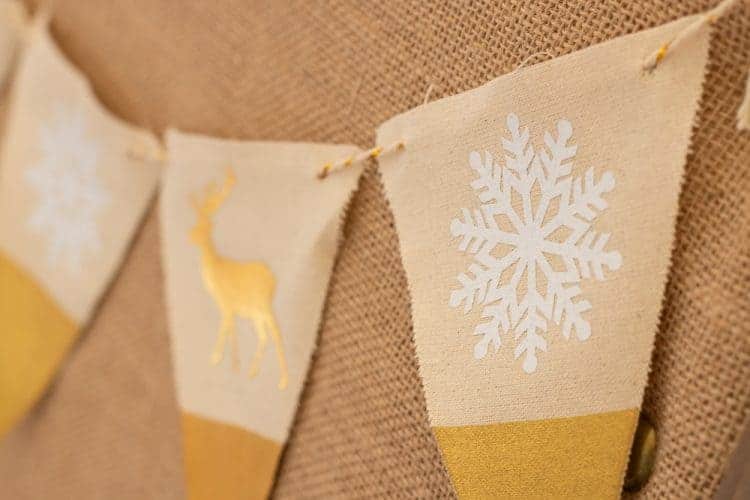
Easy to make glam gold Christmas banner made with the Cricut

It's so easy to pretty up your house for the holidays and this year, I'm dedicating a small tree (not too big of a commitment!) to gold and creamy white décor and this glam gold snowflake and reindeer Christmas banner will be perfect for either the tree or somewhere else in the dining room. I'm using my Cricut for this project and if you scroll to the bottom of this post, you will see lots of other Cricut Holiday Inspiration!
*This post may contain affiliate links and I’ll earn a commission if you shop through them. You can read my full disclosure here.
If you're looking to elevate your holiday décor with a personal touch, consider creating custom banners tailored to your theme. These banners can be designed to match any style or color scheme, making them perfect for everything from Christmas trees to festive mantle displays. Whether you're crafting your own with a Cricut or ordering pre-made designs of Christmas street pole banners, custom banners are a versatile and eye-catching way to add a unique touch to your holiday celebrations.

Supplies Needed to Make this Gold Christmas Banner
- Package of precut banner shapes - I found mine at Michael's for 70% off because it was a fall banner
- Iron-On Material - Gold or color of your choice
- Cricut Machine
- Weeding tools (not necessary but they help!)
- Cut Files (snowflakes, reindeer, reindeer and snowflakes -- click on each individual file to access them in Cricut Design Space)
Directions:

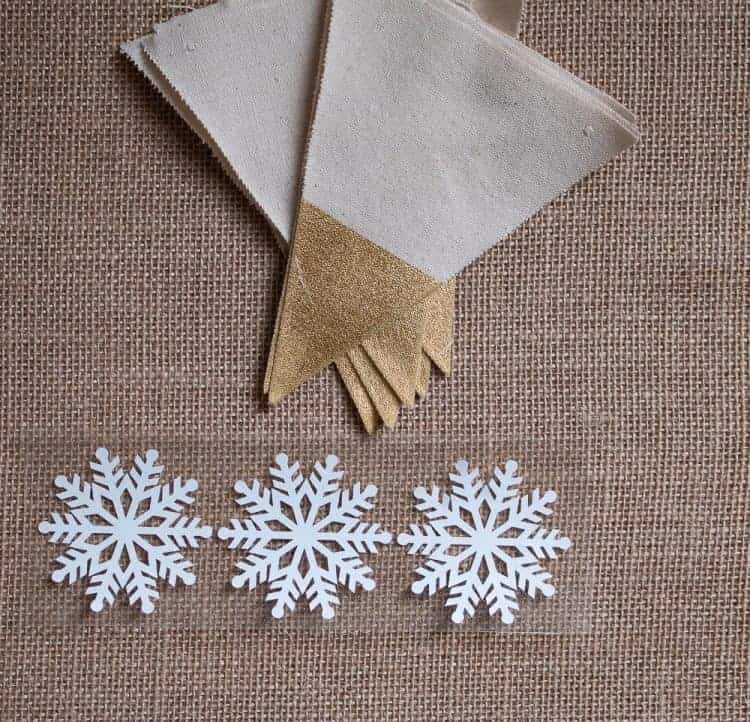
Click the above links of your choice to access the files you want and then and cut from the iron-on material. If you need to make any sizing changes, be sure to do it before you cut. I went with approximately a 2-inch x 2-inch design to fit my banners.


Place the material shiny side down (I can't tell you how many times I've messed this up!) on the mat and cut.
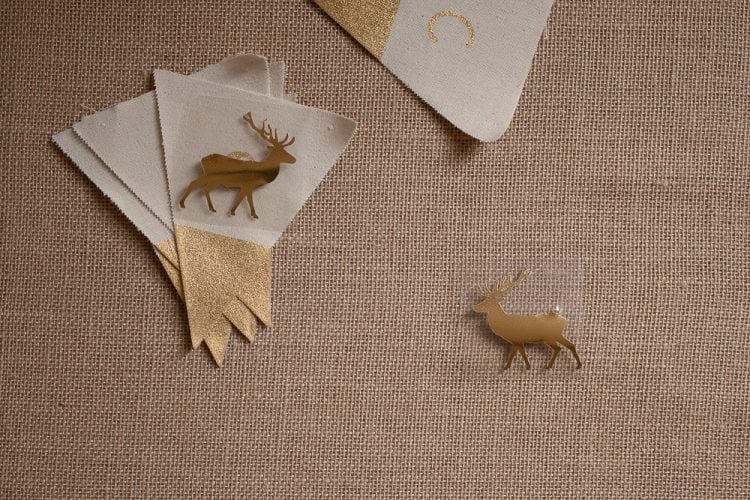
Weed out what you don't need. Cut around each snowflake and deer - this makes the entire process so much easier to handle plus, you'll need to do this before ironing on anyway, so it makes sense to do it now.

Center the snowflakes and deer on each banner and iron on following the directions on the Cricut website.

Once complete add the string to your banner and hang wherever you want some Christmas cheer!
For more Cricut machine holiday inspiration, check out the links below the images.


Love the foil with the rustic banner.