How to Remove Backgrounds from Product Photos for Free with Designkit
I remember way back when I'd try to remove things from a picture to get just the right look. It was so hard, and it took forever! Now you can do it in a few clicks, and the results are nothing short of amazing. Easy and quick.... my favorite kind of project.
Have you ever taken a lovely photo of a lamp or a vase, only to have the cluttered shelf or kitchen counter steal the spotlight? I sure have!
From time to time, articles on The How-To Home may reference third-party websites, businesses, products, services, or review platforms as part of editorial research. When evaluating companies or services, we may consider publicly available information such as customer reviews, business websites, service offerings, licensing information when available, and overall relevance to the topic.
A clean background is a big help if you're selling old furniture, running an Etsy shop, or just want to show off a room refresh. I tested Designkit on five home decor items I had sitting around the house to see if I could get each one onto a blank background, all for free.
No Photoshop and no design experience. Just a few photos and a little curiosity....
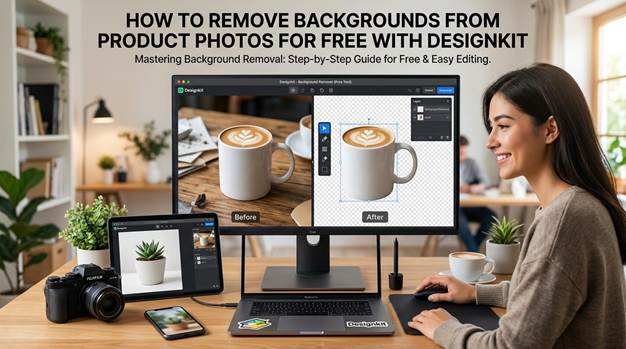
Is Your Background Ruining Your Home Decor Photos?
Picture a pretty vase on a cluttered countertop, or tucked behind a stack of other things. Same goes for a lamp, a mug, a pillow, or any other piece of decor. So often, the background grabs more attention than the item you actually wanted people to see.
It matters most when you're selling last year's decor online, sharing a room makeover, or posting photos on your decor blog.
You want people looking at your decor. The laundry basket can stay our little secret.
Fixing that used to mean opening Photoshop and tracing around everything with the lasso tool. Thankfully, there's a shortcut for that now.
What You'll Need for This Project
You don't need much to get started:
- A few decor photos: Grab pictures of lamps, mugs, vases, or anything else you want to clean up.
- Designkit's free background remover: It opens right in your browser, so there's nothing to download.
- About 10 minutes: That's plenty of time to test a few photos and check the results.
For this project, I tested an online free background remover tool called Designkit that uses AI to remove photo backgrounds in just a few clicks. You can also change the background color, batch process up to 15 photos at a time, and resize images for other digital uses. I tried it on some of my own home decor pieces to see how well it handled the tricky edges.
The Reveal: I Tested Designkit on 5 Home Decor Items
A plain mug is one thing. A lamp with a thin cord or a basket full of tiny holes? That's a whole other story....
I wanted to see how much of each item Designkit kept and how clean the edges came out, so I tried it on five of my home decor favorites.
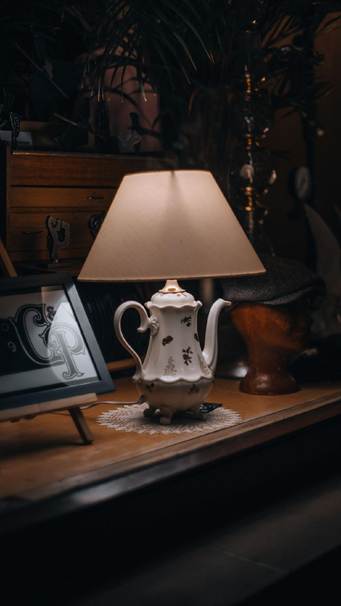
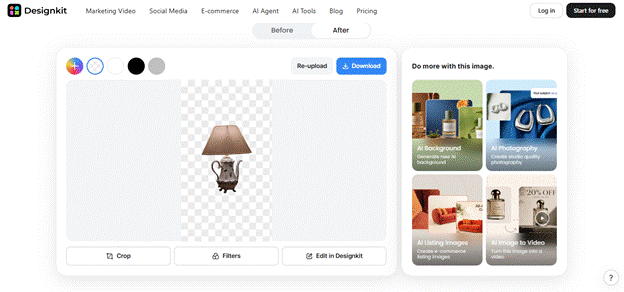
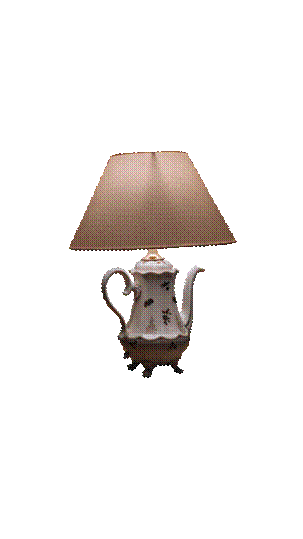
Item 1: A Ceramic Table Lamp
The lamp had three tricky spots: the textured surface, the narrow neck, and the curved shade. Designkit had to separate all three from the background behind them.
Check the texture, make sure the shade doesn't look like it's sagging, and look for even edges along the base. Those little details can make or break the final photo.
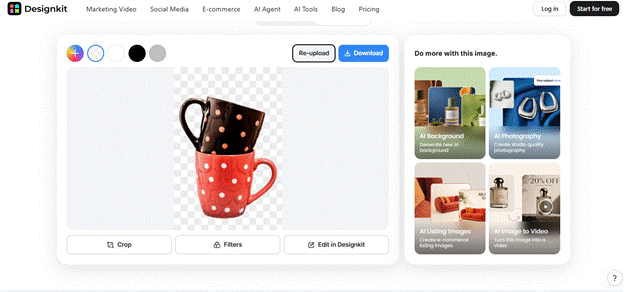
Item 2: A Patterned Coffee Mug
The mug itself was an easy subject. The handle was the real test, because background removers sometimes leave bits of background showing in that open space inside it.
Take a close look at the inside of the handle and the edge around it. A clean cutout keeps the pattern and shape intact, without the handle looking filled in or uneven.


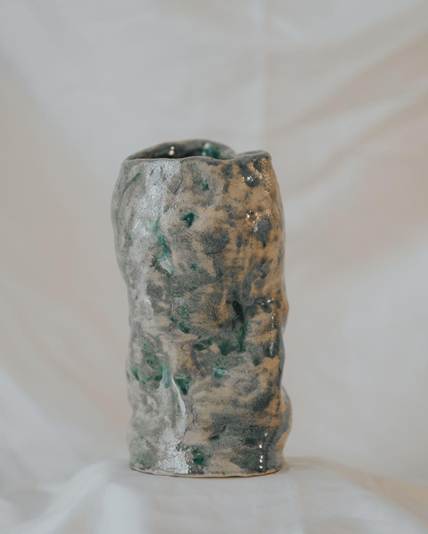
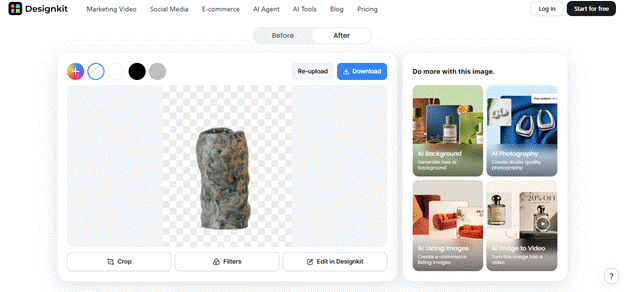
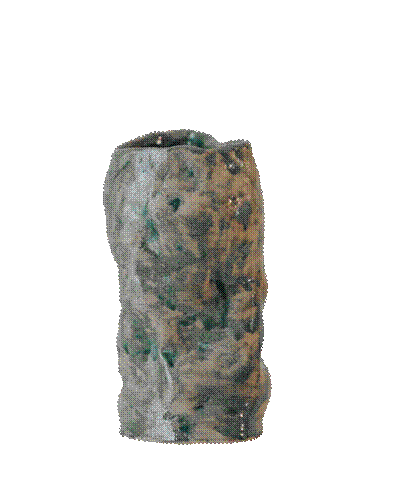
Item 3: A Textured Ceramic Vase
The vase had a different problem. Its textured surface and glossy glaze made the edges harder to tell apart from the background.
Check the rim, sides, and bottom for jagged bits or leftover background. You want the vase to keep its natural surface without a fuzzy outline.
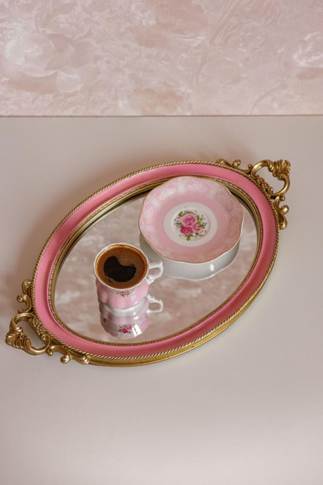
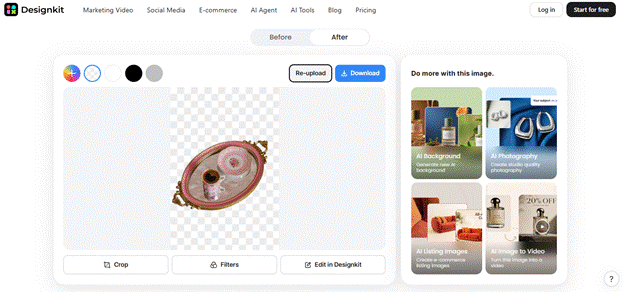
Item 4: A Small Decorative Tray with Handles
The tray's handles made it trickier than a plain plate or bowl. Designkit had to cut out the narrow openings and follow an irregular edge without slicing into the tray itself.
Look at the gaps around the handles. If they're clear and the tray keeps its natural shape, you're good to go.

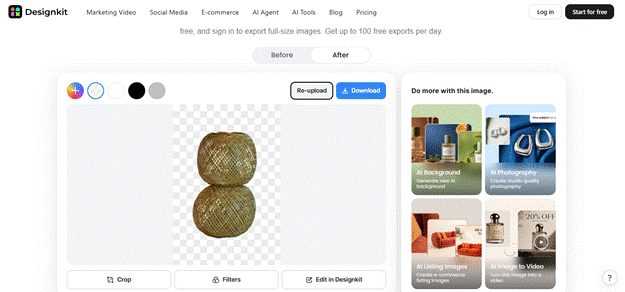
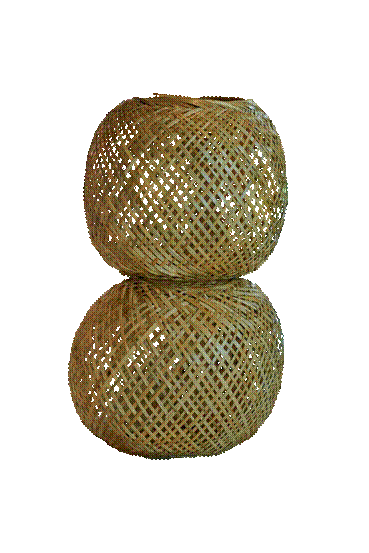
Item 5: A Woven Basket or Textured Decor Piece
This was the hardest test of all five. Woven baskets have tiny holes, loose fibers, and uneven edges that tend to trip up background removal tools.
Check between the woven strands and around the rim. Even when the rest of the cutout looks great, a few tiny spots might need a second look.

A Few Ideas for Cleaner Cutouts
- Pick a contrasting background color. A lamp is a lot easier to isolate on a white table than on a dark one.
- Use good light. Even, bright light shows off the outline of your item, while deep shadows or harsh contrast can make a clean cutout harder to get.
- Check the tricky parts. Before you save the final cutout, zoom in on handles, thin cords, and tiny gaps. Those spots sometimes need a little extra work.
Free Features Worth Knowing About
Here's a quick rundown of the features that come in handy for home decor photos:
- Up to 100 free exports a day: Sign up and you can export full-resolution images, up to 100 free exports a day.
- Batch processing: Remove the background from up to 15 decor photos at once. So handy if you photographed everything on one shelf!
- Free previews: You can preview the cutout before you decide to export. You don't even have to sign up just to upload a photo and see how the background removal turned out.
- Background changes in a few clicks: Keep it transparent, go with white, or pick your favorite color to complement your decor photos.
- Image resizing: Once your photos are done, resize them for an online store or social media using the suggested dimensions, or set your own custom size.
Where It Holds Back
Designkit does its best work on items with crisp edges. Handwoven baskets, lace, fringe, and pieces with lots of tiny holes are worth a close look after it's done.
For blog photos, online listings, and everyday product shots, it's a great shortcut. If you need picture-perfect images for a high-end commercial shoot, though, live-model product photography and hand editing are still the way to go.
The 100 free exports a day is probably plenty for a small collection. If you've got a big batch to get through, you might need to spread it over two days.
Conclusion
If you want cleaner home decor photos, give Designkit a try. You don't have to be a designer or spend a dime to get started. Simple pieces like lamps and vases are the most straightforward, while handles and textured pieces might need a closer look.
Remember how long this used to take? Now it's the easy part. So before you give up on those photos sitting in your camera roll, try removing the background first. It might be exactly what they need to be listing or blog ready. Which piece in your house would you try first?