How to Set Up a Smart Bird Feeder in Your Backyard: Easy Tips for Beginners
*This post may contain affiliate links and I'll earn a commission if you shop through them. You can read my full disclosure here.
Are you ready to turn your backyard into a lively bird sanctuary without spending hours waiting with binoculars? A smart bird feeder with camera makes it possible. These innovative devices combine traditional bird feeding with modern technology, allowing you to watch birds up close, receive instant notifications, and even identify species automatically through your smartphone.
In this comprehensive beginner's guide, we'll show you exactly how to set up this smart bird feeder successfully. Whether you're a complete novice or have some gardening experience, these easy tips will help you attract beautiful birds and enjoy nature like never before.
From time to time, articles on The How-To Home may reference third-party websites, businesses, products, services, or review platforms as part of editorial research. When evaluating companies or services, we may consider publicly available information such as customer reviews, business websites, service offerings, licensing information when available, and overall relevance to the topic.
What Is a Smart Bird Feeder and Why Do You Need One?
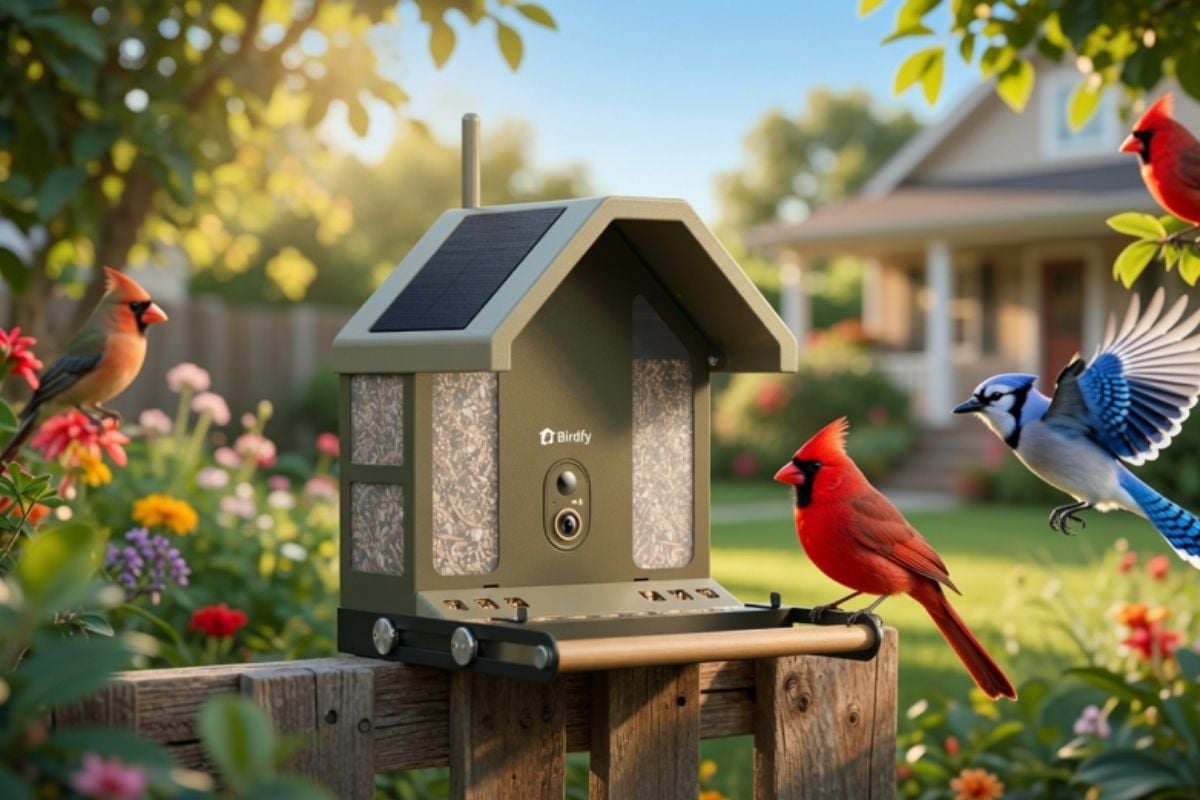
A smart bird feeder is a next-generation bird feeding station equipped with a high-definition camera, motion sensors, solar power options, and AI-powered identification features. Unlike traditional feeders, these devices send real-time alerts to your phone when birds arrive, record stunning photos and videos, and help you learn about different species.
Benefits of using a smart bird feeder with camera include:
- Educational value for kids and adults
- Non-stop entertainment from your couch
- Better bird identification accuracy
- Remote monitoring when you're away from home
- Contribution to citizen science projects
With bird populations facing challenges worldwide, installing one is also a wonderful way to support local wildlife.
Choosing the Best Smart Bird Feeder for Beginners
Selecting the right model is the first crucial step. Look for these key features when shopping:
- Camera Resolution: Minimum 1080p with night vision
- Connectivity: Reliable 2.4GHz Wi-Fi connection
- Power Options: Solar panel + rechargeable battery
- Storage: Cloud storage or SD card support
- Weather Resistance: IP65 or higher rating
- App Quality: User-friendly interface with easy sharing options
Popular beginner-friendly models in 2026 offer excellent value. Compare capacity, ease of
Essential Supplies You'll Need
Before installation, gather these items:
- Smart bird feeder with camera
- High-quality birdseed mix (black oil sunflower seeds, millet, safflower, and nyjer)
- Stable mounting pole (5-6 feet tall recommended)
- Sturdy hook or bracket for hanging
- Fresh water bird bath
- Smartphone with the manufacturer's app
- Basic tools (screwdriver, level, drill if mounting permanently)
Using premium seed is especially important - cheap mixes often contain fillers that birds avoid.
Step-by-Step Guide to Setting Up Your Smart Bird Feeder
Step 1: Unboxing and Initial Setup
Carefully unbox your smart bird feeder. Charge it completely if required, then download the companion app from your app store. Create an account and follow the in-app instructions to connect the device to your home Wi-Fi.
Step 2: Finding the Perfect Location
Position the feeder 6-10 feet away from thick shrubs or fences to keep birds safe from predators like cats. Make sure it's visible from your favorite window but not too close to the house. A mix of sun and shade works best - too much direct sun can spoil the seed quickly.
Step 3: Assembly and Mounting
Assemble the feeder according to the manual. Fill the hopper with fresh seed, leaving some space at the top. Securely mount it on a pole or hang it from a strong branch. Use a level to ensure it's straight. Test the camera angle in the app to get the best view of the feeding tray.
Step 4: Connecting and Testing
Power on the device and test the live camera feed. Adjust settings such as motion sensitivity, notification preferences, and recording quality. Take a test video to ensure everything works smoothly.
Step 5: Attracting Your First Visitors
Birds may take a few days or even 1-2 weeks to discover the new feeder. Be patient. Scatter some seeds on the ground below initially to draw their attention.
Pro Tips to Attract More Birds
- Offer a variety of seeds to appeal to different species
- Add a bird bath or small water feature nearby
- Plant native flowers and shrubs around the area
- Keep the feeding station clean to prevent disease
- Avoid using pesticides in your garden
Common backyard birds you might attract include cardinals, chickadees, finches, blue jays, and woodpeckers, depending on your location.
Maintenance Tips for Long-Term Success
Regular maintenance keeps both birds and your smart bird feeder healthy:
- Refill seed every 3-5 days
- Clean the feeder thoroughly every two weeks with mild soap and water
- Check solar panels for dust or debris
- Update the app and firmware regularly
- Monitor for signs of mold or spoiled seed
During winter, increase feeding frequency as natural food sources become scarce. In summer, ensure plenty of fresh water is available.
Troubleshooting Common Issues
Camera Not Connecting: Double-check Wi-Fi credentials and signal strength. Restart both the feeder and your router.
No Birds Visiting: Try different seed types and be patient. Move the feeder slightly if needed.
Poor Video Quality: Clean the lens regularly and adjust camera angle for better lighting.
Notifications Overload: Fine-tune motion sensitivity in the app settings.
Important Topics to Consider Before Buying
When investing in this smart bird feeder, think about these important topics:
- Budget vs Value - While basic models are affordable, spending a bit more on quality usually pays off with better durability and features.
- Privacy and Security - Choose feeders from reputable brands with strong data encryption.
- Environmental Impact - Solar-powered models reduce electricity usage and support sustainability.
- Community Engagement - Many apps allow sharing sightings with global birding communities.
- Seasonal Considerations - Plan for different weather conditions throughout the year.
Understanding these topics helps you make an informed decision and maximizes your enjoyment.
Frequently Asked Questions (FAQs)
Q1: How much does a smart bird feeder with camera cost?
Beginner-friendly models typically range from $99 to $299, depending on features and brand.
Q2: Do I need a strong Wi-Fi signal?
A stable 2.4GHz Wi-Fi connection is recommended. Most feeders work within 50-100 feet of your router.
Q3: Will smart feeders attract unwanted animals?
Proper placement and regular
Q4: Can I use it in winter?
Yes! Many smart feeders are fully weatherproof and perform well in cold conditions.
Q5: How long does the battery last?
Solar-powered models can run for weeks or months with good sunlight exposure.
Conclusion
Setting up a smart bird feeder with camera in your backyard is one of the most rewarding DIY projects for nature lovers. With the right preparation, proper placement, and regular maintenance, you'll create a thriving bird habitat while enjoying stunning close-up views from your phone.
This smart bird feeder not only brings joy and educational value to your home but also supports local bird populations. Start small, stay consistent, and watch your backyard transform into a beautiful wildlife haven.
Ready to begin your birdwatching adventure? Invest in a quality smart bird feeder today and open the door to hours of peaceful, fascinating moments with nature.