How to Winterize Your Pool and Patio in 5 Easy Steps
Every year, we closed our pool the day after Labor Day. That was our routine, and it worked.
Then one year life got the best of us and we waited....and waited. By the time we admitted it had to get done, it was the end of September. The water was so cold you could feel yourself starting to turn blue, and the leaves were already falling into the pool.
My husband and I bickered the entire time (such fun!) because we both knew we had waited too long. Somewhere in the middle of all that, he put the seal on the skimmer and it didn't get sealed all the way. Neither of us knew it.
In February, after a long stretch of freezing weather, we got a huge snowstorm. My beautiful pool caved in on the side where the skimmer was. All of the water drained out (our neighbors loved us so much for that one....), and our pool and the gorgeous wraparound deck around it were gone.
So when I say winterizing matters, I mean it. Here is every step, so you never have to learn it the way we did.
These days, when the leaves start turning golden and the air gets crisp, I still think about that pool. Swimming season is officially coming to a close....
If you own a pool and a patio, you know what comes next on the to-do list: winterizing.
Getting your outdoor space ready for freezing temperatures, heavy snow, and winter rain can feel like a chore. Skipping it is how you end up with expensive spring headaches. Water left in plumbing lines that were never blown out expands as it freezes and cracks expensive equipment, and patio cushions left out in wet weather turn into a home for mold and mildew fast.
One weekend spent closing down your backyard the right way protects everything you have invested in it and makes opening up next spring so much easier. Here is my step-by-step guide to winterizing your pool and patio like a pro.
Step 1: Deep Clean the Pool and Store Your Gear
Before you touch the chemicals or drain a single inch of water, give your pool a thorough
Start by skimming the surface, brushing down the walls, and vacuuming the floor. If you would rather not spend hours dragging a manual
Once the pool is spotless, take out all of the removable accessories:
- Ladders and Handrails: Unbolt the metal entry steps, dry them really well so they don't rust, and store them indoors.
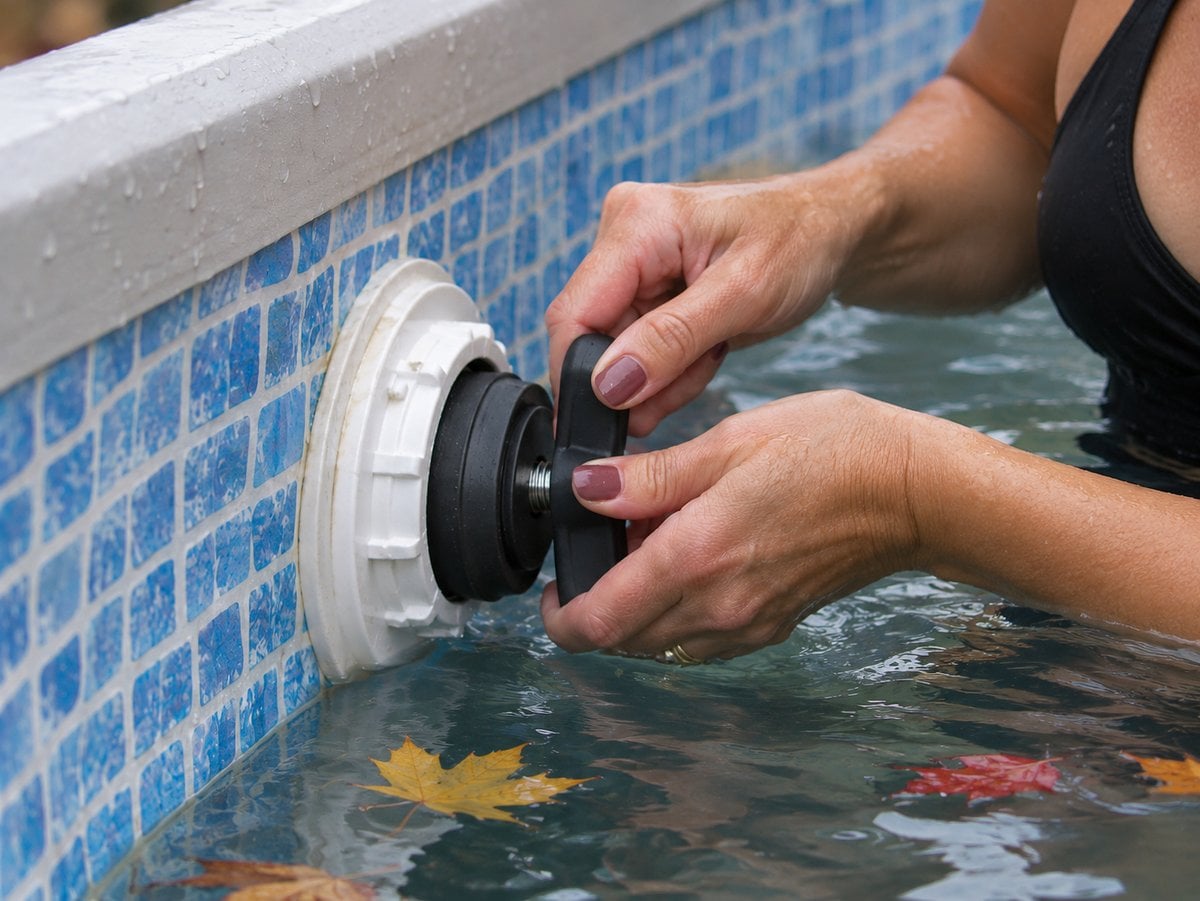
- Skimmer Baskets and Return Fittings: Pull out the plastic baskets, eyeball fittings, and directional jet nozzles so the lines can be sealed properly later. (Trust me on the sealing part....)
- Pool Cleaners: If you use a robotic pool cleaner, pull it out of the water, drain any excess fluid from the drive motor, clean out the filter basket, and store it in a climate-controlled shed or garage that stays above freezing.
Step 2: Balance Water Chemistry and Add Winter Chemicals
Balancing your water is one of the most important things you can do to protect your liner, plaster, and everything else inside the pool during the off season. Unbalanced water can leave mineral scale on your pool surfaces or corrode the metal fittings.
Test your water with a drop testing kit or a digital reader and aim for these numbers:
- pH: 7.2 to 7.6
- Total Alkalinity: 80 to 120 ppm
- Calcium Hardness: 175 to 225 ppm (for vinyl liners) or 200 to 275 ppm (for concrete pools)
Once your water is balanced, add a winterizing chemical kit. Most kits include a winter shock to kill off any bacteria, an algaecide to keep a green bloom from showing up when temperatures warm up in early spring, and a stain and scale inhibitor. Let your pump run for 8 to 12 hours after you add the chemicals.
Step 3: Drain, Blow Out Plumbing Lines, and Winterize Equipment
Water expanding as it freezes is the biggest threat your pool faces in winter. When trapped water freezes inside PVC pipes, pump housings, or heaters, the pressure snaps plastic fittings like twigs. I have seen what freezing water can do to an entire pool, so please take this step seriously.
Preventing freeze damage comes down to blowing out the lines and draining your equipment the right way:
- Lower the Water Level
Drop the water level below the skimmer mouth. With a mesh cover, that usually means about 12 to 18 inches below the skimmer, since rain and melting snow pass through the mesh and refill the pool all winter. With a solid cover, aim for about 3 to 6 inches below the skimmer, because the water helps hold up the cover. Check your cover's instructions too, since some brands list their own range. Never drain the pool completely.
- Drain the Equipment
Find the drain plugs on your pump housing, filter tank, gas heater, and automatic chlorinator. Pull the plugs and let all of the standing water drain out. Then tuck those little drain plugs inside your pump basket so they don't disappear over the winter!
- Blow Out the Lines
Hook an air compressor or heavy-duty shop
Professional winterization also protects your home budget. National home service cost metrics show that the average pool closing cost is $350, which is a tiny fraction of the thousands of dollars you would spend replacing burst plumbing lines or cracked pump casings after a sudden hard freeze.
Step 4: Secure the Winter Pool Cover
With the plumbing safe and the water treated, it's time to put your pool's heavy-duty winter coat on.
Depending on your setup, you will be putting on either a solid tarp cover or a tension safety cover:
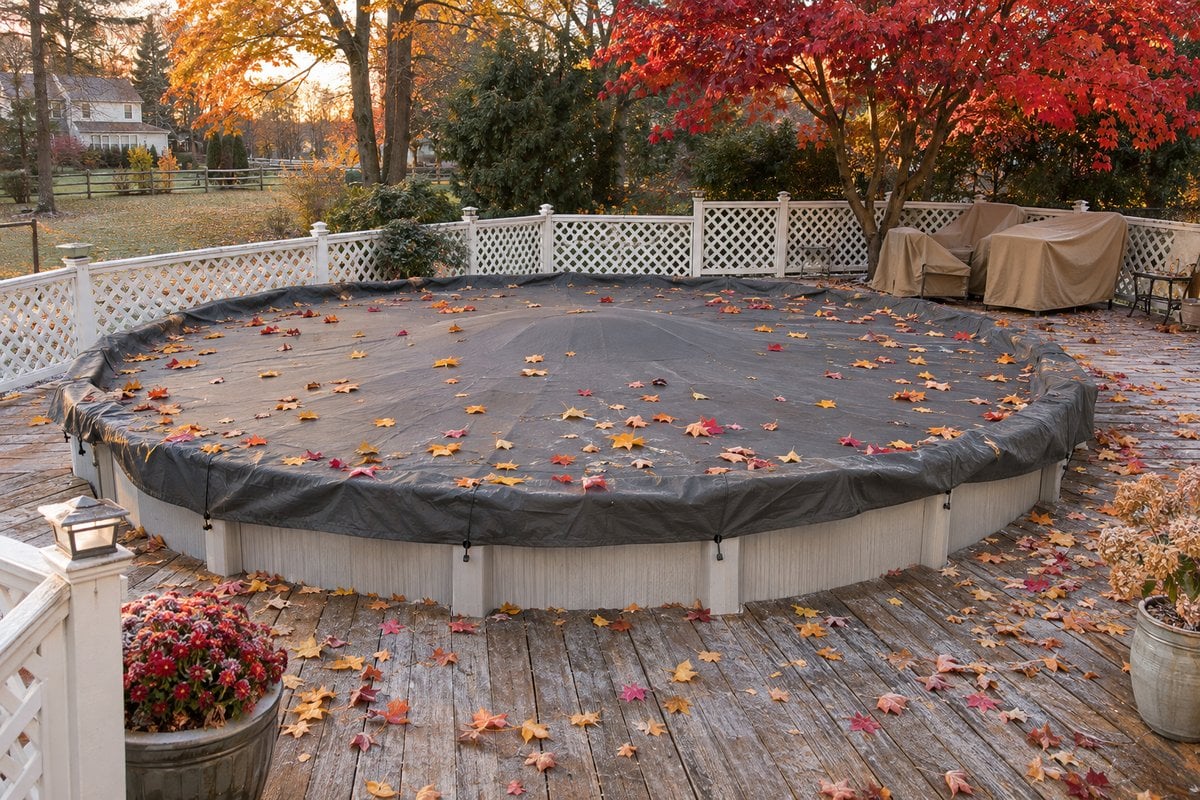
- Solid Covers: Spread the tarp evenly over the pool. Anchor above-ground pools with a winch system, and anchor in-ground covers by setting water-filled bags around the edges. Put an air pillow in the middle of the cover to cushion it against ice pressure and keep snow from pushing it inward.
- Safety Mesh Covers: Stretch the heavy-duty mesh cover across the pool deck and secure the brass anchors into the concrete with an Allen wrench. Mesh covers let rainwater and melted snow drain through while keeping leaves and debris out.
Hook up an automatic cover pump to clear standing rainwater off a solid cover all winter long.
Step 5: Clean, Protect, and Store Patio Furniture
Your pool is tucked in for the winter, but you're not quite done yet. Your patio furniture and outdoor accessories need protection, too! Teak tables, aluminum loungers, and woven wicker sets left out in sub-zero temperatures and winter moisture end up with warped wood, rusted hardware, and brittle synthetic wicker that snaps.
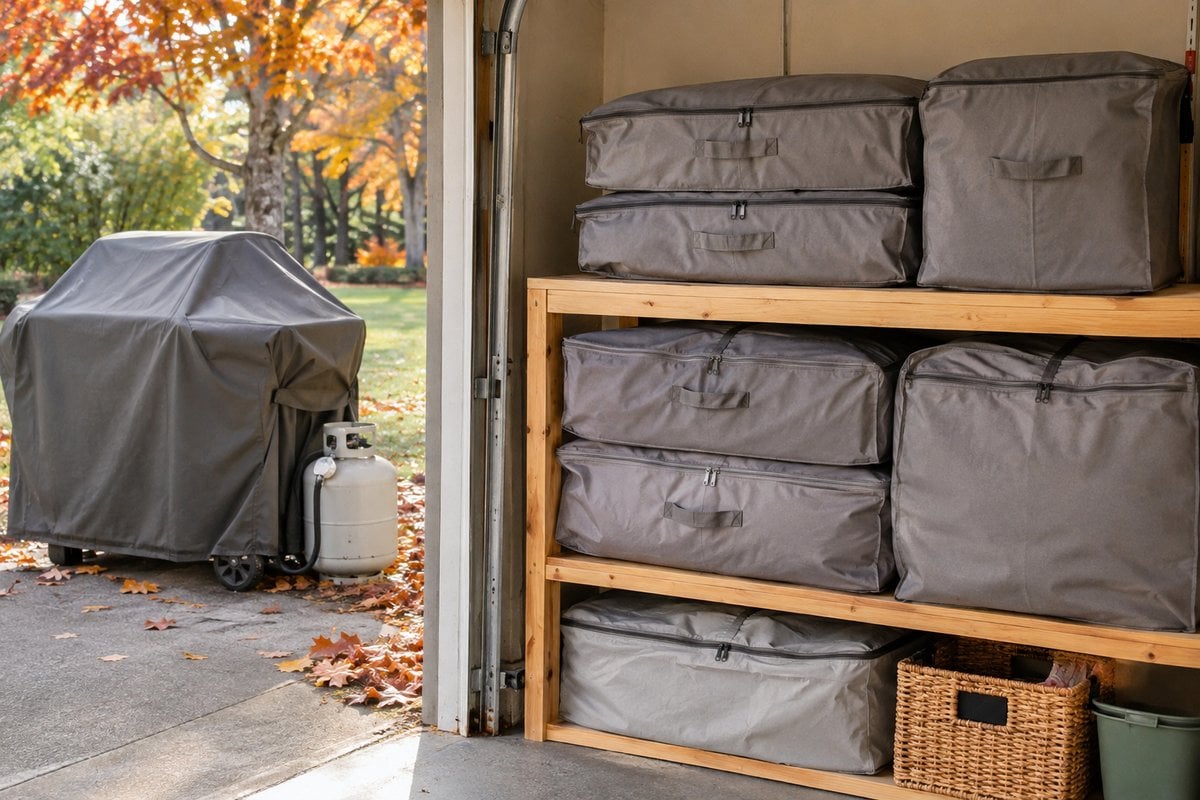
Follow these steps to keep your outdoor furniture in good shape:
- Wash Furniture Frames: Wash metal, plastic, and resin frames with dish soap and warm water to get rid of dirt, pollen, and barbecue oil splatters. Let everything dry completely.
- Clean and Store Cushions: Pull off all the cushions and outdoor rugs, brush off any loose debris, spot clean any stains, and store them in breathable cloth bags in a dry basement, attic, or garage.
- Protect Hard Surfaces: If you don't have indoor space for bulky dining tables or sectionals, stack the furniture neatly on the patio and cover it with heavy-duty, waterproof outdoor furniture covers. Tie the drawstrings tight around the legs so winter winds don't blow them across the yard.
- Shut Off Outdoor Utilities: Close the shut-off valve to your outdoor kitchen sink and disconnect any hose bibs. Cover your gas grill with a vinyl grill cover and make sure the propane tank is closed off tight.
Enjoy Your Rested Backyard
Winterizing your pool and patio takes some elbow grease over a weekend, and it pays off. Protecting your plumbing lines, balancing your water, and covering your outdoor furniture keeps your backyard in great shape year after year.
Once the last cover is pulled tight and the shed is locked up, head inside, grab a hot drink, and start looking forward to opening day next spring! Have you ever had a pool closing go wrong? I would love to hear about it....