DIY Farmhouse-Style Pallet Wood Memo Board

You can do so many things with salvaged wood, especially pallet wood, and today I'm going to show you how to make a quick, stylish, and useful memo board.

This particular pallet wood was from a stack of pallets my husband so kindly dumpster dove to get for me which I sterilized and took apart here.
I used the pallets to make a 10 minute frame and still had a lot leftover and that's what inspired me to make this memo board.
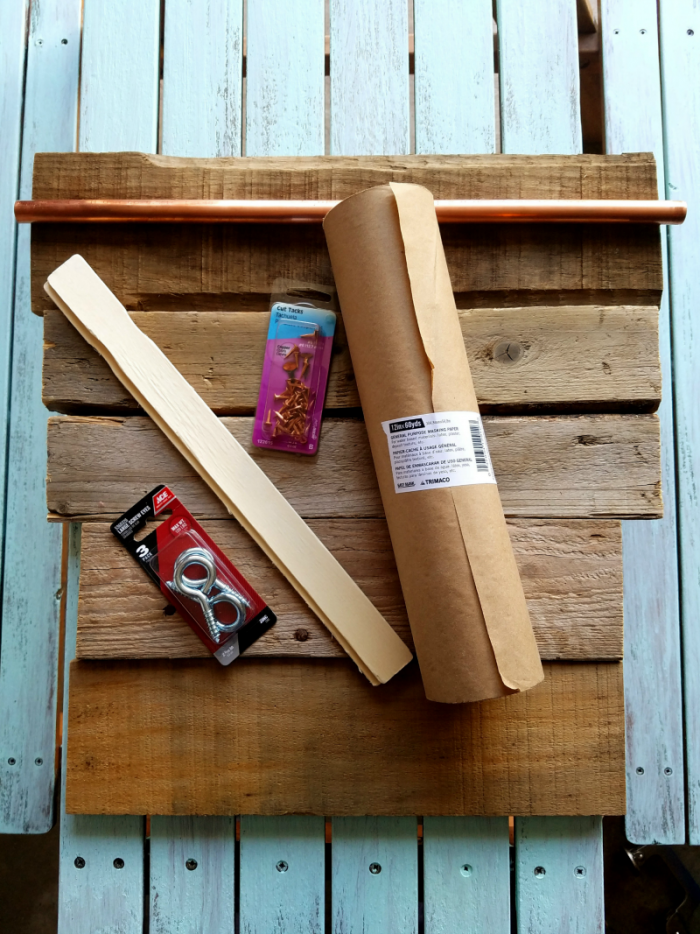
SUPPLIES
First, let's gather our supplies.
5 pieces of pallet wood - I used what I had on hand and arranged it as above but if you are cutting pieces to size the length will be 18 inches
Copper Pipe - ½ inch pipe, 18 inches in length
2 zinc screw eyes - size to accommodate the ½ inch pipe easily
Paint Paper - 12 inches wide (You can find this at almost any hardware store)
2 paint sticks or 14 inch long and 1 ½ inch wide pieces of thin wood

Optional Rust-Oleum Aged Metallic Paint & Primer in One - Metallic Rust (Available on Amazon but MUCH less expensive at the Hardware Store). The Metallic Rust spray paint gives a great rusted look to a new piece
Tools used:
Kreg Face Clamp (not necessary but very helpful!)
Directions:
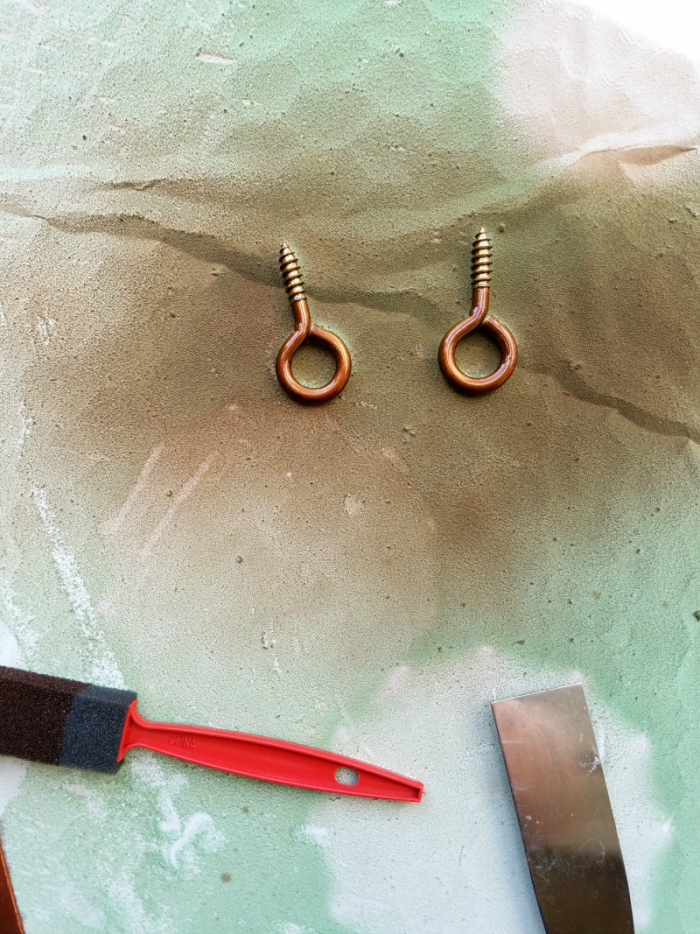

Spray paint screw eyes and paint sticks. Allow to dry.
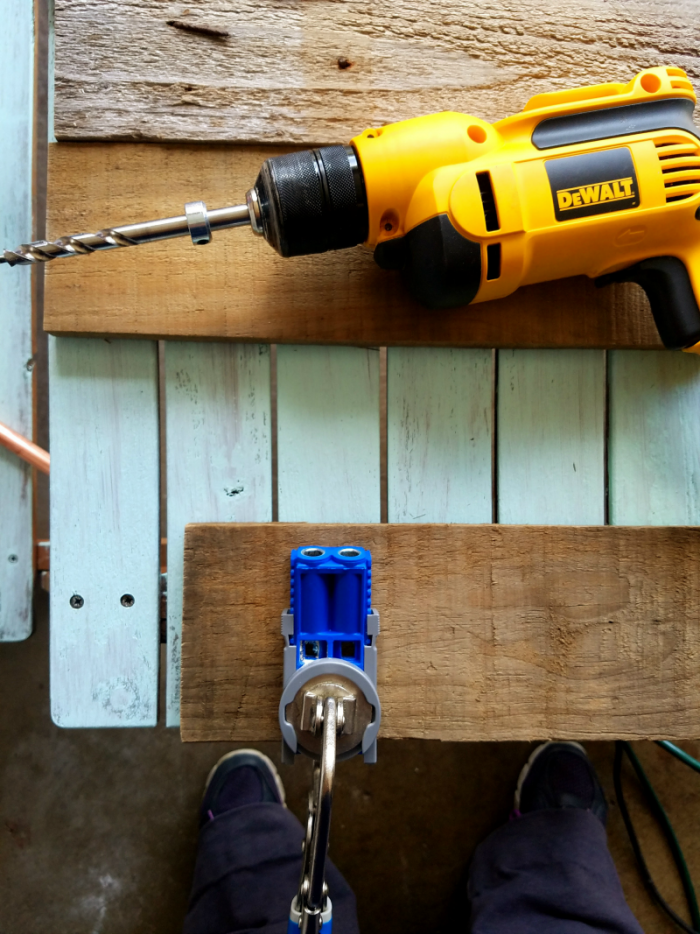
Use the Kreg Jig to drill pocket holes on the back of the first 4 boards - approximately 2 inches in on each side.
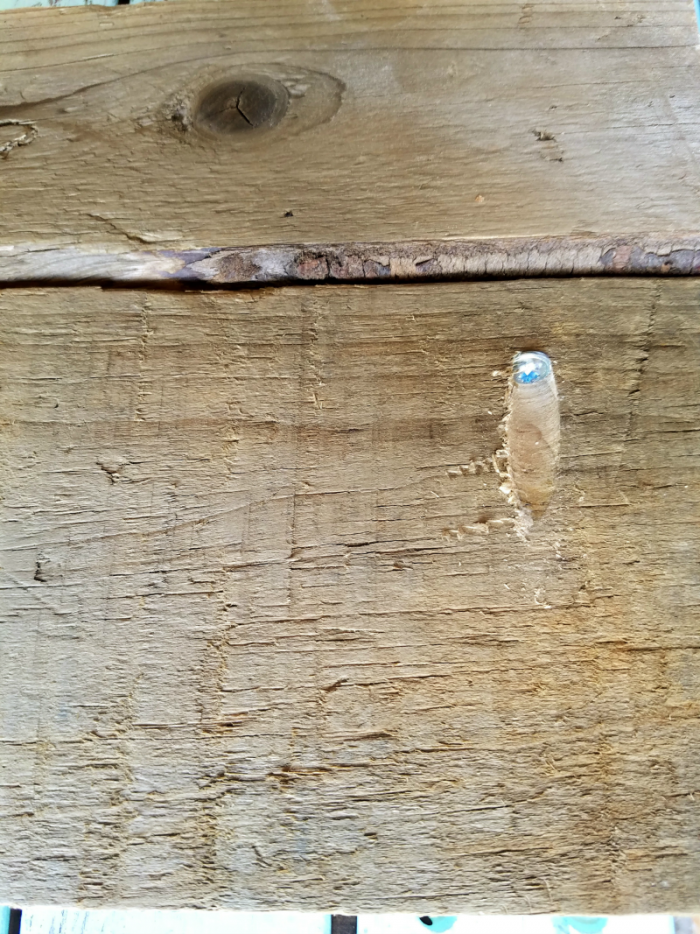
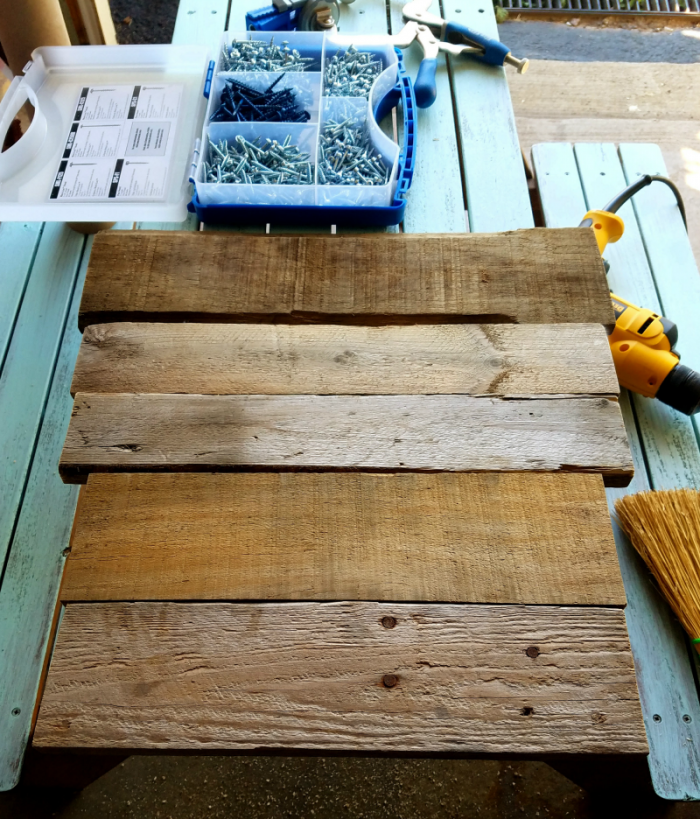
Insert appropriate screw in each pocket hole.
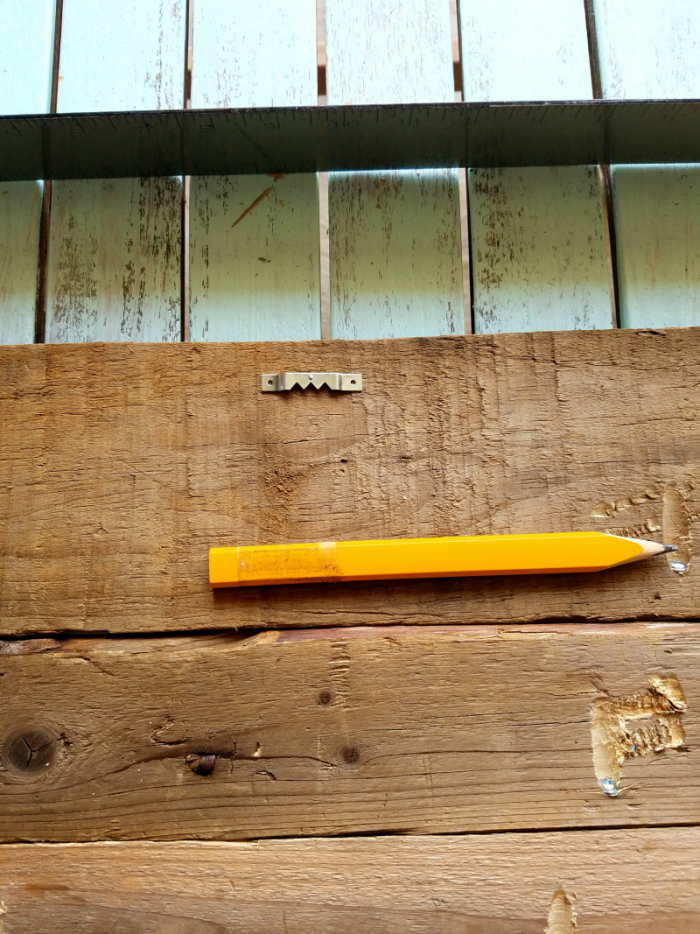
Before working on the front of the memo board add a saw tooth hanger to the back.
When you flip the piece over everything will fit together nice and snug.
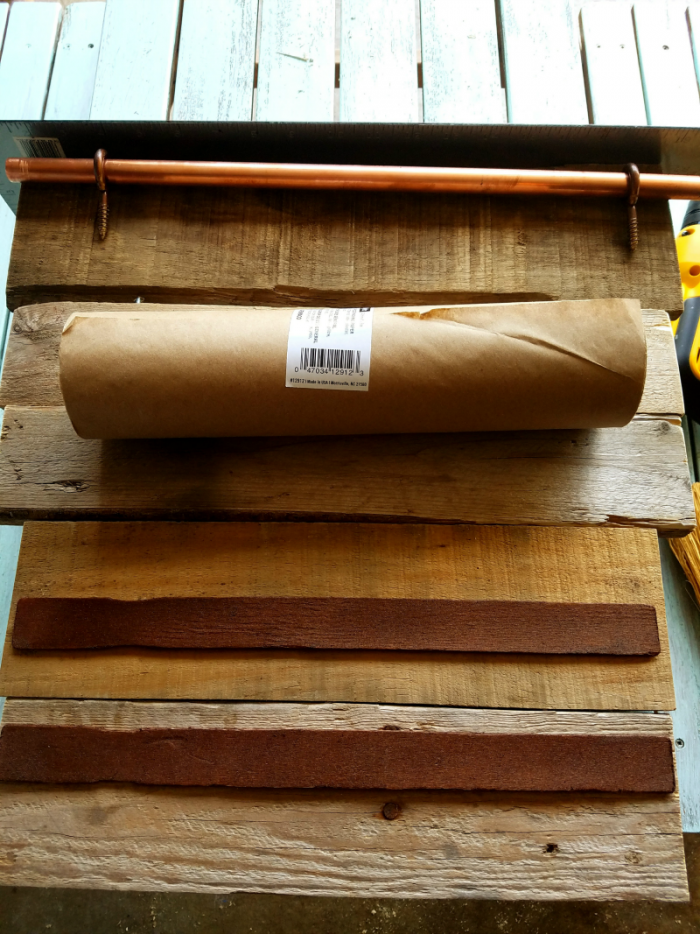
I like to do a dry run and size everything up before drilling by laying out all that I'll be attaching to my project just to make sure everything will fit properly.
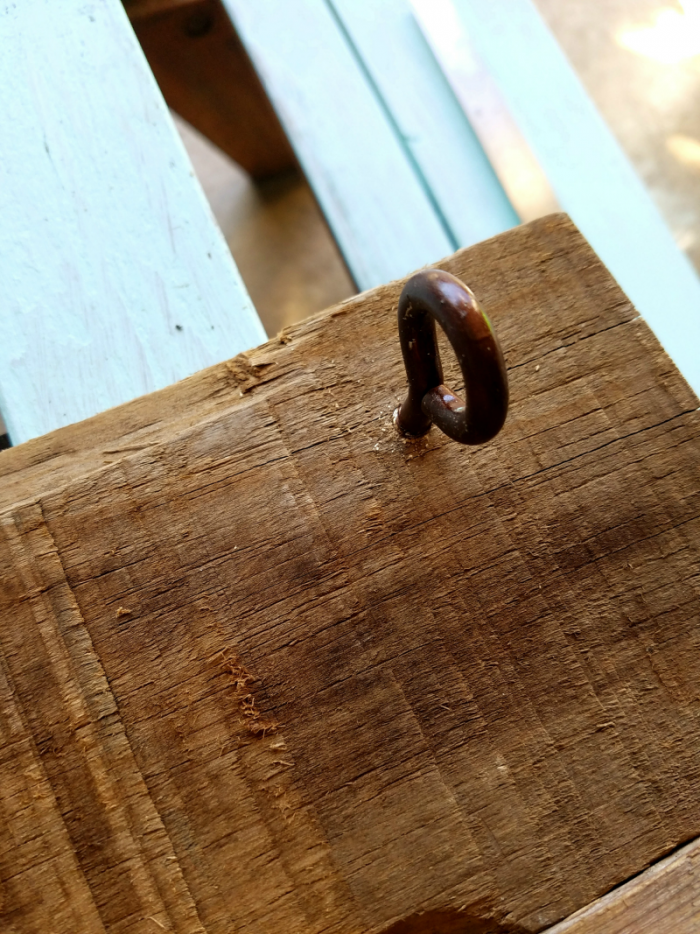
If you are using the 12-inch wide paper roll attach screw eyes approximately 13 inches apart and approximately 1 inch down from the top of the first board.
Drill pilot holes and attach screw eyes. You may need to back out the screws by one or two threads depending on how thick your pallet wood is. You don't want the screw eye to come through to the other side.
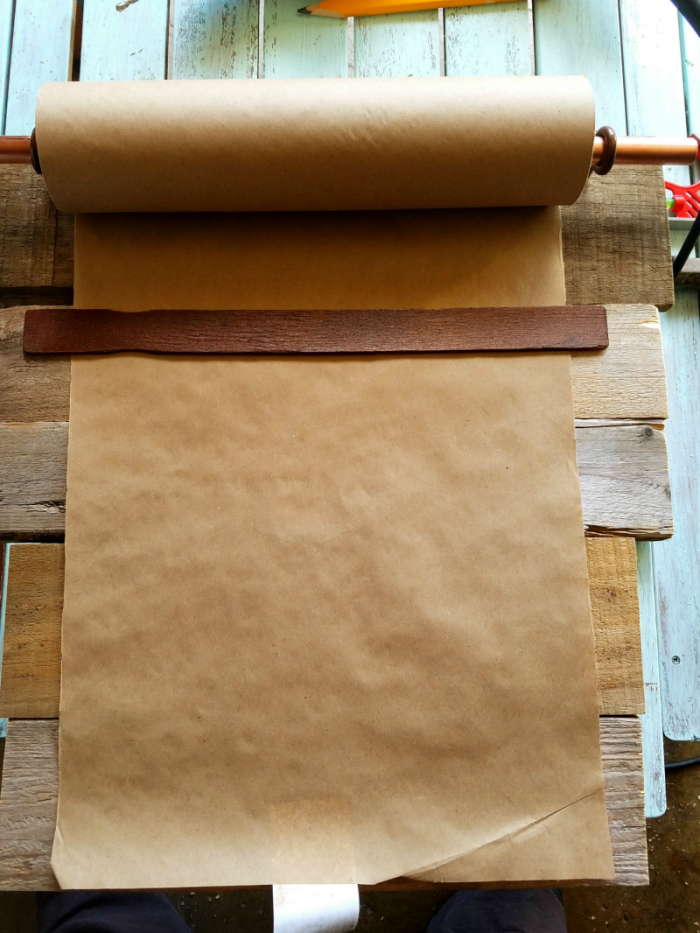
Feed one end of the copper pipe through one of the screw eyes, slide on the paper roll and place the other end of the copper pipe through the remaining screw eye. Center everything up and then add the first paper holder (paint stick 1).
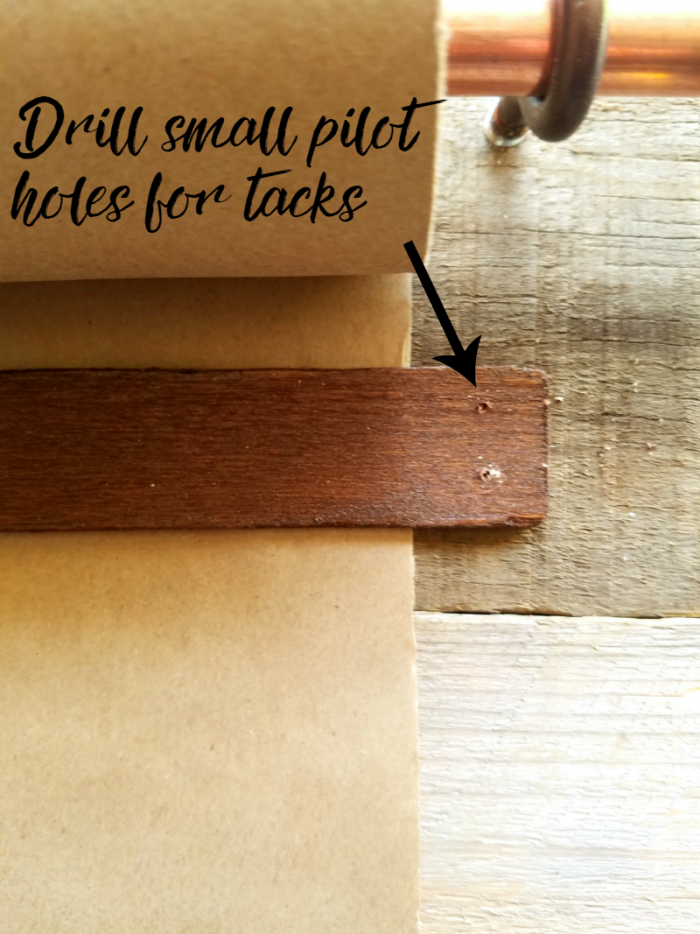
Repeat for the lower paper holder.
Drill two very small pilot holes in each stick on each side to accommodate the cut tacks.
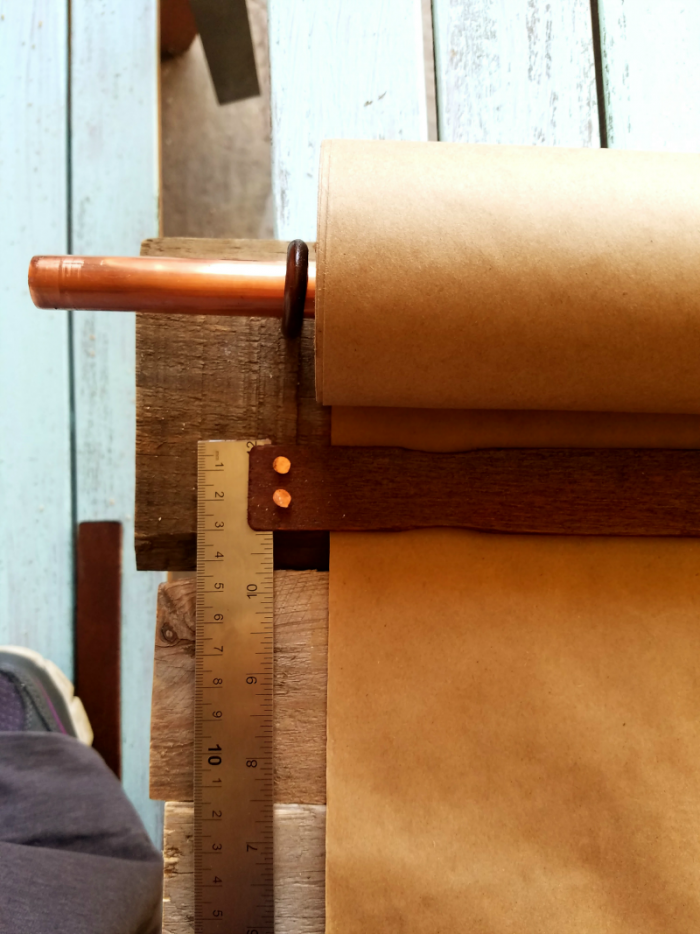
When attaching the cut tacks do NOT hammer the tacks in all the way. You need some wiggle room so the paper can slide through the holders freely. I use a metal ruler to provide just enough space and still securely attach the paper holders.
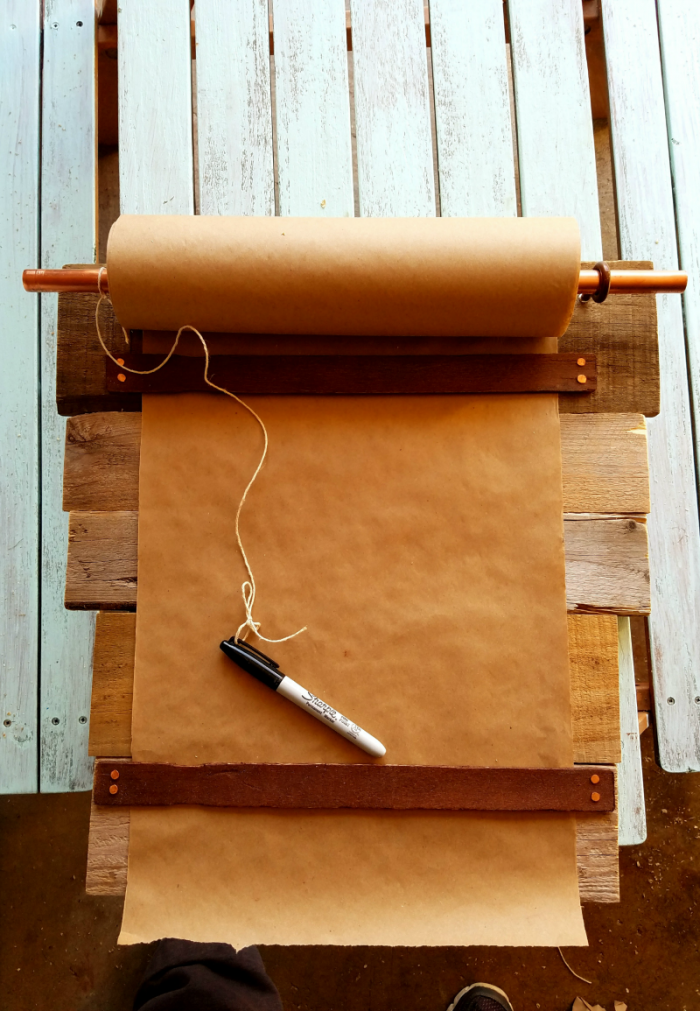
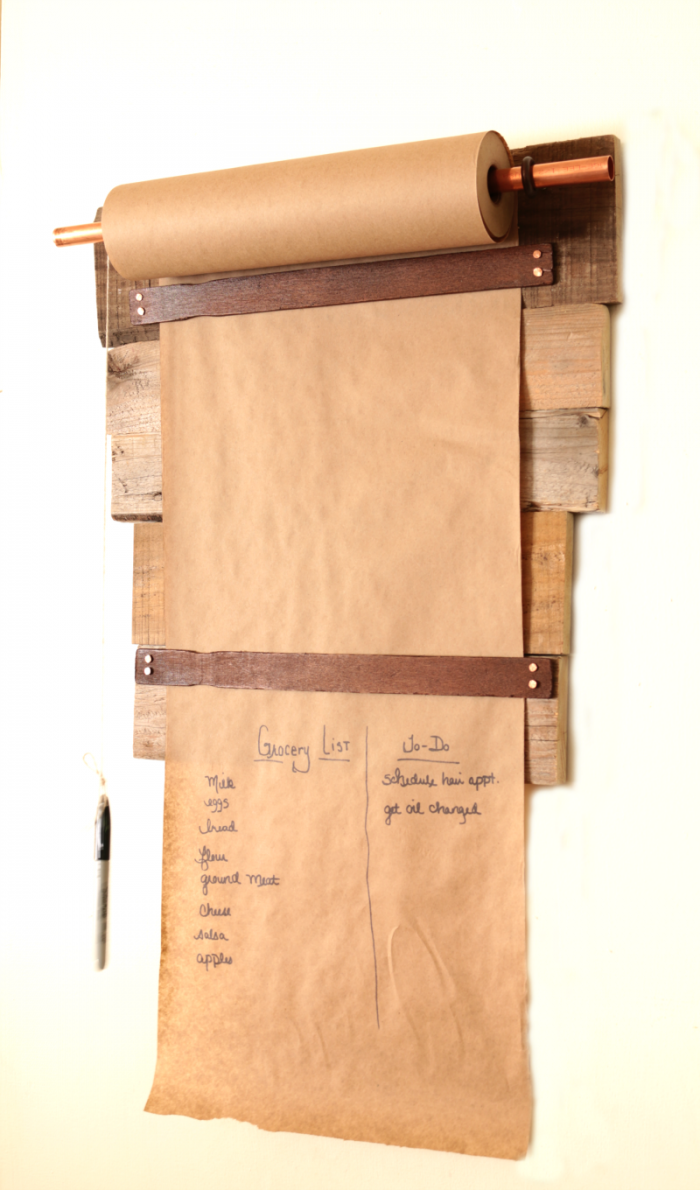
Attach Sharpie pen with twine from the copper pipe.
When you need a fresh list or if you want to take your list with you just pull it down and tear it off by gently pushing on the bottom paper holder and tearing across.

And there you have it! A simple project that you can use in your kitchen, office, or anywhere you want some stylish organization!
Supplies
- 5 pieces pallet wood
- 1 piece copper pipe ½ inch pipe, 18 inches
- 2 zinc screw eyes large enough to accommodate the ½ inch pipe
- 1 package copper cut tacks
- 1 roll paint paper
- 1 sawtooth hanger
- 1 can Rust-Oleum Aged Metallic Paint and Primer in One Metallic Rust
Instructions
- Spray paint screw eyes and paint sticks. Allow to dry.
- Use the Kreg Jig to drill pocket holes on the back of the first 4 boards – approximately 2 inches in on each side.
- Insert appropriate screw in each pocket hole.
- When you flip the piece over everything will fit together nice and snug.
- Before working on the front of the memo board add a saw tooth hanger to the back.
- I like to do a dry run and size everything up before drilling by laying out all that I’ll be attaching to my project just to make sure everything will fit properly.
- If you are using the 12 inch wide paper roll attach screw eyes approximately 13 inches apart. Drill pilot holes and attach screw eyes. You may need to back out the screws by one or two threads depending on how thick your pallet wood is. You don’t want to the screw eye to come through to the other side.
- Feed one end of the copper pipe through one of the screw eyes, slide on the paper roll and place other end of copper pipe through remaining screw eye. Center everything up and then add the first paper holder (paint stick 1). Repeat for lower paper holder.
- Drill two very small pilot holes in each stick on each side to accommodate the cut tacks.
- When attaching the cut tacks do NOT hammer the tacks in all the way. You need some wiggle room so the paper can slide through the holders freely. I use a metal ruler to provide just enough space and still securely attach the paper holders.
- Attach Sharpie pen with twine from the copper pipe.
As with any of my recipes, calorie counts and nutritional information varies greatly depending on which products you choose to use when cooking this dish.




What a great idea, love it!
I could use one of this in my working area, I have like one millions ideas that I need to write down somewhere. This will do the job! 🙂
Pinning, pinning, pinning!
Have a lovely day,
Diana
Thank you so much, Diana!
IM MEGA in love with this idea!! I think I have the perfect place in my kitchen just for this!!! Love love!!! "Ohhh honeyyyy...we have a project..." LOL
Thank you, Kate!
So fantastic. I went and bought the supplies to make one this evening! I have an old leather belt that I am going to try to use for the straps that hold the paper. I'll let you know how it works out!
Thanks for letting me know, Lynn. I can't wait to hear how the belts work for you. Have a great evening!
Quick question Mary Beth I just built one of these I added some things to it but same basic principle do you have any problem with the marker bleeding through the paper onto the wood I have a couple coats of satin varnish on it I haven't tested it but these are for customers I participate in a lot of craft shows and stuff I was just curious if you had that issue or not. My Facebook page has pics of some stuff I create all done with pallets or live edge wood. Thanks for the idea, hope to sell many of them.
Dan
Hi, Dan! Thanks so much for the comment and I've never had any problems with the marker bleeding through. I hope you sell so many it's a blessing to you! Also, my Pomeranian was named Rupert.