How to Clean Up After Big DIY Projects Without the Stress
There's nothing quite like the satisfaction of standing back and admiring a project you built yourself, whether it's new shelves for the garage, a backyard deck, or a complete room makeover. But once the last nail is in place and the tools are put down, reality sets in: the mess. Piles of scrap wood, dust coating every surface, stray screws in the corners, and maybe even a few mystery smudges that weren't there before.
Cleaning up after a big DIY project can feel almost as exhausting as the project itself. The good news? With a smart plan and the right tools, you can get your space back in order quickly without feeling like you've signed up for another weekend-long chore.
*This post may contain affiliate links and I'll earn a commission if you shop through them. You can read my full disclosure here.
Start Small: Clear the Easy Wins First
A messy project area can be overwhelming if you try to tackle it all at once. Instead, start with the quick, visible wins to build momentum. Put away tools you're no longer using, return leftover paint cans or unopened materials to storage, and gather up small, loose debris into a bin or trash bag.
Clearing the easy stuff first instantly makes the space feel less chaotic and gives you more room to move safely as you deal with heavier cleanup tasks. For fine dust or small bits of debris, a shop vac or broom-and-dustpan combo works wonders, especially if you sweep as you go during the project.
Tackle Heavy-Duty Debris Efficiently
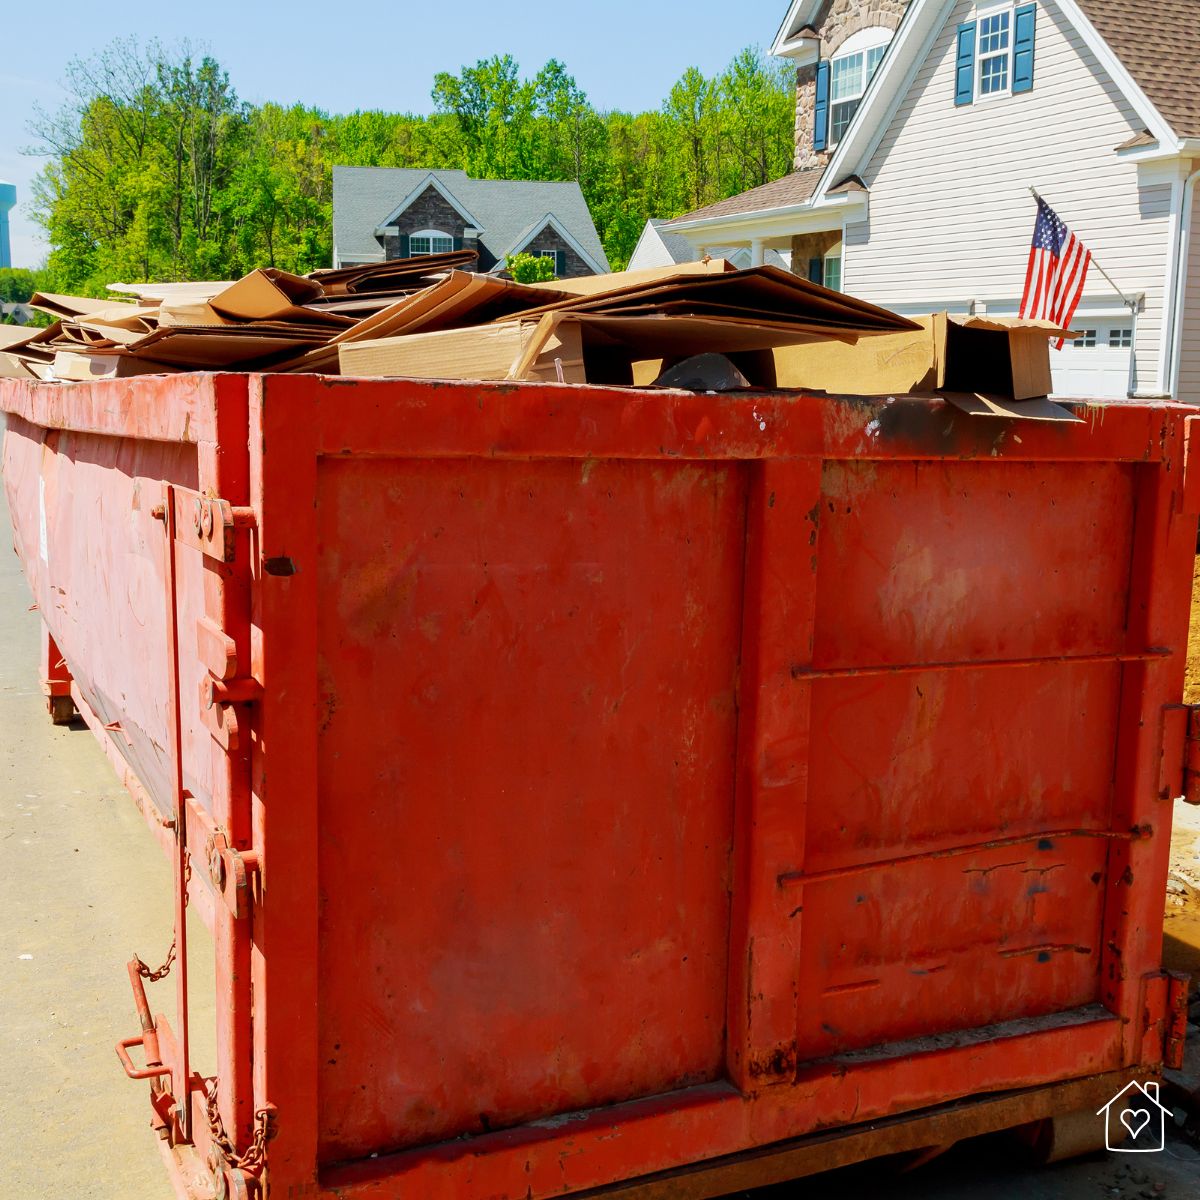
Once the lighter mess is out of the way, it's time to handle the big stuff, such as piles of scrap wood, chunks of drywall, or other heavy, awkward materials. This is where heavy-duty tools can make all the difference. Pallet jacks help move stacked materials, large rolling bins keep debris contained, and self-dumping hoppers help with unloading bulky waste by tilting forward to empty their contents. Because they're designed to handle significant weight and volume, hoppers are especially useful for clearing large areas in fewer trips.
The right equipment at this stage speeds up the process, reduces strain on your back, and helps you clear the area so you can enjoy the results of your hard work sooner.
Sort, Recycle, and Dispose the Right Way
A little organization during cleanup saves time and frustration later. Create separate piles or bins for different types of waste, such as wood scraps, metal pieces, recyclables, and general trash. Keep hazardous materials like old paint or solvents in clearly marked containers so they can be disposed of according to local regulations.
Many areas allow clean wood and metal to be recycled, and some construction debris can be diverted from the landfill if sorted properly. If you have leftover materials in good condition, set them aside for future projects or donate them to a community workshop, school, or nonprofit. For clear guidance on what can be reused, recycled, or must be discarded, see the EPA's overview of sustainable management of construction and demolition materials. Using the right channels not only keeps your project greener but can also save money on disposal fees.
Leave Your Space Better Than You Found It
With the debris gone, take a few extra minutes to do a final sweep,
A tidy space looks great, keeps your next project easier to start, and helps maintain a safer home. If you're planning another big DIY or renovation, take a look at these things to consider before starting a renovation to help you prepare effectively and avoid common pitfalls.
Final Thoughts
Cleaning up after a big DIY project doesn't have to drain your energy or your weekend. By starting with the easy wins, using the right tools for heavy-duty debris, and keeping materials organized for disposal, you can restore your space quickly and efficiently. A well-cleaned area sets the stage for your next project and makes the finished results feel even more rewarding.