
How To Install Garden Lights So They're Straight Every Time

Every few years I buy and install garden lights to spruce up the front yard and every few years, I struggle with getting them in the ground straight.
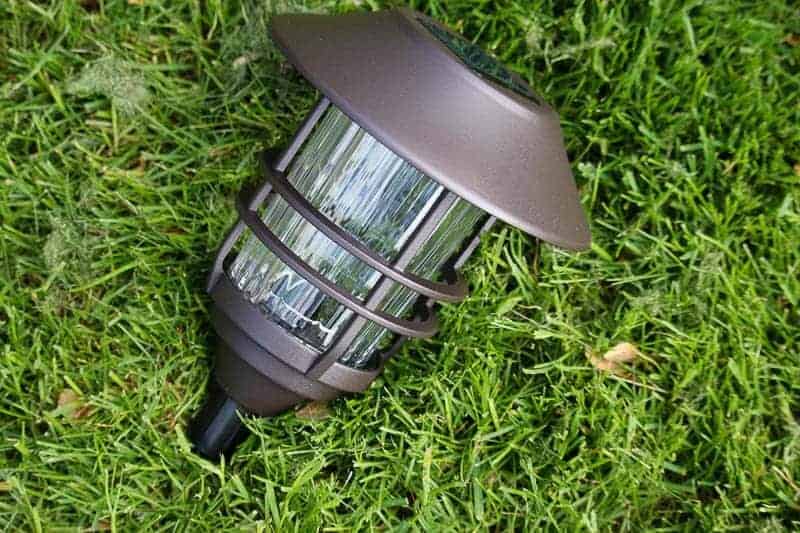
But the last time I changed out lights, I tried this one simple trick with solar landscape lights that worked wonders!

*This post may contain affiliate links and I'll earn a commission if you shop through them. You can read my full disclosure here.
The Problem
I have very hard ground. It's mostly clay. When the plan of homes I live in was first prepped for building, the owners of the property sold the topsoil! I didn't even know this was a thing but after years of having to really work the ground and add to it to get it to grow anything, I found out from a neighbor that the topsoil was sold. That made me mad. Strange what type of things set me off, but I did finally understand why the soil on my property stunk.
Anyway, that's why I could never get my lights into the ground to my liking without hours and hours of digging and adding good dirt and packing and all sorts of nonsense.
All of that time-sucking toil did spark an idea, a really simple one.
Supplies:
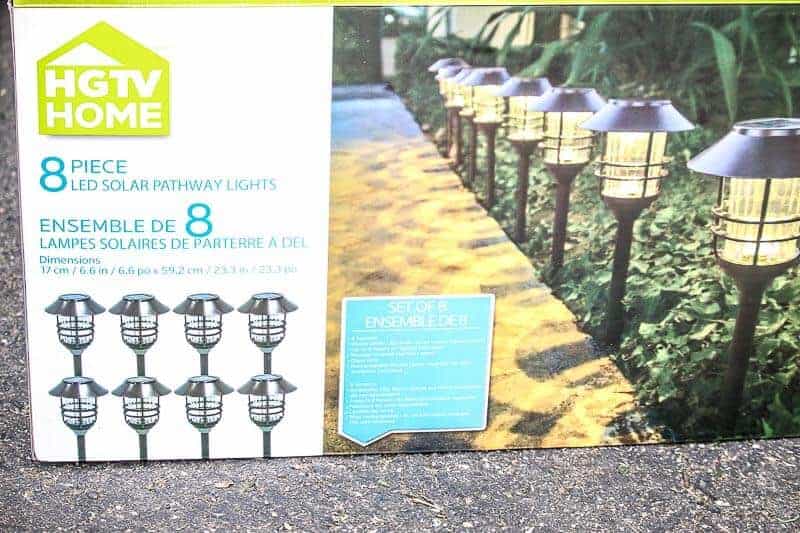
Solar Lights - these are the ones I have - HGTV Home LED Solar Pathway Lights (I bought mine at Costco but they also have them on Amazon)
Scissors
Yardstick
Watering Can

How To Install Garden Lights
The How-To Trick That Gets Them in Straight
You don't have to use landscape fabric but I did. I replace mine every few years because it erodes over time and my flower beds tend to get overwhelmed with perennials so in order to tame them, I lay down the fabric. I like to edge the flower beds and mow down anything that's cluttering it up before putting the landscape fabric down so that things are a little neater. Check out these garden bed plans for more ideas.
For homeowners who prefer a consistently clean and well-maintained yard without the hassle, hiring services like professional lawn mowing in Powhatan can help keep outdoor spaces neat and properly managed year-round.


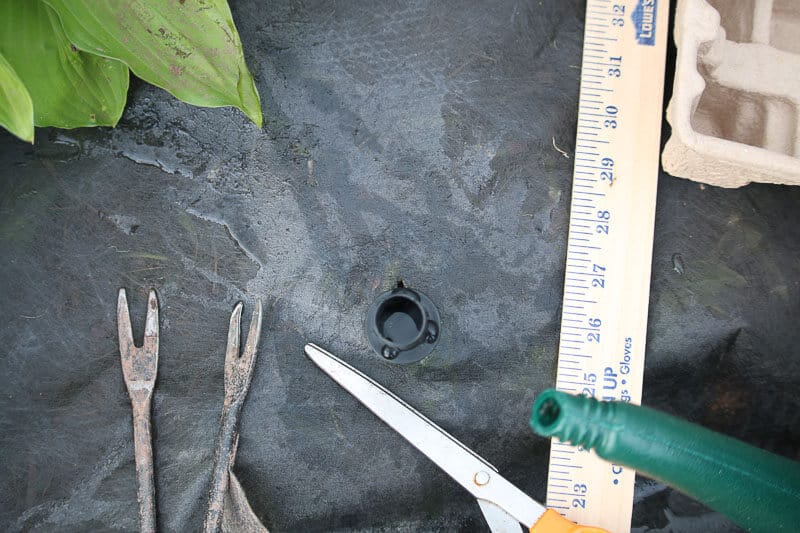
Once my fabric was down, I determined how far apart I wanted to place my lights and then marked off the same distance from the edge of the flower bed to the lights so that everything would be even.
I then made a hole with the scissors in the landscape fabric and used the weed pulled to make an indentation in the dirt.

Next, I used the watering can to soften the soil in the area of the indentation. I let the water soak in for a few minutes to soften up the dirt, and then put in the light stake.
I added more water to the center of the stake, gave it a wiggle to straighten it out and then plunged it all the way down into the soil to the rim of the stake. Bam...nice and straight!
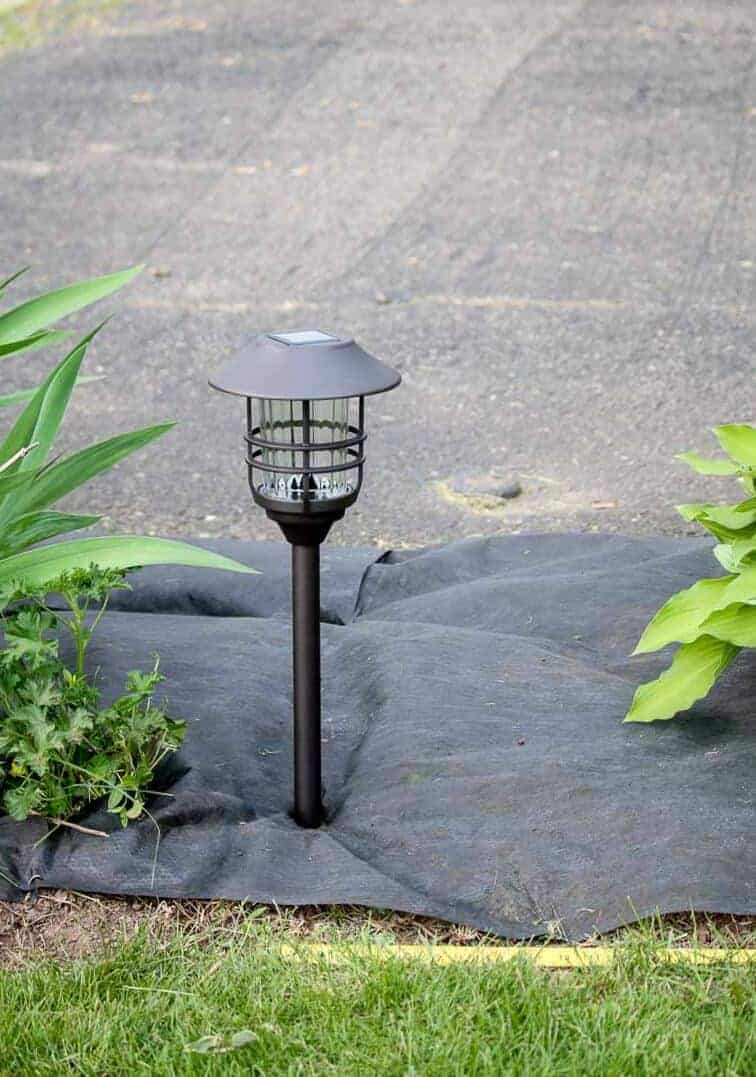
I added the solar lights to the top and then stood back and admired the fact that everything was starting to look pretty good.


Well, aren't you clever!! That makes so much sense. I bet it would work for installing other things too, like a bird feeder pole. Glad you only have to deal with clay and not stones. We had the stoniest yard when we lived in PA. Bummer about the topsoil... the developer was all about making a profit for sure.
It probably would work with other things! I didn't even think of that. 😉 The closer you get to Harrisburg and Lancaster, the rockier the soil. The soil at my parent's house was awesome. The property was an old apple farm and I remember the smell of the soil and the feel of it..it was almost heavenly!
My problem is not getting them in straight, it’s keeping them straight in the soft soil. How do I solve that problem?
Hi, Kate. I did some research and other than having the stakes cemented in place, another option is to use longer stakes that will go deeper into the soil. If I come across any other info that may be helpful, I will update my comment.
I used metal pipe. Just find pipe that your solar light stake/pole fits into. Make sure it's long enough with a portion of it buried in ground. You could even paint them for aesthetics. Hammer them in the ground and insert lights. I also used a scrap piece of wood on top of pipe to hammer rather then bending edge of pipe. I did this to keep from whacking the plastic pieces with the weedeater. But it also keeps them straight.
That's a great tip, Bee! Thank you so much for taking the time to share it. I'll give it a try the next time I install some garden lights.