Painted Dollar Store Pumpkins
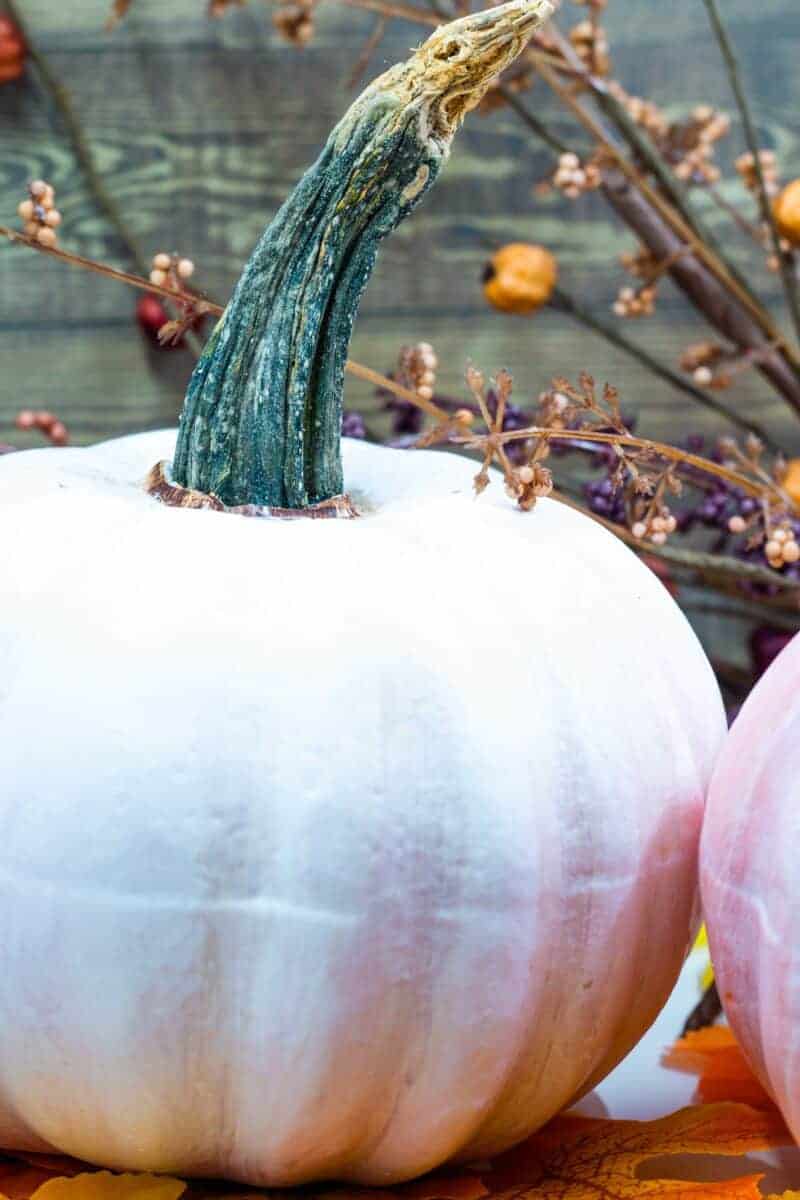
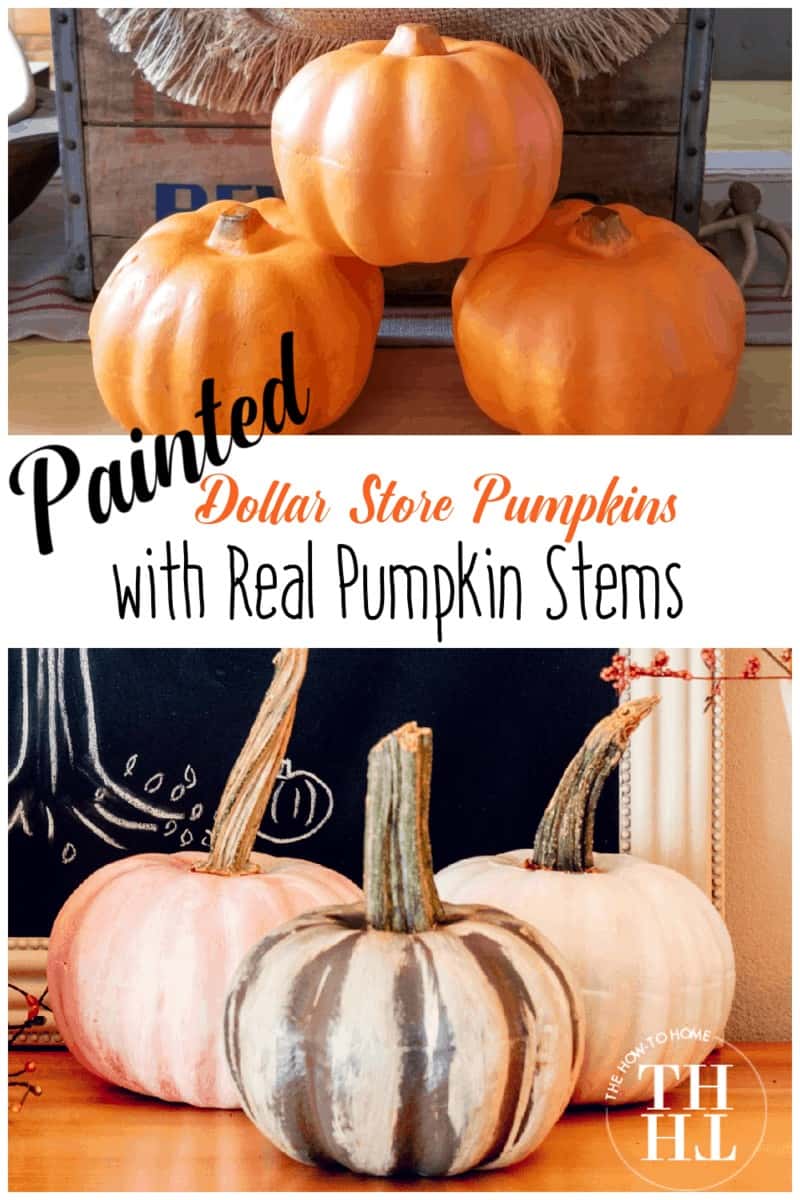
DIY $1.00 painted dollar store pumpkins with real pumpkin stems...seriously easy, seriously cheap, and seriously pretty!

Welcome to this month's Thrifty Style Team post. This is one of my favorite days of the month because I get to share something thrifty AND, I get to share with you the rest of the team's wonderful inspiration (at the botom of this post).
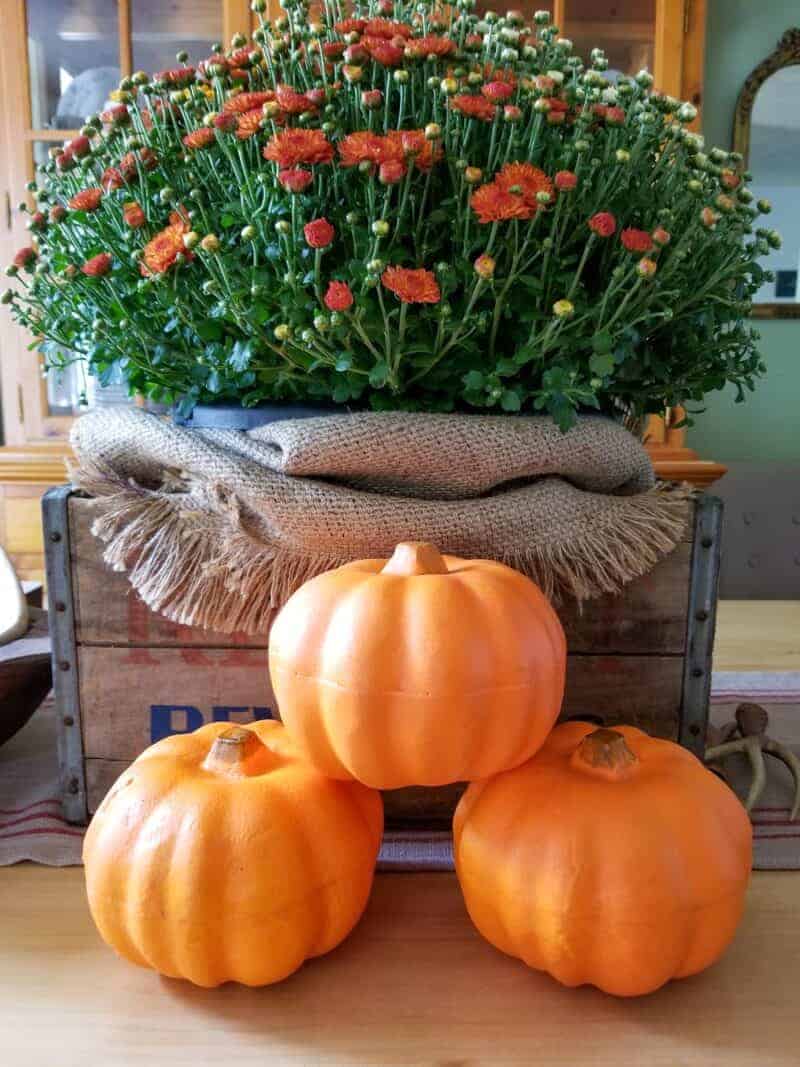
Dollar Store pumpkins are cute..and cheap....but they look cute and cheap. They don't have any real pizzazz but that's what's great about them.
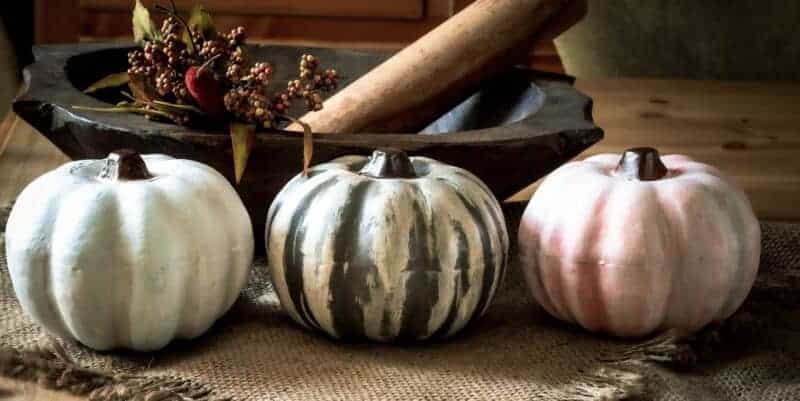
You can do so many things with them like covering them in ruffly fabric (oh, yes, you can-check out how here), you can paint them, you can decoupage them (I haven't done that yet), you can let littles put stickers all over them, and so many other things...but you really, really, shouldn't just leave them be...because they are the perfect creative blank canvas.
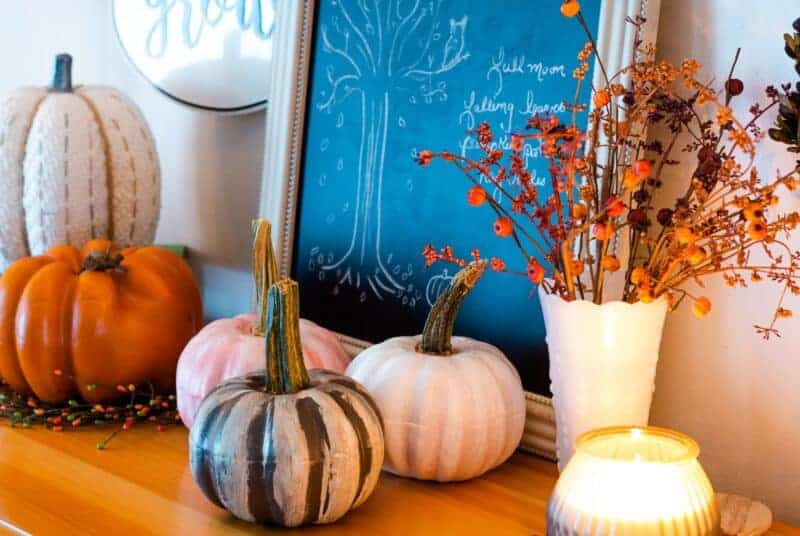
Painted Dollar Store Pumpkins
*This post may contain affiliate links and I’ll earn a commission if you shop through them. You can read my full disclosure here.
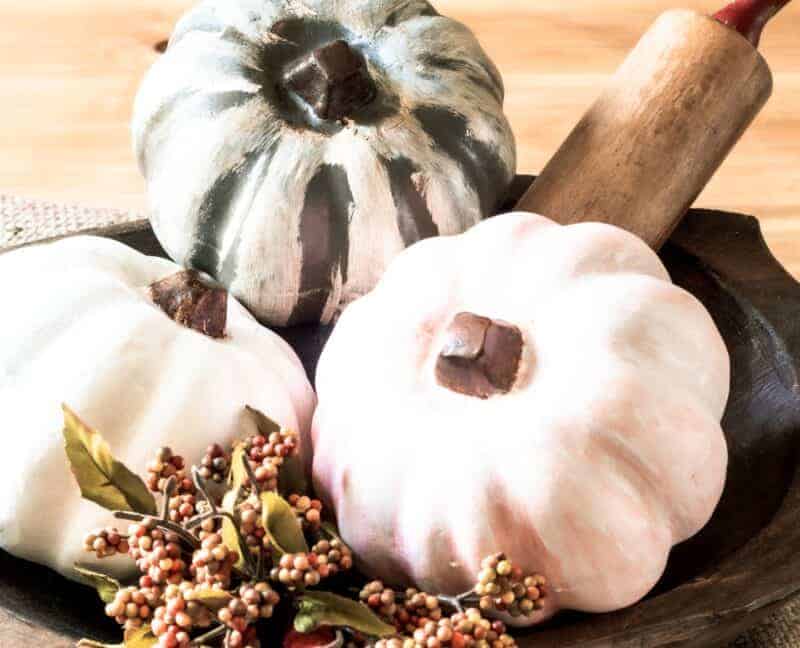
You don't need many supplies at all and this is an overall thrifty craft.
Supplies:
Dollar Store Pumpkins
Craft Paint
X-acto Craft Knife (for removing the original stem)
Pumpkin Stems (see my tip below for where to get these)
Instructions:
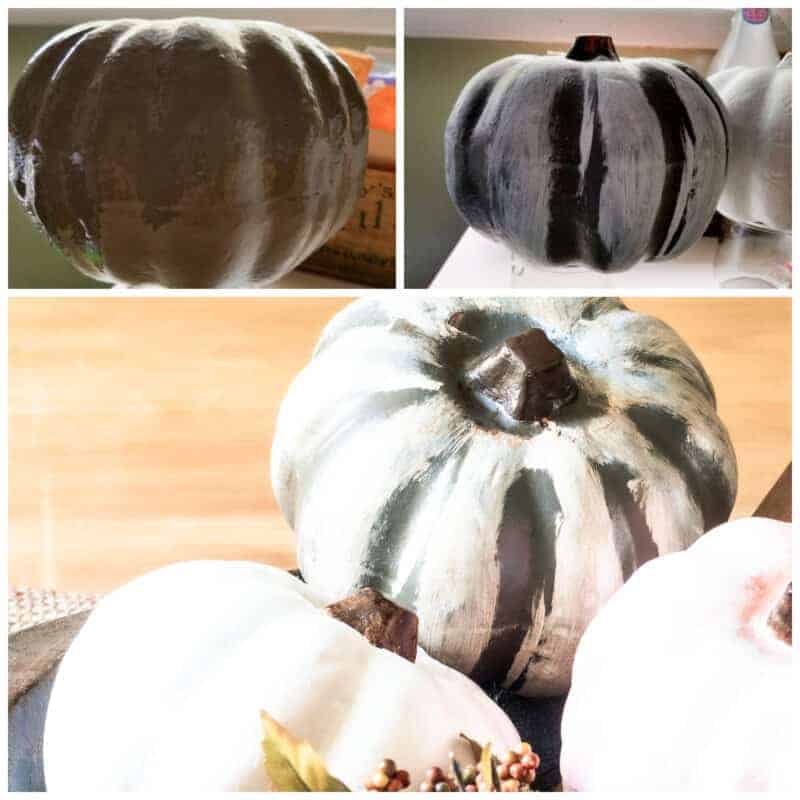
Choose whatever colors you want for your pumpkins. They can match your décor or be something wonderfully bold. There is no wrong choice.
Now, paint. 😉 The original color of these pumpkins is very dark so you may want to use one or two base coats to cover the orange before adding your main color.
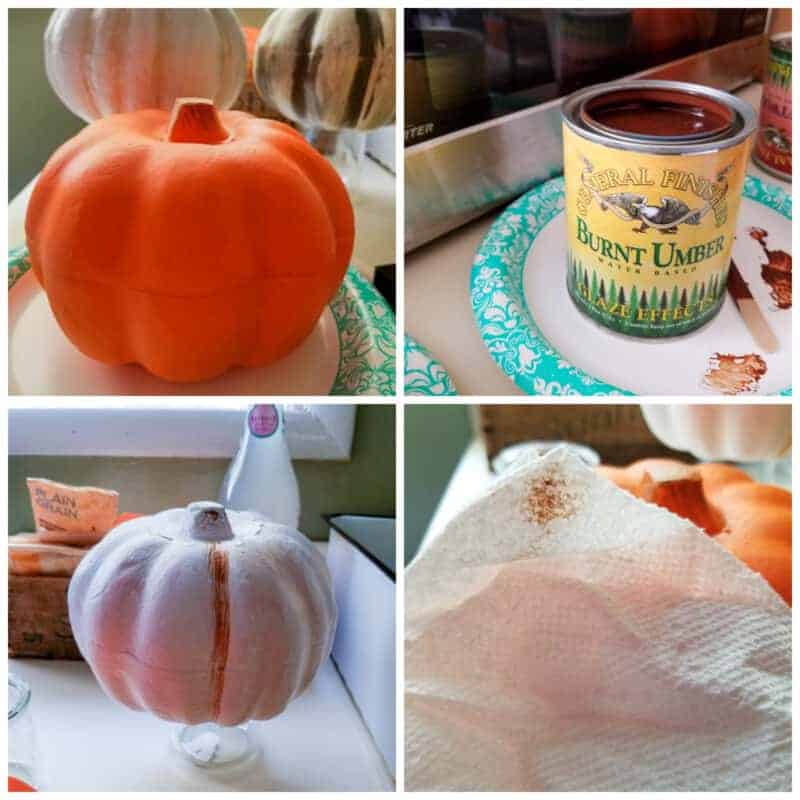
Once the paint has dried, apply burnt umber to the pumpkin creases (is that what they’re called?). Or any complimentary color just to make the shape of the pumpkin a little more noticeable.
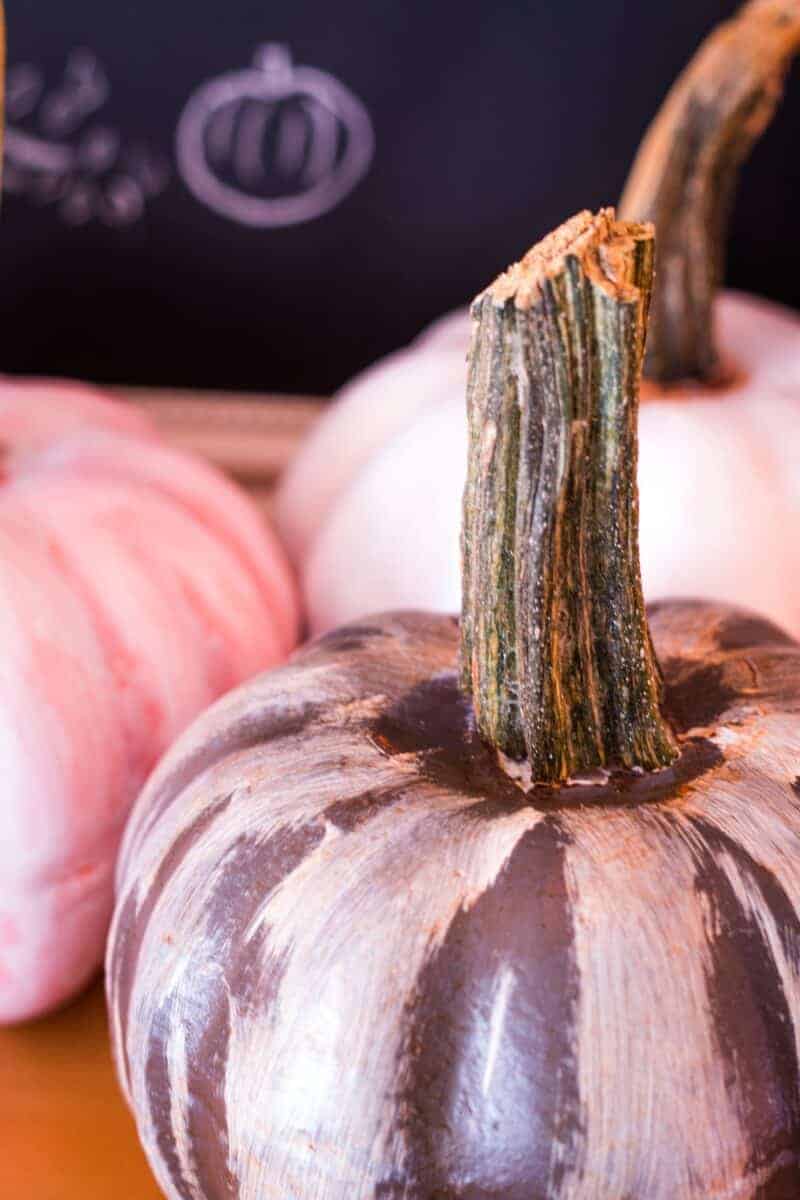
If you don’t want to use real stems or replace the original stems, you’re all done! But, if you want to add a real stem, simply gently cut off the stem (or pull it off, I have had both versions) and then hot glue a real pumpkin stem to the top of your pumpkin.
And, that's it. From start to finish allowing for drying times, you can make a whole patch of pumpkins in under an hour!
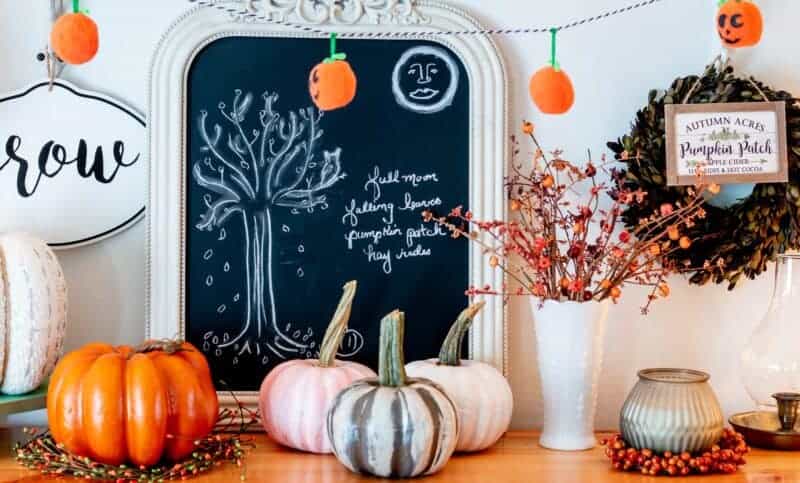
I save pumpkin stems from the pumpkins my family and I have carved in the past but there is also a very easy way to get them. When you’re at the store and see a giant cardboard box filled with pumpkins, at the very bottom of the bin any stems that have fallen off will be lying there just waiting for you to claim them. I usually ask someone working at the store if I can have the stems and they always say yes. The dried stems are extremely lightweight and easy to work with. The bottom is usually flat but if there are any areas that aren’t flat, simply trim them down with craft scissors and that’s it!
And now, for the rest of the Thrifty Style Team's beautiful decorating ideas and inspiration!

Redhead Can Decorate - Thrifty Glass Fountain
The Painted Hinge - Mixing Natural and Faux Elements on a Fall Mantel
DIY Beautify - Decorating with Inexpensive Amber Glass Bottles
2 Bees In A Pod - Chalk Painted Rocking Chair
Postcards From The Ridge - Fall Table with Thrifted, Gifted, and Foraged Finds
The Creek Line House - The Secret Formula for the Perfect Painted Gold Frame
The How-To Home - Painted Dollar Store Pumpkins
The Tattered Pew - DIY Faux Pumpkin WIth Floating Votives
Sweet Pea - Amazing Ideas for Fall Outdoor Decor
What Meegan Makes - Unique Fall Decorating with Vintage Pieces
Cottage At The Crossroads - How to Disguise a Chest Freezer
I Should Be Mopping The Floor - How to Make Hand-Poured Candles




I CAN'T FIND THE TIPS ON FINDING REAL PUMPKIN STEMS. LOVELY PUMPKINS BY THE WAY. THX FOR MORE IDEAS. MY SISTER THINKS I MAY HAVE A PUMPKIN ADDICTION.
Oh, Vicky - I am so sorry that you couldn't find the tip...Thank you so much for letting me know that it wasn't in the post. I just added it but here it is as well (so you don't have to search again!). TIP: I save pumpkin stems from the pumpkins my family and I have carved in the past but there is also a very easy way to get them. When you’re at the store and see a giant cardboard box filled with pumpkins, at the very bottom of the bin any stems that have fallen off will be lying there just waiting for you to claim them. I usually ask someone working at the store if I can have the stems and they always say yes. The dried stems are extremely lightweight and easy to work with. The bottom is usually flat but if there are any areas that aren’t flat, simply trim them down with craft scissors and that’s it!
Your pumpkins look amazing and like they came from a high-end home decor store, definitely not the dollar store! I save my pumpkin stems every year for craft projects. Now I'm going to start looking in the grocery store bins for more to save. Great tip!
Thank you so much, Paula! I started saving stems a few years ago and this was the first time I ever actually used them. Now, I'm on the hunt for more stems and more "stuff" to do with them. xo
You would never guess your pumpkins started out from the dollar store. I would think these are from Pottery Barn or Anthropologie from the way you painted them.
I love using old stems as well! So fun.
Thank you so much, Meegan! I really appreciate your kind words. xo
I love the finishes on these. And the stems make them look so pretty and realistic!
Thank you, Angela!
Mary Beth I love these pumpkins! The real stem makes them perfection and thanks for the tip on where to find them! Genius to look at the grocery store! Thanks for sharing!
Thank you much, Kelly! xo
I love how these turned out, and the real pumpkin stem is the perfect finishing touch! Pinned!
That's a great tip about finding real pumpkin stems. I'd like to add that I've scooped some up at the fall event at our local farmers' market when I've walked among the pumpkins! Also, I've found that dried sunflower stems (the part attached to the head) make good stand-ins, too.
Your pumpkins turned out beautifully, Mary Beth! I am LOVING the real stem, too...so clever. xoxo