How to Install Vinyl Siding: A Step-by-Step Guide
Vinyl siding has become a go-to choice for homeowners looking to enhance their home's curb appeal and protect it from the elements. It's durable, low-maintenance, and comes in a variety of styles and colors. However, the true benefits of vinyl siding shine through only with proper installation. A poorly installed siding can lead to moisture problems, warping, and a less-than-desirable look. Let's walk through the steps to ensure your vinyl siding project is a success.
*This post may contain affiliate links and I'll earn a commission if you shop through them. You can read my full disclosure here.
Tools and Materials Needed
Before starting, prepare all the necessary materials and tools. You will need a tape measure, level, chalk line, utility knife, circular saw, hammer, and a zip tool. Essential materials include vinyl siding panels, J-channel, starter strips, corner posts, nails, and house wrap. Having everything ready beforehand will make the process smoother and more efficient.
Preparation and Planning
Begin by measuring your home's exterior to determine how much siding you need. Measure the width and height of each wall, then calculate the square footage. Always purchase extra material to account for errors and waste. Additionally, plan for proper ventilation by installing house wrap or a moisture barrier. This step prevents moisture buildup, which can lead to mold and rot. Ensuring adequate airflow behind the siding is crucial for maintaining your home's structural integrity.
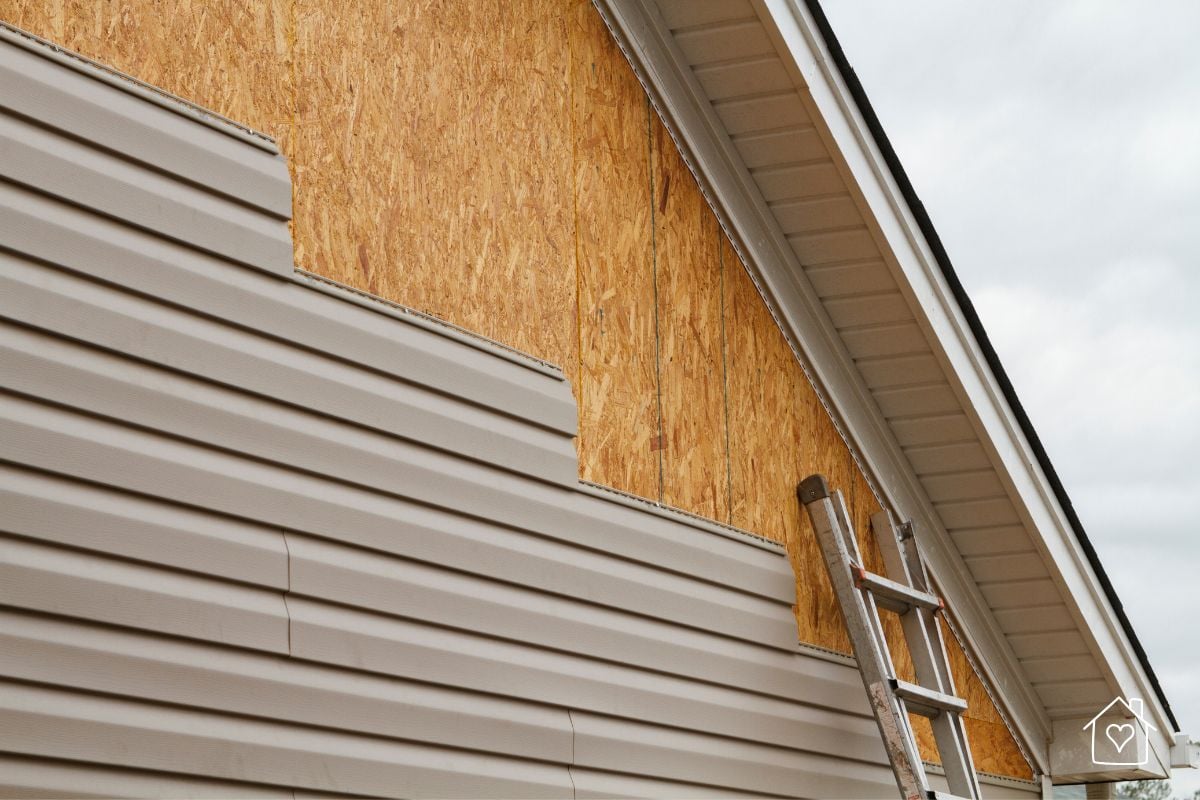
Removing Old Siding
If your home has existing siding, remove it carefully to avoid damaging the wall beneath. Start by prying off trim pieces, then work on removing the panels section by section. Dispose of old siding according to local regulations.
Once the old siding is removed, check the sheathing for any signs of damage or rot. Make necessary repairs, and replace any deteriorated wood before proceeding. A solid, well-prepared surface ensures that your new vinyl siding will be installed correctly.
Installing Vinyl Siding
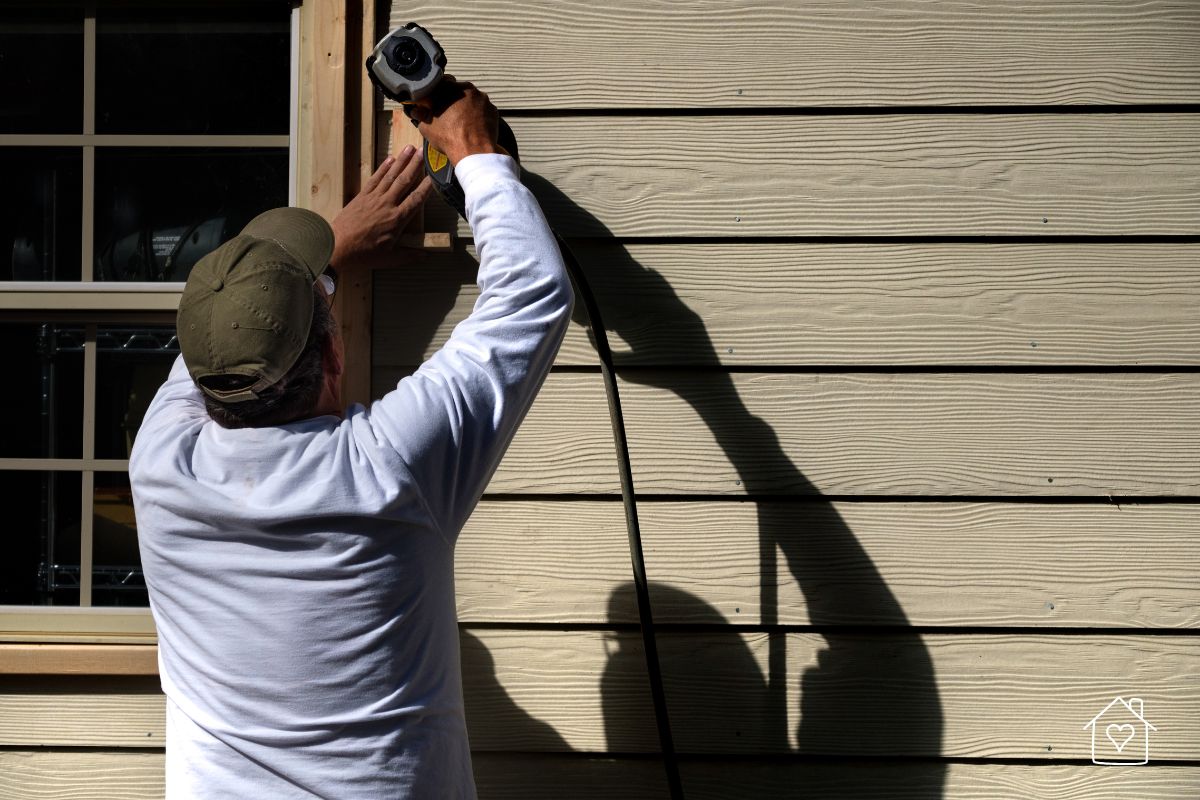
Begin by attaching the starter strip along the bottom of the wall. Use a level to ensure it is perfectly straight, as this will determine how well the rest of the siding aligns. Secure the strip with galvanized nails, leaving a small gap between the nail head and the strip to allow for expansion.
Next, install the corner posts, ensuring they extend slightly below the starter strip. These posts provide a stable foundation for siding panels to interlock properly. After the corner posts are in place, attach the J-channel around windows and doors to create a clean finish. Start installing the vinyl panels by locking them into the starter strip and securing them with nails. Avoid nailing the panels too tightly. Vinyl expands and contracts with temperature changes, so leaving a small gap ensures flexibility.
Continue working upward, ensuring each panel locks securely into the previous one. Use a level frequently to check alignment and make necessary adjustments. For more detailed guidance on how to install vinyl siding, consult professional resources or seek expert advice to achieve the best results.
Final Adjustments and Maintenance
Once all siding panels are installed, conduct a thorough inspection to ensure everything is secure and properly aligned. Pay close attention to seams and edges, making sure they overlap correctly for optimal weather resistance. Trim any excess material for a neat finish.
Regular maintenance will keep your vinyl siding in top condition. Clean it annually with a mixture of mild soap and water to remove dirt and mildew. Inspect for loose panels or damage, especially after storms. Proper upkeep extends the lifespan of your siding and keeps your home looking fresh for years.
Endnote
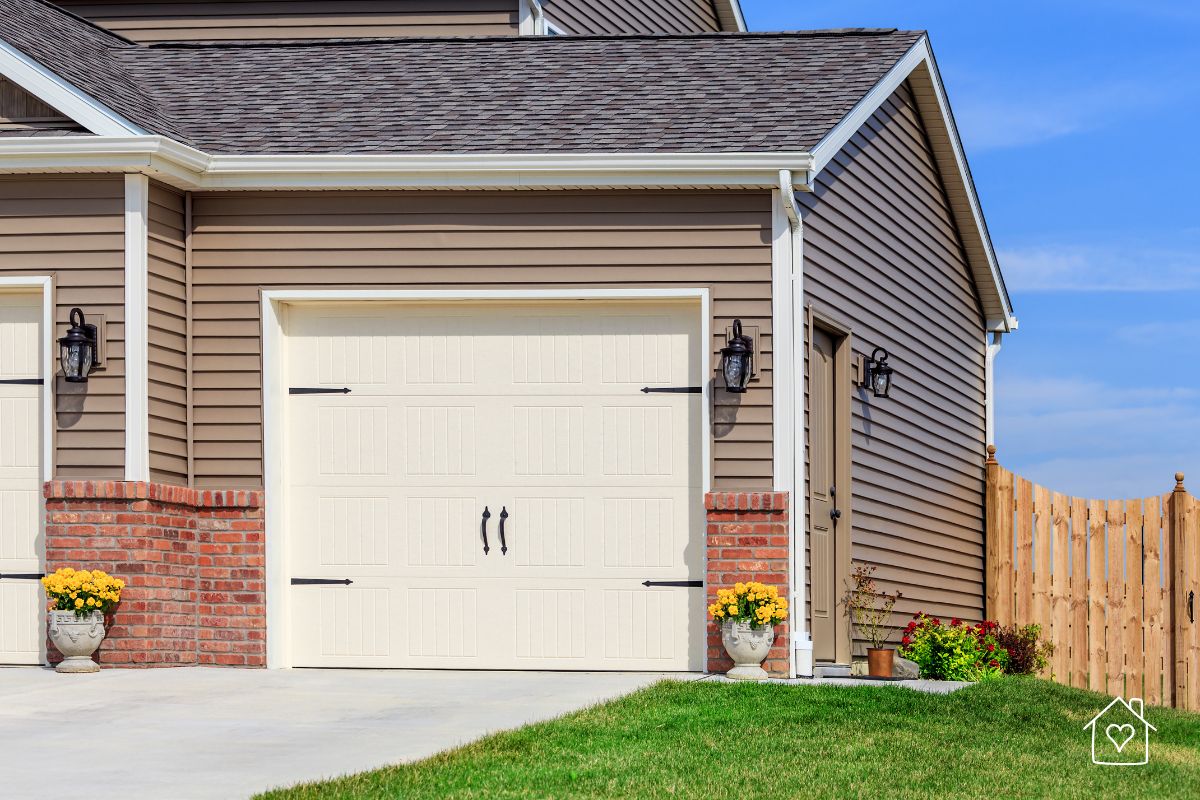
By following these steps, you can successfully complete the installation and enjoy the benefits of durable and visually appealing vinyl siding. With proper installation and minimal maintenance, your vinyl siding should look great and protect your home for 20 to 40 years. It's a project that requires patience but delivers satisfying, long-lasting results.