Personalize a Mug with Cricut Vinyl
Personalize Almost Anything with Cricut Explore Air including mugs and more!
I wait until the last minute. It's what I do. I don't like it but it seems to always, inevitably, happen. Are you like that? Do you ever wait until the last minute to make a gift OR have you been trying to find just the right gift for someone and you aren't having any luck whatsoever?
If this sounds like you especially when it comes to gift giving there is a way you can make something totally unique to the person you are giving the gift to in under an hour and probably in under 30 minutes.
The other day was Father's Day and I wanted to give my husband something special from me. I had every intention to make everything in advance but the way things worked out, that didn't happen, so after I got dinner started (on Father's Day) I pulled out my Cricut and made him two gifts.
While I have done the iron-on process before using my Cricut (shirts with the name of my youngest son's YouTube channel name on them) I have never done vinyl on a mug so this was a great chance to do both.
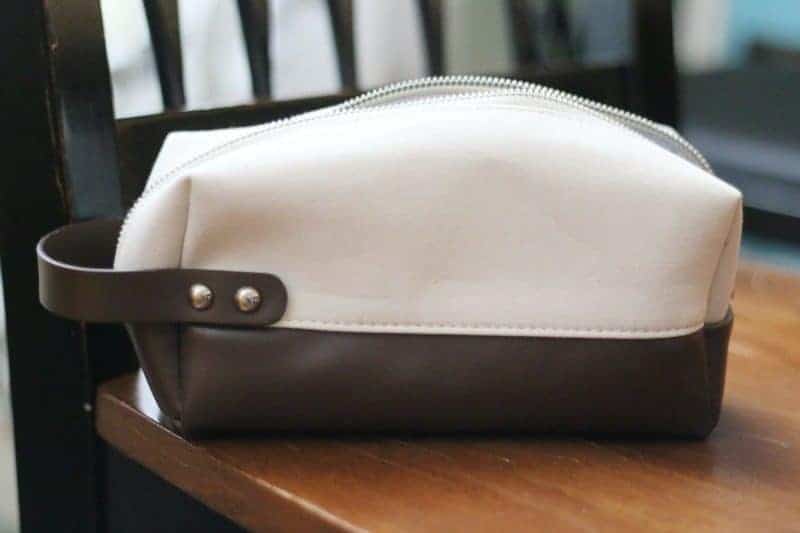
First, I personalized this plain dopp/toiletry kit that I bought at Target.
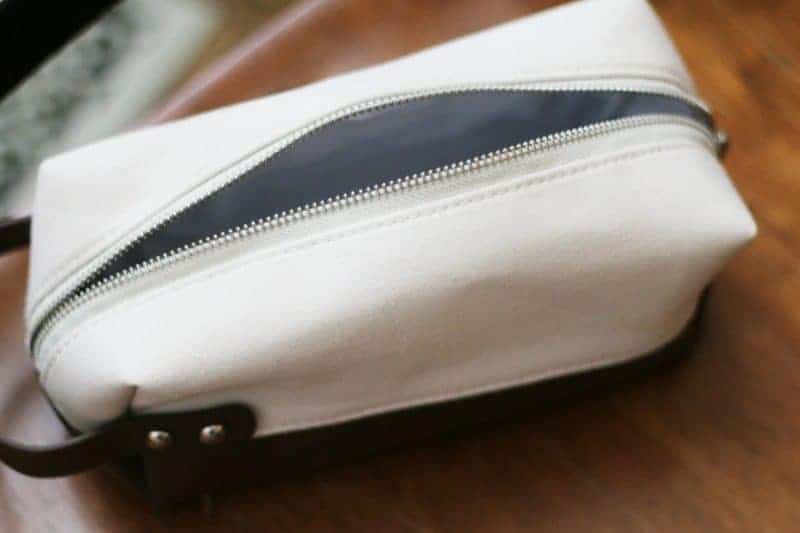
The bottom of the bag is vinyl and the top is a canvas type material.
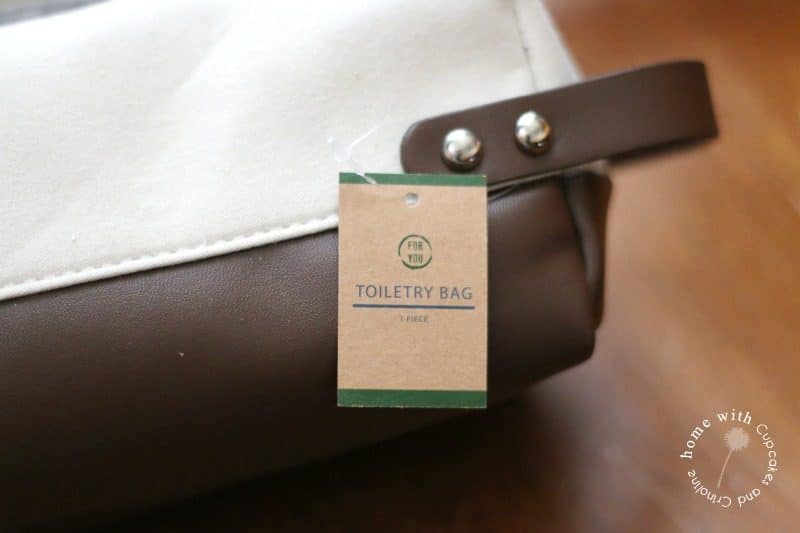
The best part, and don't tell my husband 😉 - is that it only cost $3.00. I figured that even if I didn't get a chance to personalize it or if I screwed something up, it was only 3 bucks!
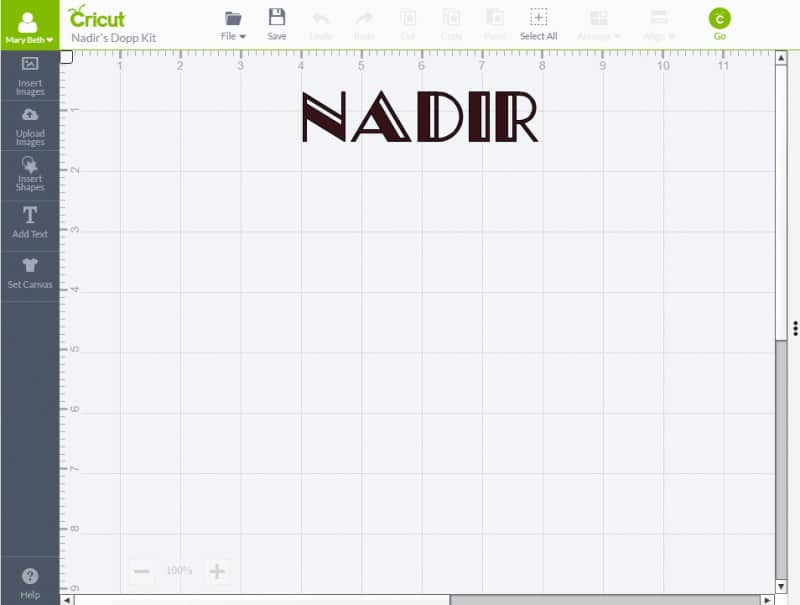
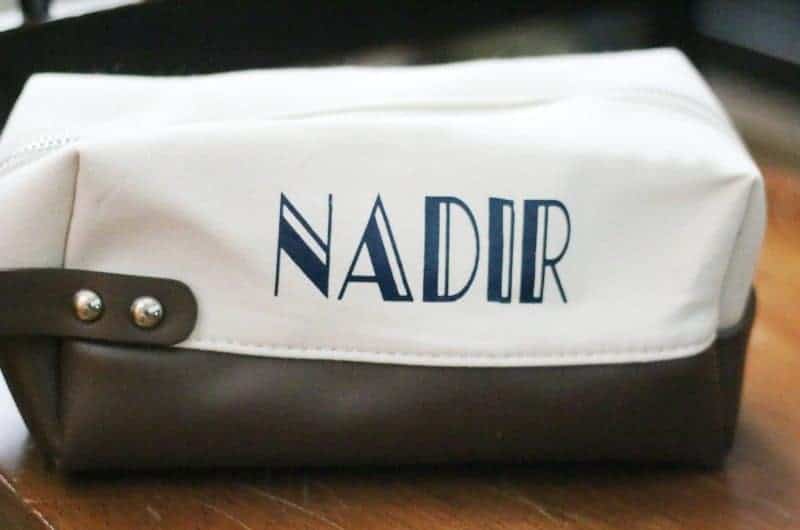
I signed into the Cricut Design Space (which I love!) and customized the size and font I wanted with my husband's name. I chose the Art Deco font and, yes, that's his name. I can NEVER find anything personalized for him so I decided to just make something, finally!
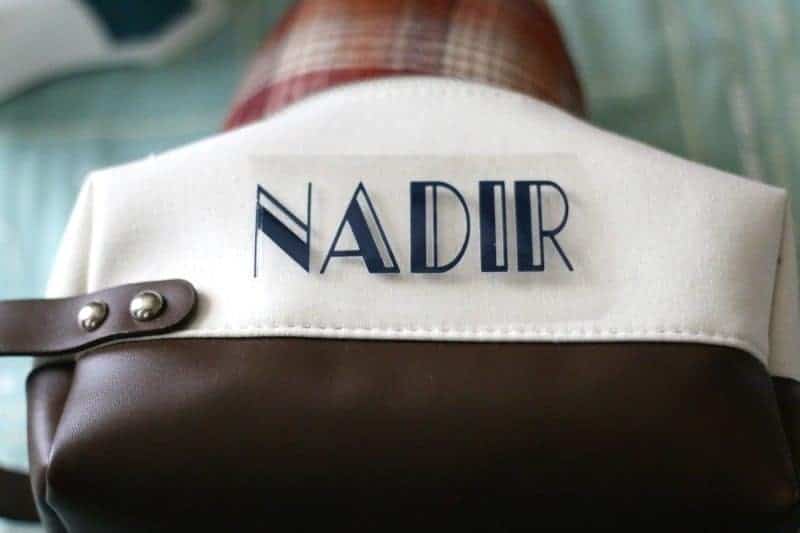
I used Cricut Iron-On Lite in Navy Blue - it's what I had on hand (last minute and all) but I do love the contrast it provided so it all worked out for the best.
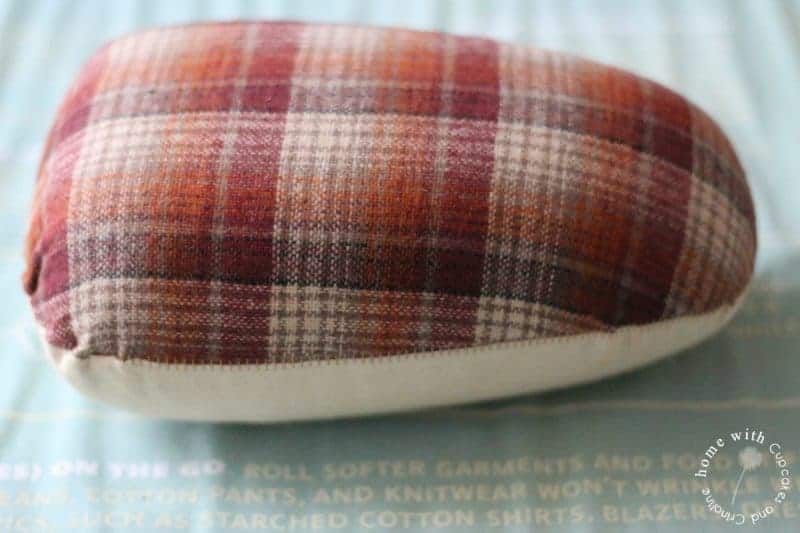
*Here's a little tip. When ironing something that's not flat or can't be flattened use a Tailor's (also called a Dressmaker's) Ham. I bought this one ages ago and I can't tell you how many times I use it. It was perfect to iron the name on to my husband's bag. I followed the directions that come with the Cricut Iron-On and it worked out perfectly.
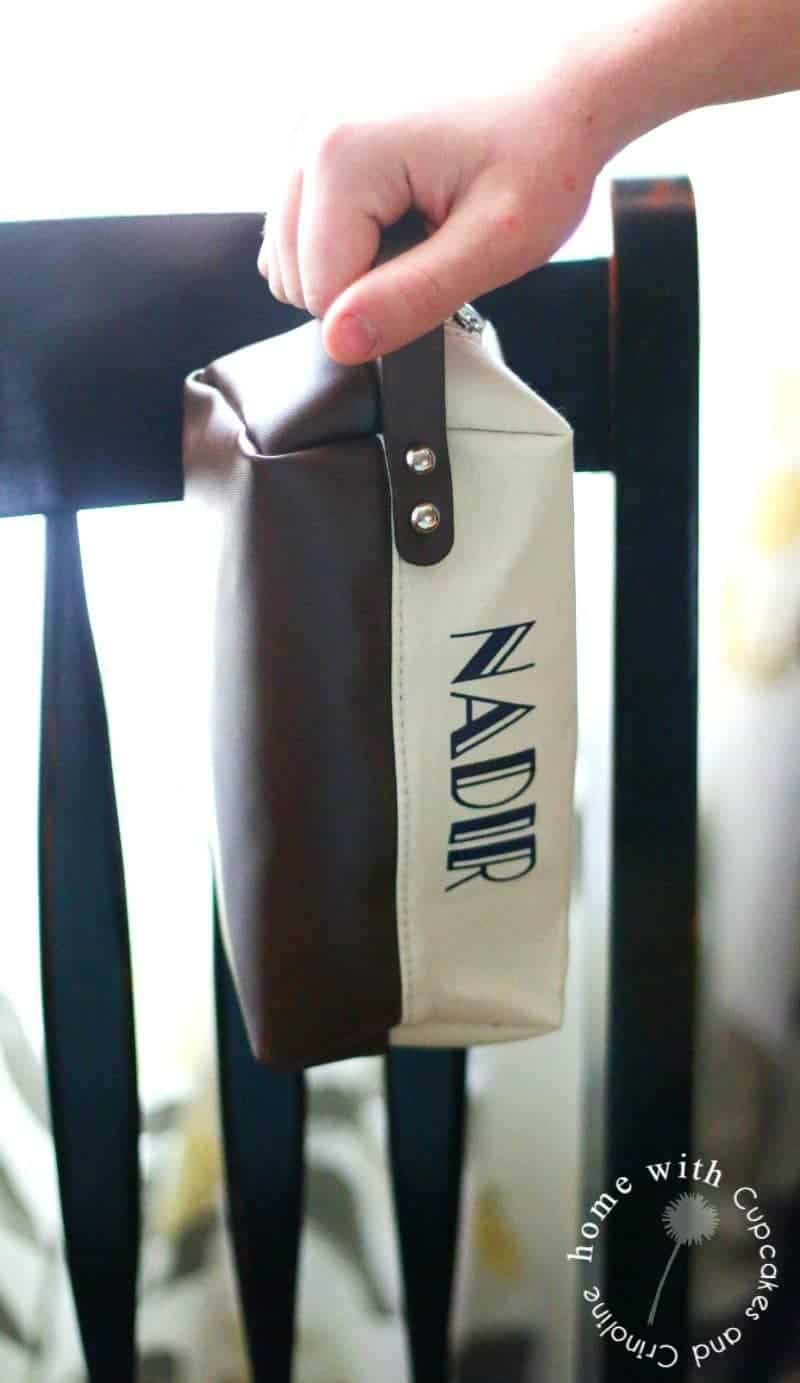 One project down, and one to go! The mug has a few more steps than the above did but in the end, I really like how it turned out.
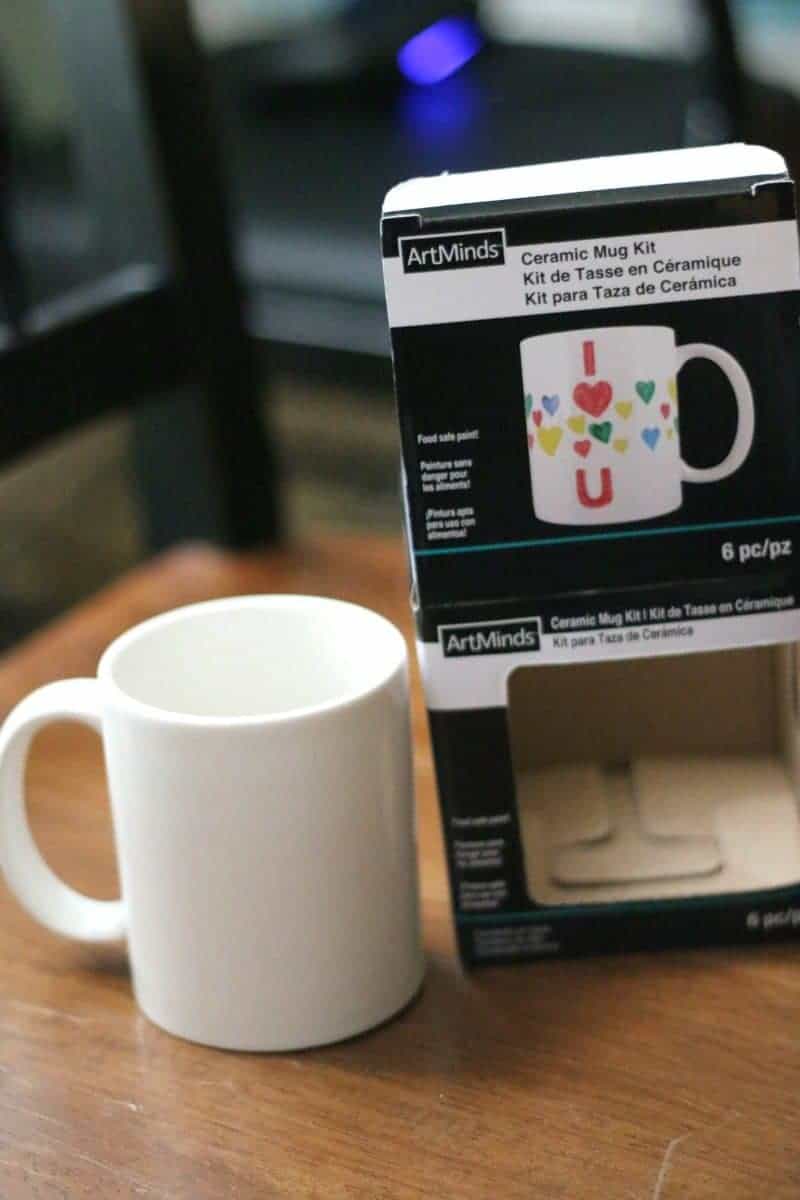 I started out with a plain ceramic mug from Michael's. I washed it and dried it and usually, I would wipe a surface like this with rubbing alcohol but I forgot. If you do this, wipe your mug down just to be sure everything sticks properly.
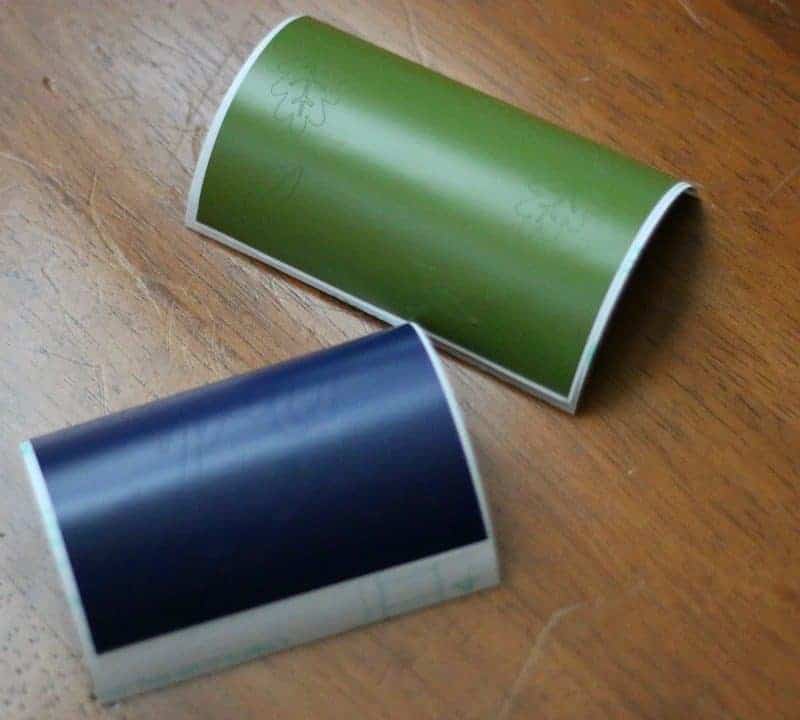
Next, I found a design for my mug on Lia Griffith that I really liked and that's what I used. You can find the details here. You can also design something of your own or find inspiration in the Cricut Design Space. I have a membership and there are always a lot of free SVG files, etc., there PLUS they literally just revamped the site and today was the first chance I had to check it out. It is even more awesome with a search option available now that wasn't before so you can find exactly what you're looking for without having to scroll through hundreds of projects.
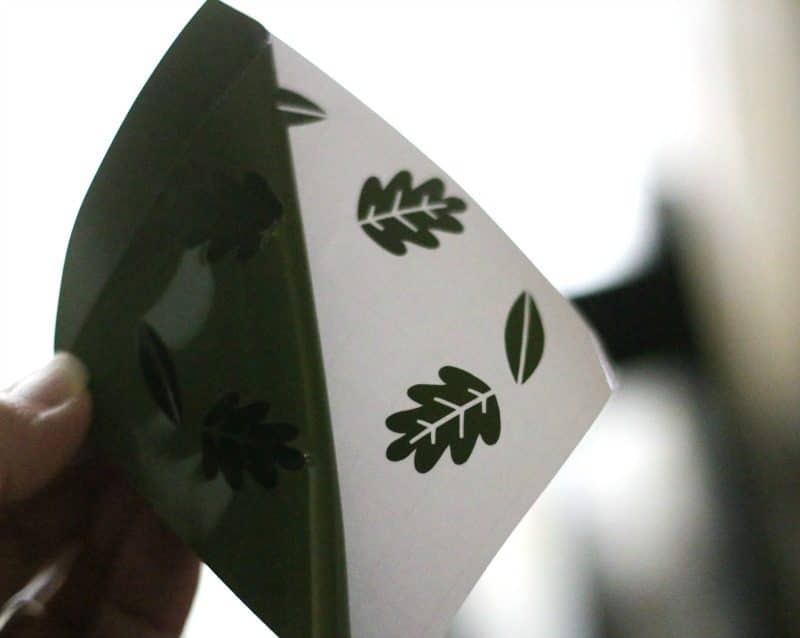
Now, back to the mug! Once you have made your cuts, remove the negative space leaving the cutout vinyl only on the backing.
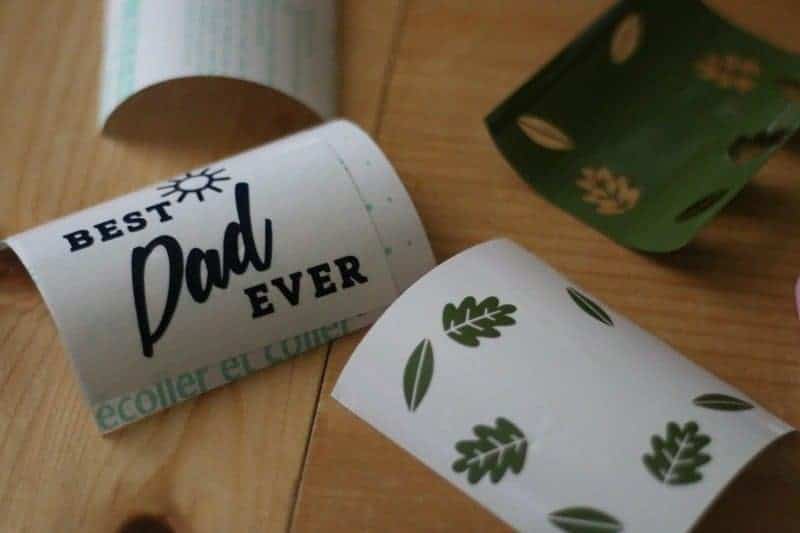
You'll be left with the vinyl that you want to place on your mug.....
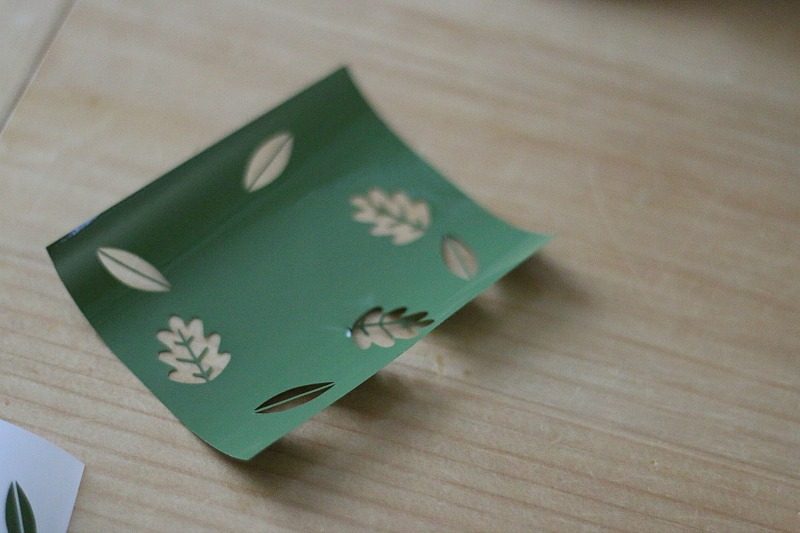
You'll also be left with a cute little stencil of sorts that you'll be tempted to keep for future use BUT you'll throw it away because oh my goodness the last thing you need is another little somethin' somethin' in your craft room. That was totally a rant to myself. 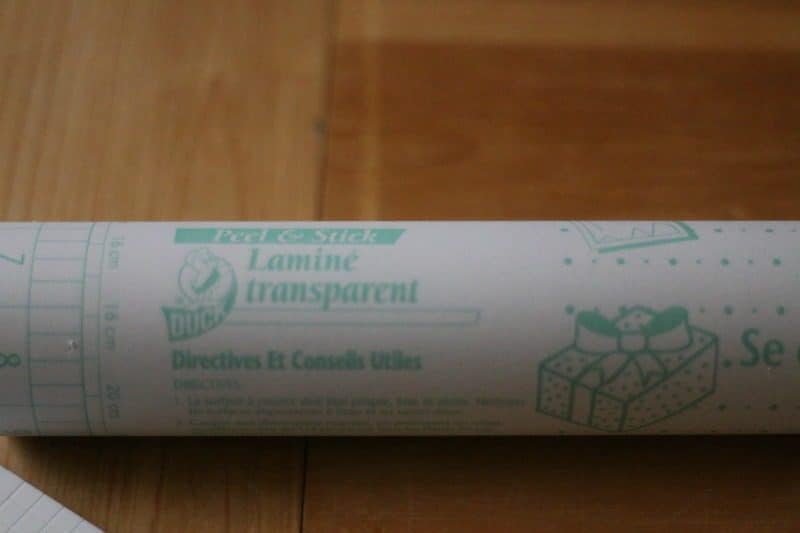
I do not have transfer tape, which is a Cricut product, but I did have this Peel and Stick laminate from Duck Tape on hand so I used this to move the vinyl from the backing to the mug while maintaining the spacing of everything. I cut out two pieces of the peel and stick a little larger than each of my vinyl cuts.

I removed the back side of the laminate leaving only the clear sticky side and placed this sticky side down on my vinyl cuts. 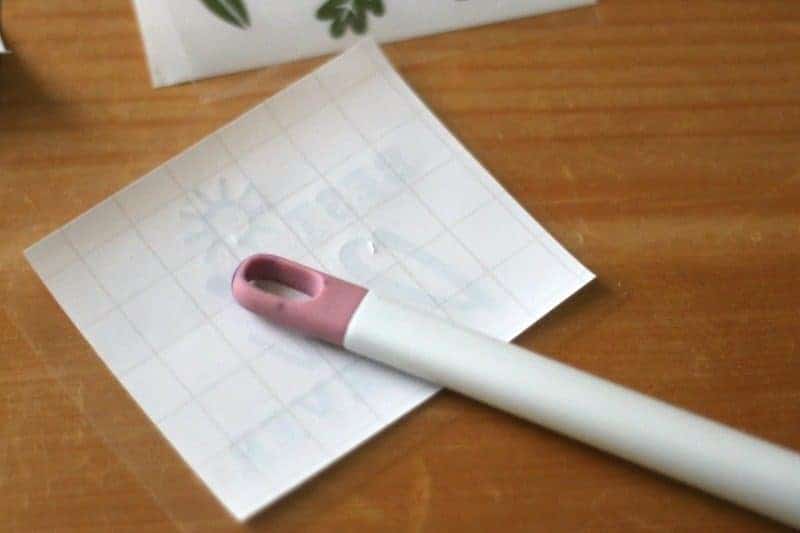
I flipped my transfer over and rubbed with a bit of pressure to make sure that my vinyl cuts stuck to the sticky side of the peel and stick laminate.
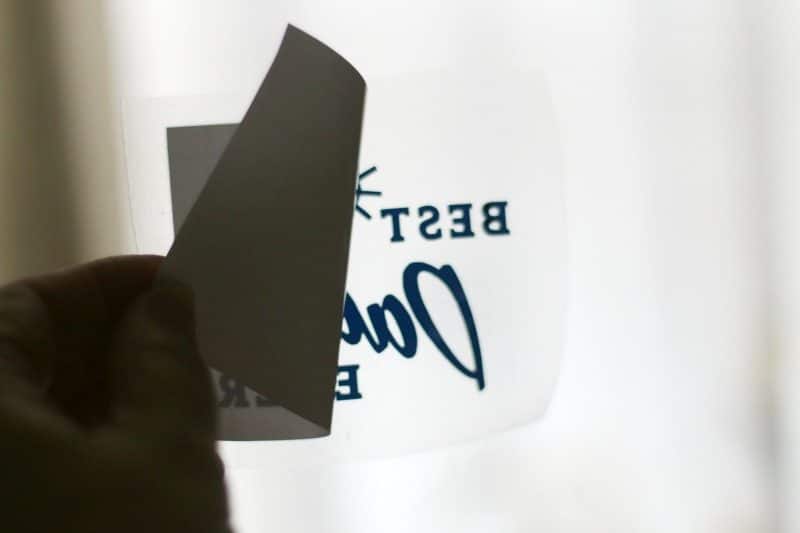
I then slowly and carefully started to remove the laminate backing leaving just the vinyl cut intact on the sticky surface.
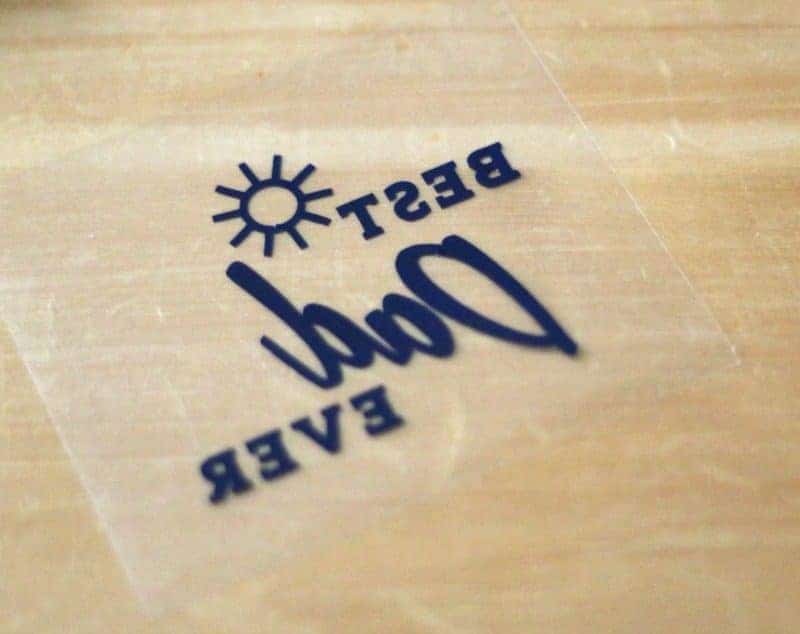
Now I'm all set to place my message on to the mug.

Apply the sticky side of the laminate or transfer tape onto your mug and make sure you like the placement. If you do, rub down each letter and object all the way to the edges so you get good adhesion.
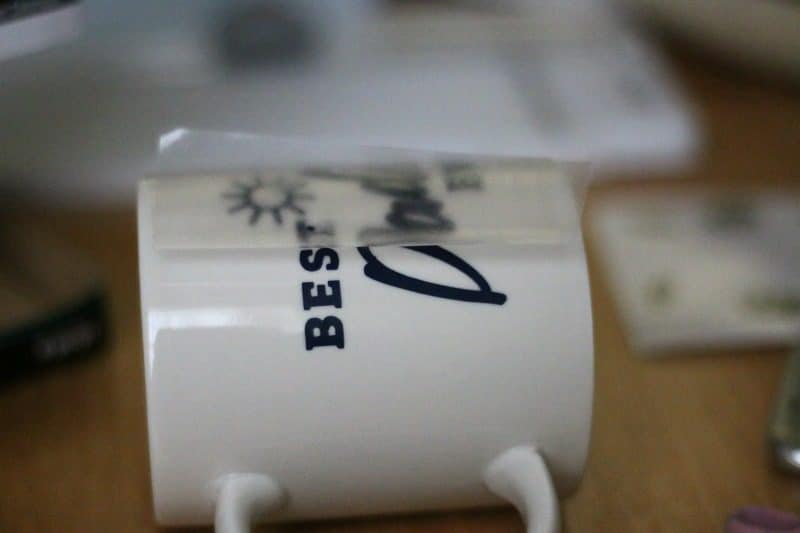
Gently roll the laminate away from the vinyl and the mug. It's important to do this slowly. If you notice anything lifting, stop and rub the vinyl into place.

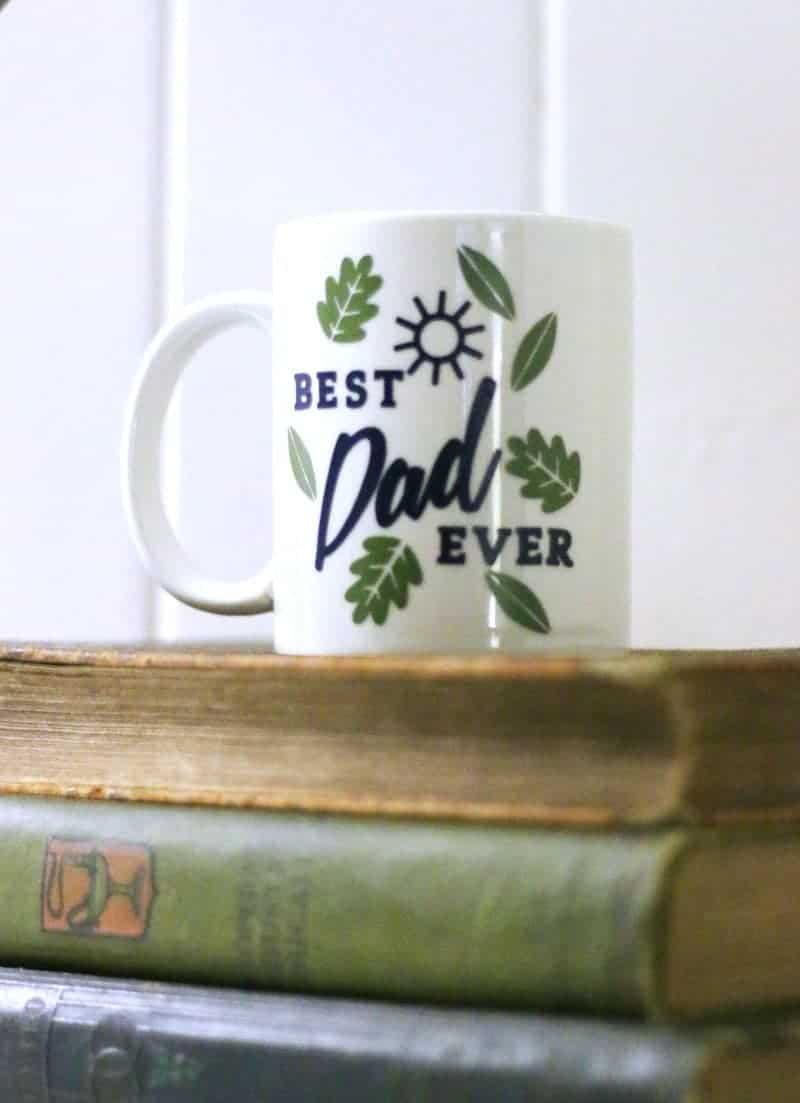
One layer done! I repeated the same process as above with the green leafy layer.
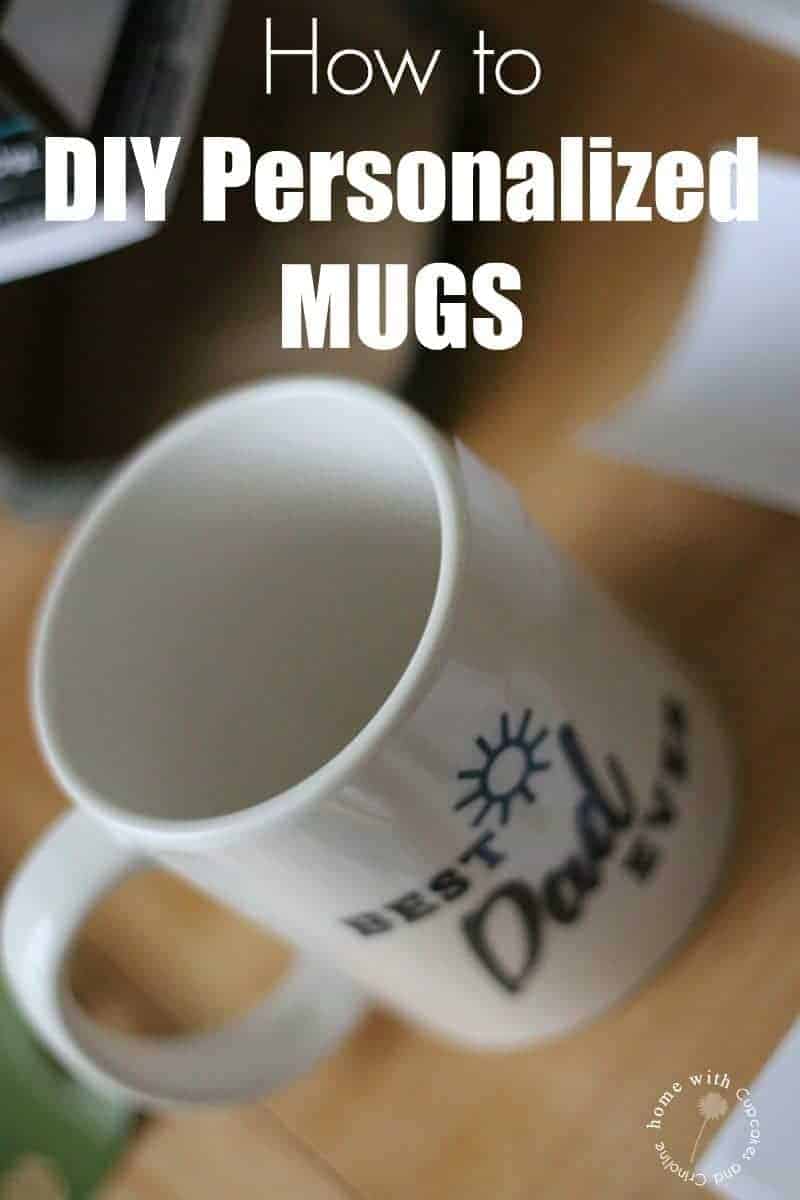
And there you have it - your finished mug!

These would really be a great gift for batch giving as well for special events.
If you have a Cricut have you tried this yet? How did it turn out? If you have ANY tips, I would love to hear them.
Thanks so much for stopping by.




WOW! Your gifts came out beautifully!! I am so impressed! I bet Nadir LOVED them, too! I love your styling and photography. You rocked this MB!!! xo
Thank you so much for the encouragement, Diane!