Turn a Plastic Container into a Cute Planter Pot
A few weeks ago I saw a cute planter pot and thought about getting it....but, it was $29.00 and, the feeling of wanting to buy it quickly passed.
I kept thinking about it and then, I walked past the recycling bin and saw an empty cottage cheese container and...bam....I had an idea! I could turn that plastic container into an adorable polka dot planter!
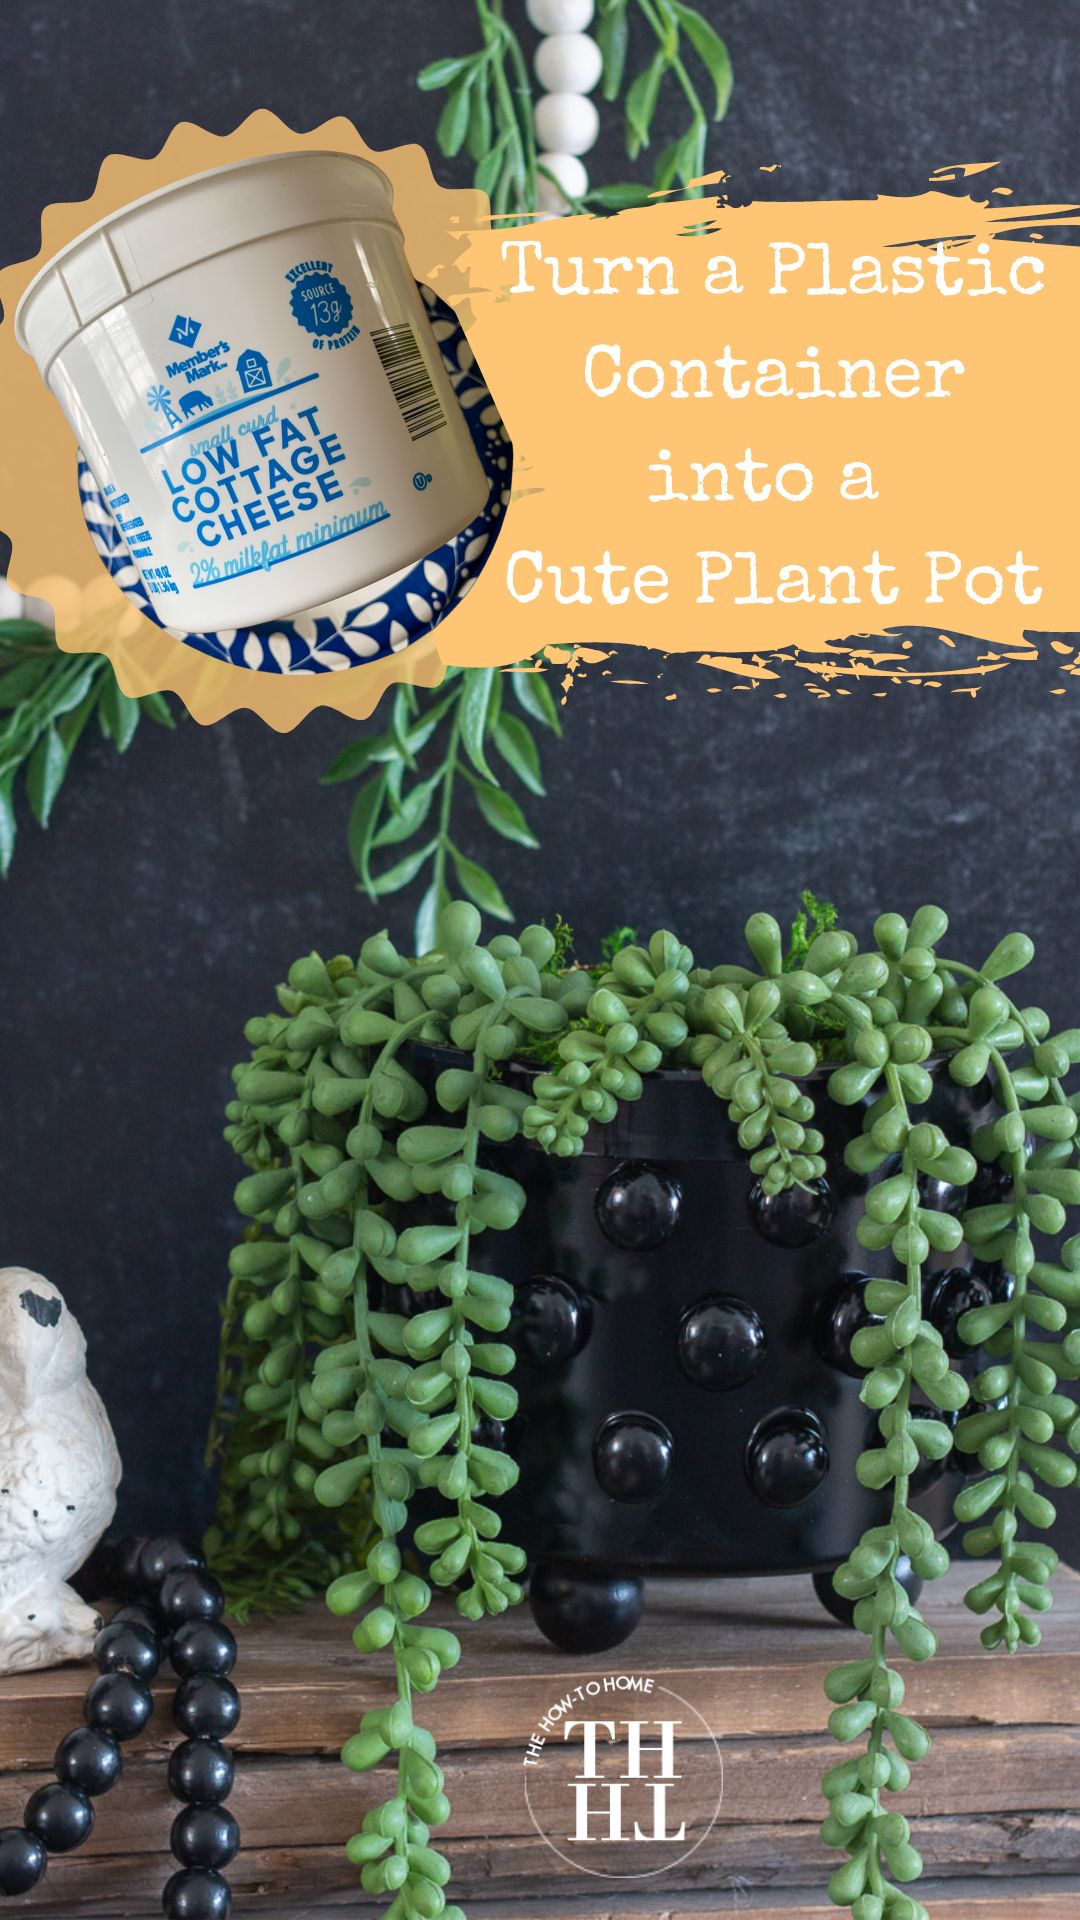
I headed to the Dollar Tree to get a few supplies and then checked my craft room and I had everything else I need to make the little polka dot pot above!
It's an easy, fast, and fun project and it's what I'm sharing this month as part of the Thrifty Style Team! Once you've finished reading my tutorial be sure to keep scrolling to see all of the other projects from the team as well as links to visit their beautiful thrifty inspiration.
*This post may contain affiliate links and I’ll earn a commission if you shop through them. You can read my full disclosure here.


The polka dot planter above (it's from Décor Steals) is the one that sparked the idea for this DIY.
*This post may contain affiliate links and I’ll earn a commission if you shop through them. You can read my full disclosure here.
Jump to:
📋Supplies
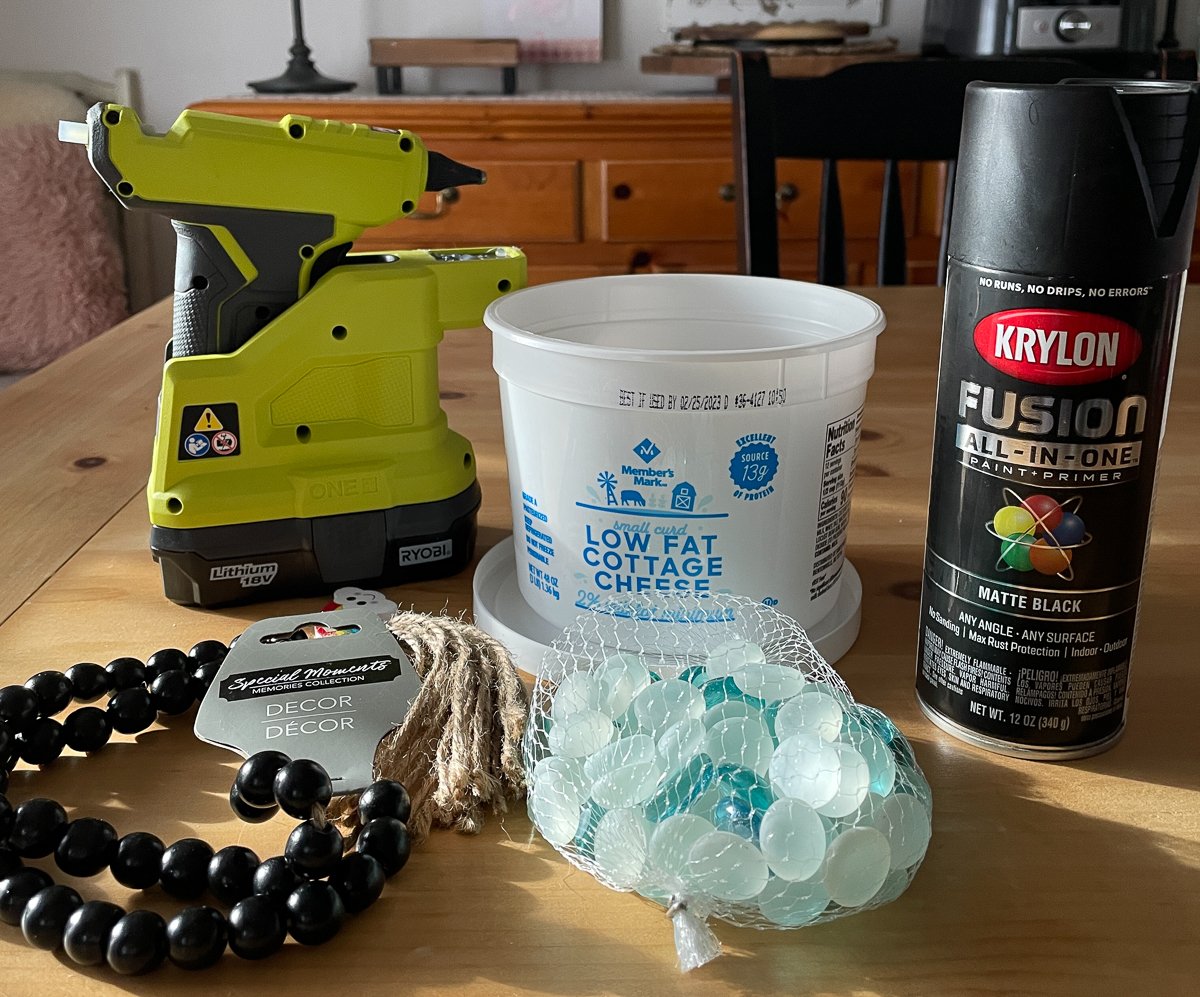
- plastic container - I used a large cottage cheese container
- 1 bag of glass accent gems from the Dollar Tree (I used aqua mist decorative gems)
- glue gun - this cordless one from Ryobi is my go-to!
- Spray Paint - Kryon Fusion All-in-One Matte Black
- small wooden craft balls with one flat side - I honestly don't remember where I got the ones I used for this but it was probably Hobby Lobby and if I remember for sure, I'll add a link.
The black wood bead garland is not necessary to make this plant pot but I bought it at the Dollar Tree as well so I wanted to share it with you. You can't beat it for $1.25!
✨Instructions
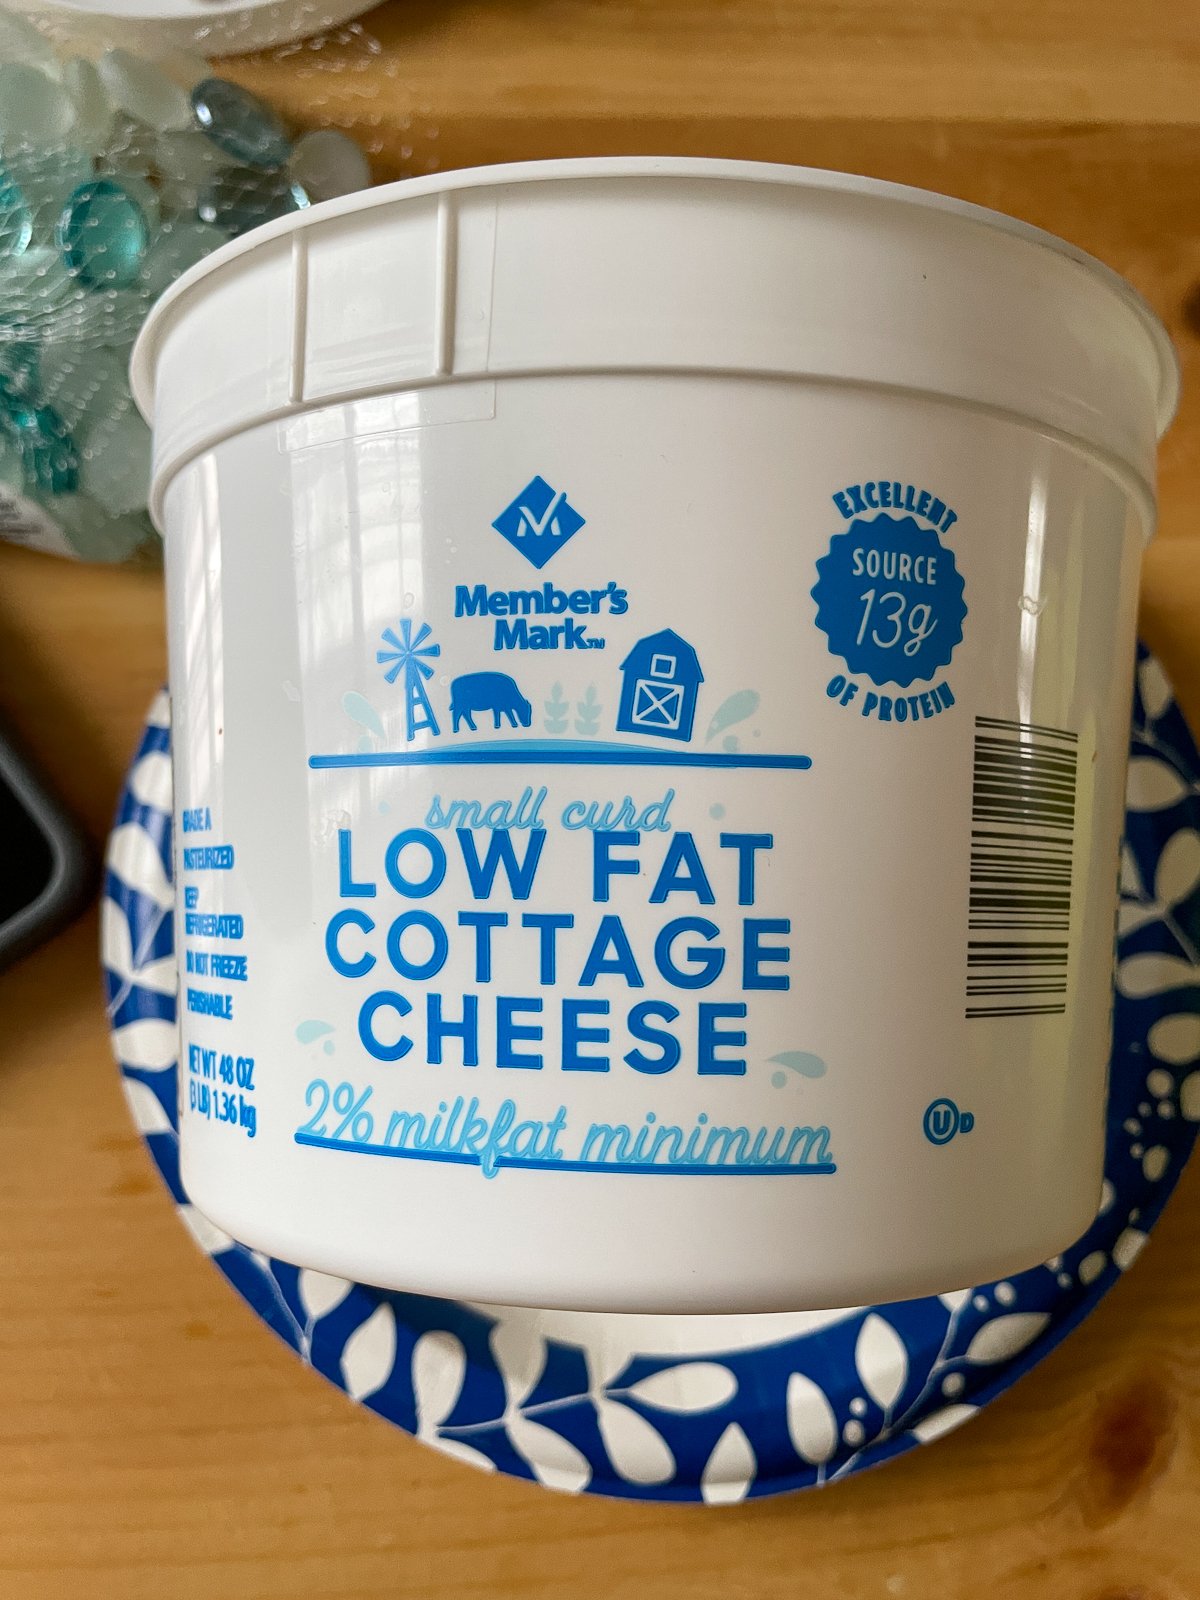
Wash and dry whatever container you'll be using! I didn't want to use anything too tall because I was concerned that it might be a little top heavy once I glued on the gems.
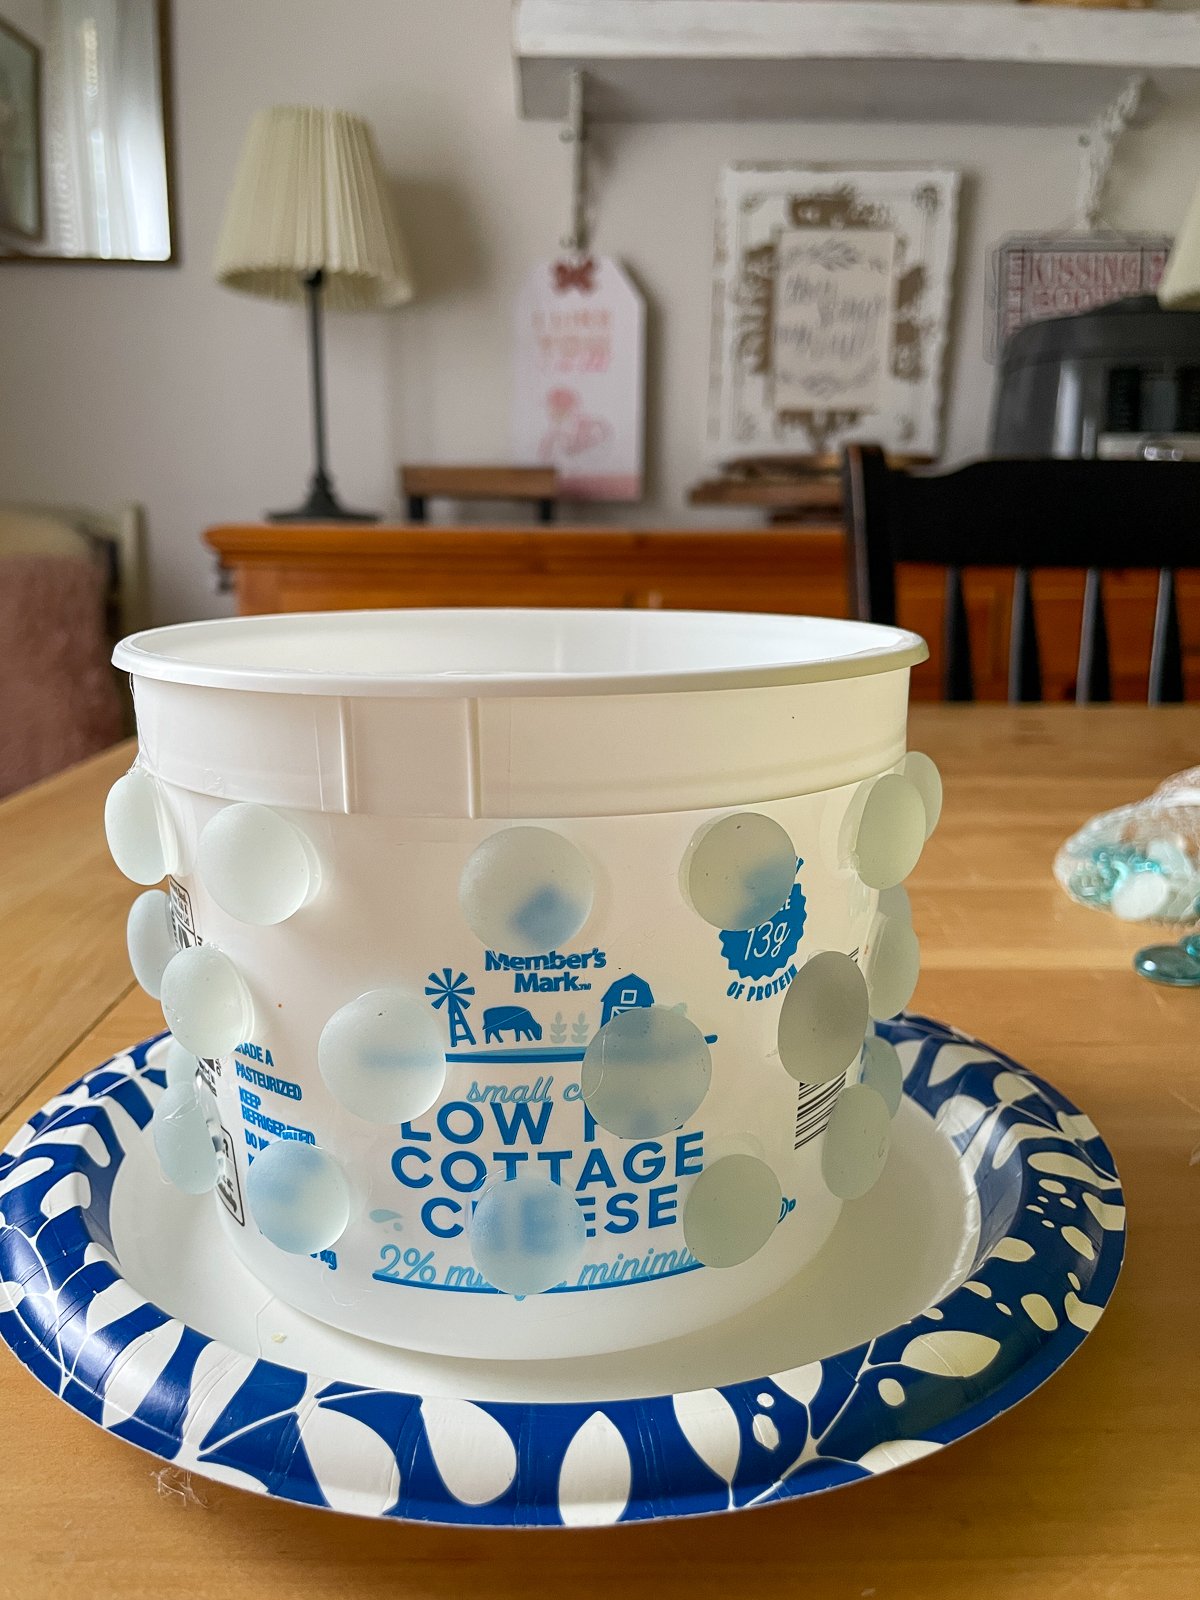
I eyed up the placement of the gems and started gluing away using my glue gun. I picked out all the smooth (non-shiny) gems from the bag in the same color so that when I spray painted it the finish would be even.

Once I was done gluing on the gems I attached 4 wooden feet to the base once again using a glue gun.
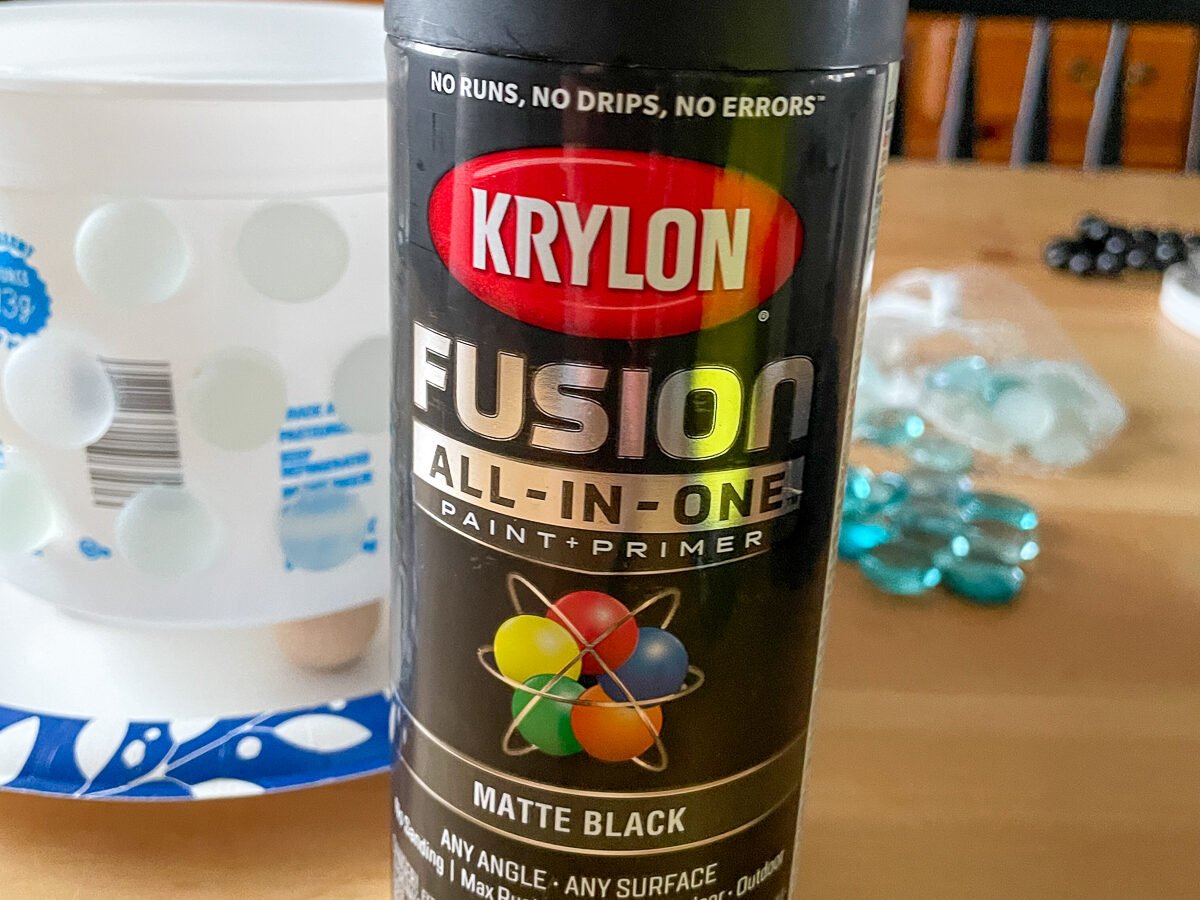
My original intention to get the same matte finish as the inspiration piece and to use the spray paint above. It was brand new can but when I popped off the cap I broke off the spray button....I was so ticked off...but, I did have another can of black spray paint in the garage so, the project wasn't a total loss but I think I'll redo it with a matte paint...maybe, because I'm just not feeling the glossy look.

I spray painted the entire planter. It took three coats to cover it all but it is a good finish.

Once the planter was dry I added a piece of dry foam (also from the Dollar Tree) to the base of the pot and added some faux greenery.

And, that's it! I really like how this turned out and I may repaint it in a matte black finish as I said and I may also make a few more in pastel colors for spring!
Now for the shares from the rest of the Thrifty Style Team!

Redhead Can Decorate - How to Make a Fake Orchid Look Real
Our Crafty Mom - Simple Wood Bench With A Boho Vibe
I Should Be Mopping the Floor - Using Wallpaper as Artwork
The How to Home - You are here!
DIY Beautify - Chenille Hearts Bowl Filler
2 Peas in a Pod - DIY Chinoisere Balls
Songbird - Best Flowers for Home Décor
Simple Nature Décor - Decoupage Easter Eggs
Zucchini Sisters - Dollar Tree Spring Wreath Simple DIY
Sonya Burgess - Budget Friendly Art
Exquisitely Unremarkable - Red Thrift Store Glass Vase Makeover
A Life Unfolding - Turn a Jar Into a DIY Terrarium


Who knew cottage cheese containers could be so elegant! Great transformation!!
OMG Mary Beth - this is brilliant. Love the transformation. You are so smart.
Oh I love this Mary Beth! The polka dots are everything 🖤 I had no idea Dollar Tree was selling wood bead garlands! Will have to stop by soon!
I love how this turned out! I like yours better than the original. And the styling with the black bead necklace is just perfect.
Great idea! I love using free objects and repurposing them. What a great finished vase you have. Keep those great ideas coming. I love trying these projects.
Absolutely BRILLIANT, MB!!!!! And I'm totally doing this-we eat cottage cheese like crazy around here 😆
Holy cow, Mary Beth! What a makeover! This new planter turned out FANTASTIC! xoxo, kristi
What a great idea for all those old plastic containers! Pinned.
What a great idea for all those old plastic containers! Pinned.
This is the best idea and so thrifty. Thanks so much for sharing, can’t wait to try this.
Mary Beth, your project is genius! I love this idea and can't wait to give it a try! Pinned!
Mary Beth, this is so creative! Who knew a cottage cheese container could be so chic? I'm loving the Boho vibe of your planter. Pinned 🙂
Hello could you tell me where you found the faux greenery? I have been looking for one exactly like the one pictured! Thank you 😊
Hi Heather! Thanks so much for stopping by. I found that particular faux greenery at Michael's but I've seen similar ones at Hobby Lobby. 😊
This turned out to be adorable! Great eye!
Thank you so much, Mandee! xo