How to Bleach Pine Cones
So the title seems simple enough but last year when I did this I found I had a few questions and some parts of the process that nobody warned me about. I need details ~ that's just who I am so in case you're like me I'm here to hold your hand and walk you through this.
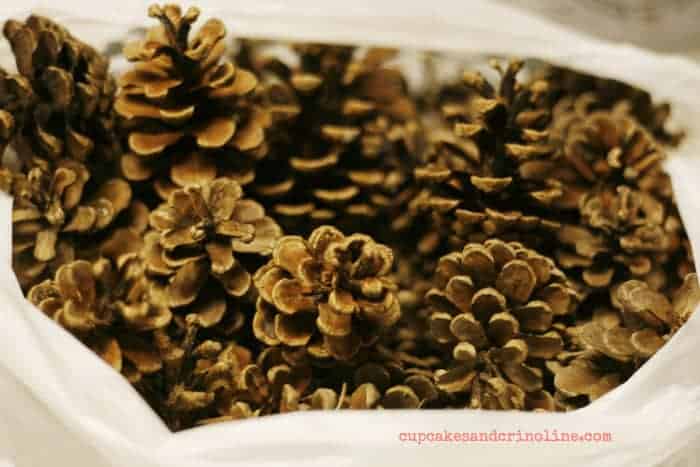
First, gather your pine cones. In my case I had my kids go out in the yard and scrounge up as many big ones as they could find. Now, here's where I had the question marks swirling around my head. The boys brought in the pine cones and in almost every case they were OPEN ~ some wide open some just part of the way open but in all cases, OPEN.
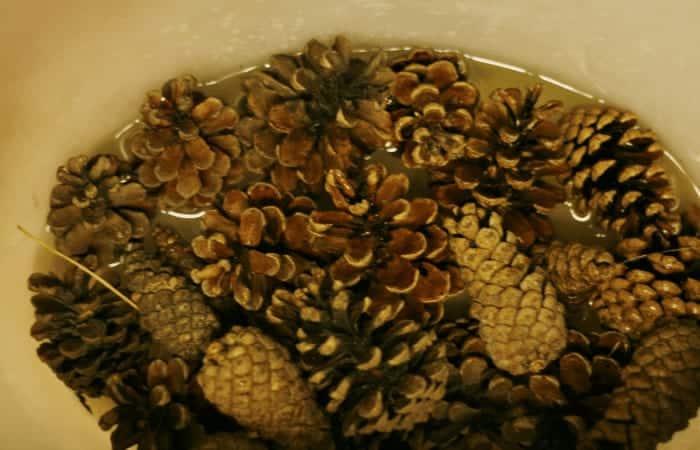
I placed the pine cones in a bucket and added one part bleach to three parts water. Don't do this anywhere where you can breathe it ~ it will smell nasty! Put it in the garage or in a covered area outside ~ you get the idea.
I let the pine cones sit in the bleach mixture for 24 hours.
Now, this is where it got tricky for me. The next day after waiting the 24 hours when I went to get the pine cones out of the bleach for the next step and they were closed tight and dark brown....not open, white and fabulously shabby chic. I thought I did something wrong so I sent the boys out again for another go at the entire process.
Next day, the same thing. Closed and dark. That's when it dawned on me that the pine cones close up when they are wet.....total DUH moment.
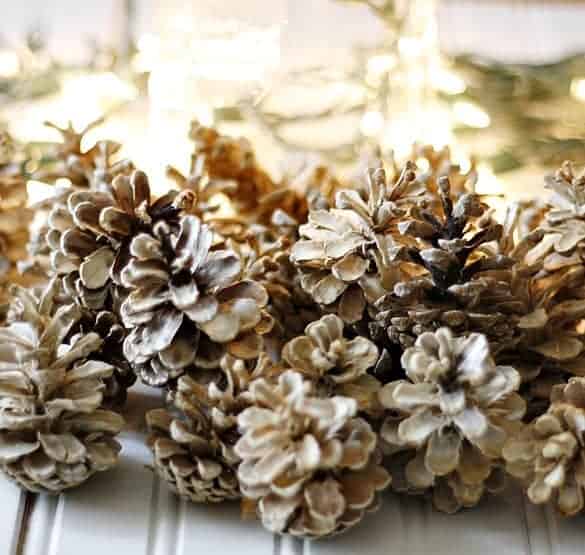
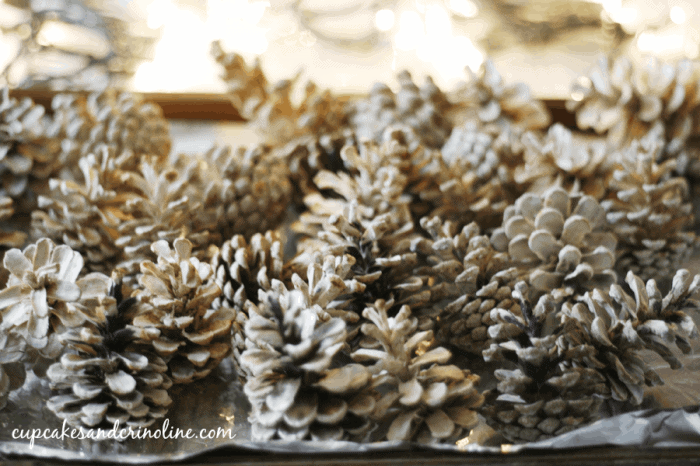
Now, at this point, you can either let the pine cones air dry on newspaper or paper towels for several days or you can place them on a cookie sheet covered with foil and place in a 275° oven for one to two hours and that's it. NOW you'll have beautiful white, fully opened and fabulous pine cones to decorate with.
So here's the lesson learned in a nutshell ~ PINE CONES CLOSE UP WHEN THEY'RE WET ~ that's pretty much all you need to remember! 😉






Beautiful! You'll have so much fun decorating with them, Mary Beth. Last year I picked up a bunch of pine cones that weren't open and baked them with the others to make sure I didn't have any bugs and voila! they were open and the resins hardened. It was such a surprise to me that I wrote a post on it. I'm so glad you figured it out. And now you have tons of extra pine cones to play with. Happy Day!
I had pine cones from years ago that my Dad used to collect for me. I've decorated with those every year so this was the first time I didn't mind 'testing' on some pine cones just to see what happened. I was so thrilled with the outcome. I just wish I could find some really BIG pine cones to make even more of a decorating splash! Thanks so much for stopping by, Diane!
Okay see - I did not know this either! Thanks for the fun hand holding; I may be inspired enough to actually try this.....
You're welcome sweet, Deb! Do you even have pine cones where you are now???? (see how little I know) big hugs
I didn't think there'd be pine cones here either, but there are scads!
: )
Big scads???? If they're big ole pine cones I should probably come down for a visit and get some! miss you xoxo
Get out of town! I did not know you could bleach pine cones! My head is spinning thinking of all the shabby chic things I can make with these.
Thanks so much for the great tutorial and the heads up about them closing up when wet. 😉
I would love for you to share this post at my Show Me Saturday linky party. We are live now!
~ Ashley
Thank you, Ashley. I'm sure you'll create something amazing! I joined the party and added it to my calendar. Thanks so much for the invite. Have a wonderful week.
OMGosh Mary Beth this is brilliant!! Pinning! xo
Thank you so much, Claire! *hugs*
Great info. Thinking about doing this as we have a lot of pinecones in our yard. Thanks for the tips!
Thank you, Patti!
I love this idea and the look of these pine cones! Pinning! Thank you for sharing on Show Me Saturday!
These are gorgeous! One question though-if you dry the pine cones in the oven is the smell overwhelming? I usually get a whopper of a headache if I use bleach.
Thanks!
Thanks so much, Lynn. I didn't find the smell overwhelming but I did wait a few days before I put them in the oven just because of timing but that may be the way to go.