
Easy DIY Leather Plant Hanger
DIY Leather Plant Hanger
One of my favorite craft materials to work with is leather scraps.

I've made feather earrings and Joanna Gaines copycat earrings with them, a tassel keychain, and a few other small crafts and home decor items.
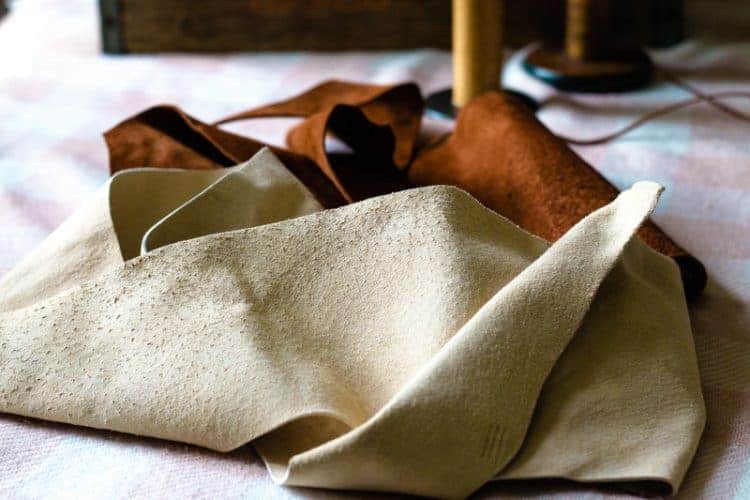
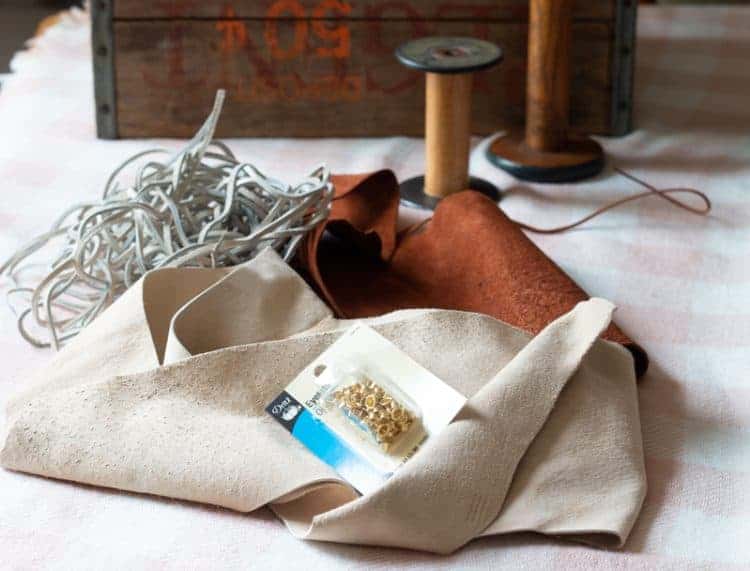
I recently bought a small bag of leather scraps from Hobby Lobby for $2.99 plus 40% off, so about $1.80 and used those scraps to make this groovy DIY leather plant hanger for this month's Thrifty Style Team post.
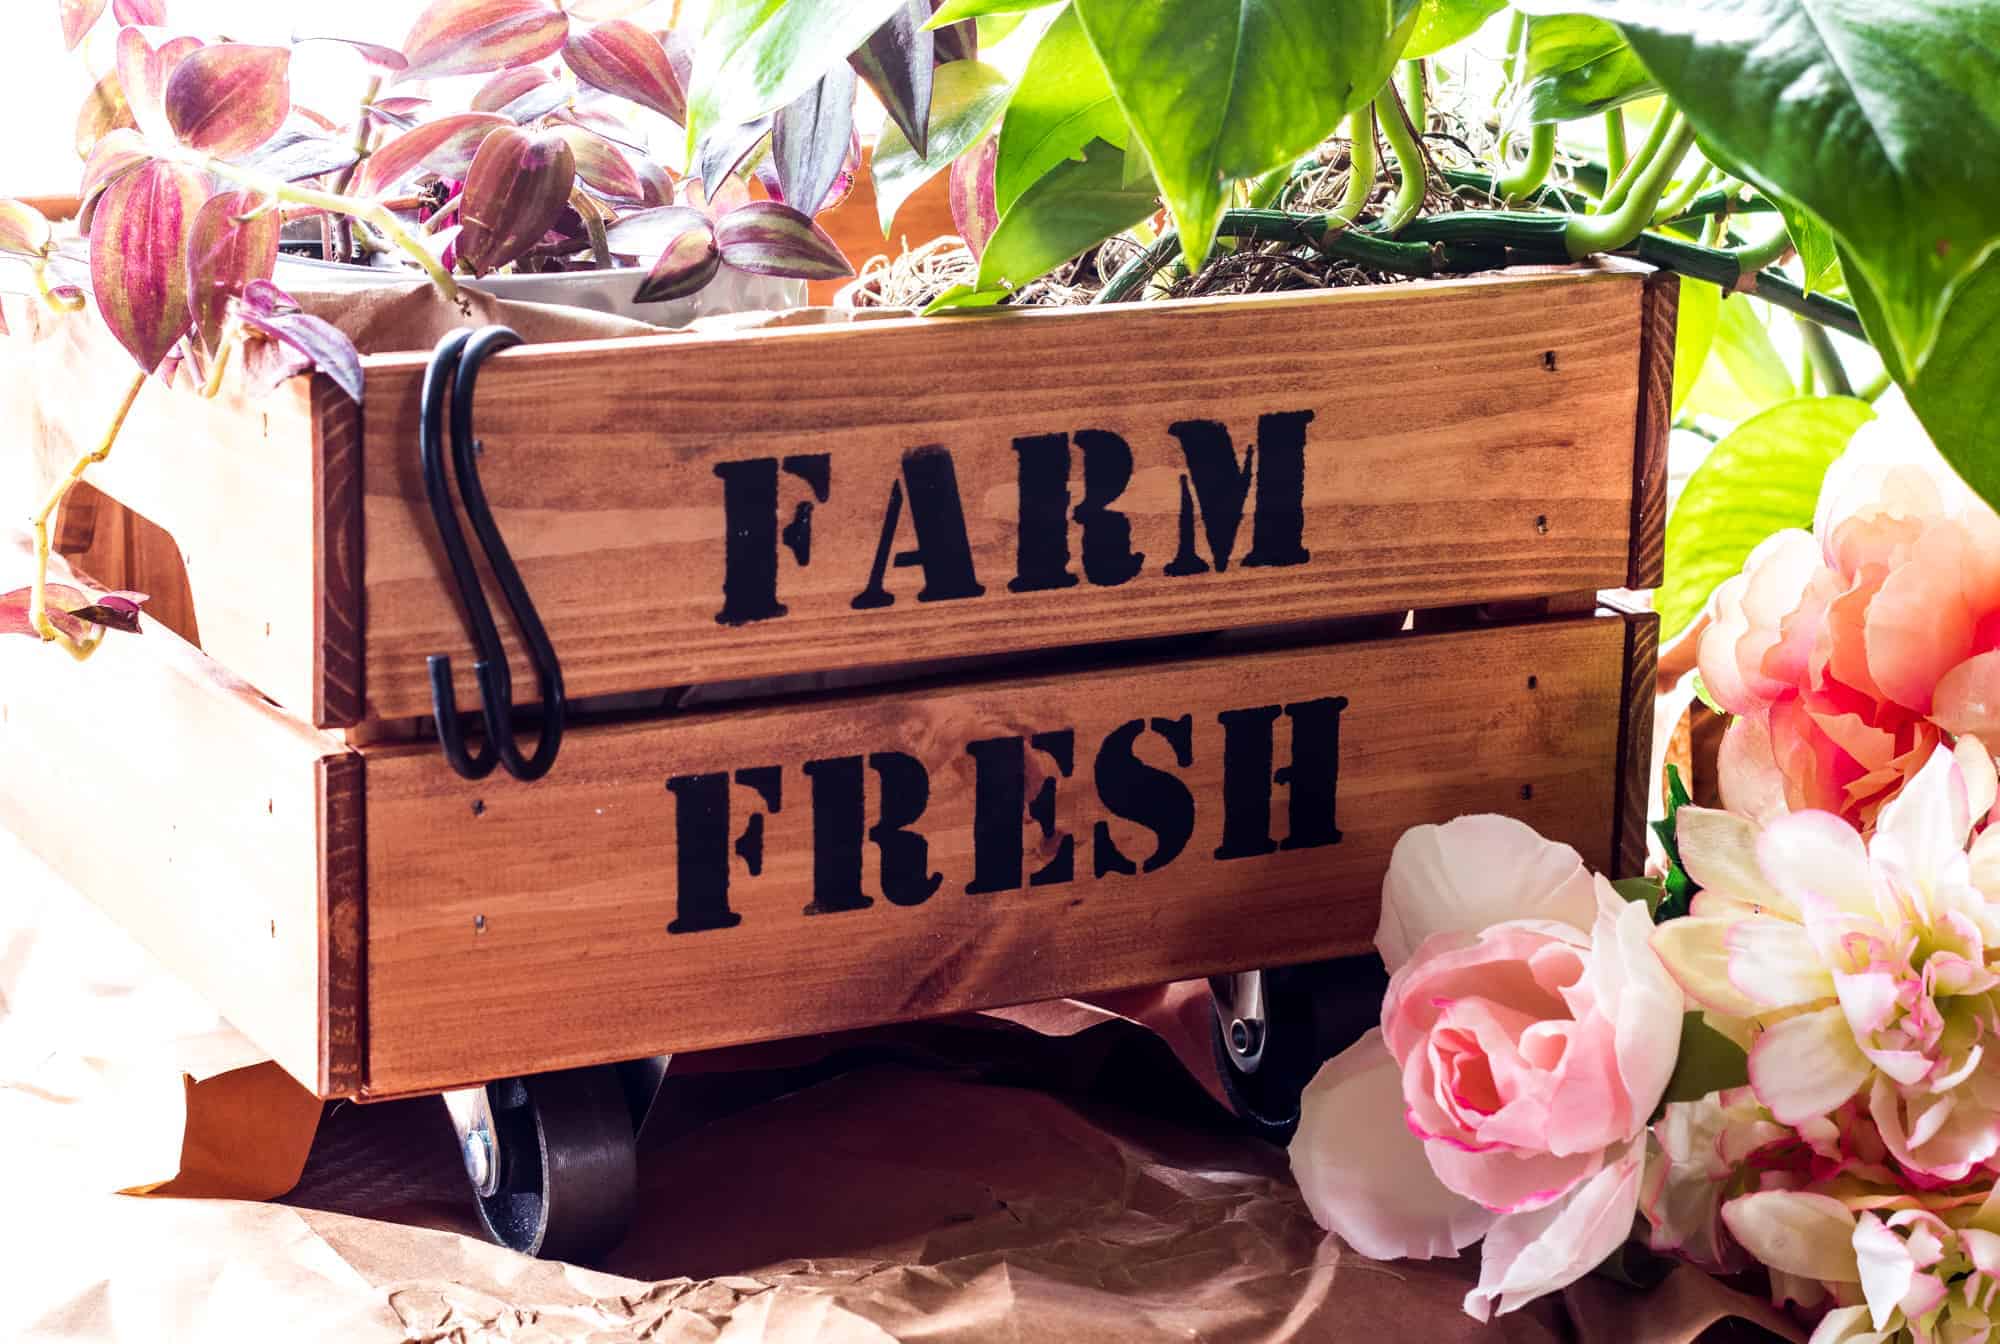
![]()
You can see all of the other team members creativity by clicking on the links at the bottom of this post and there are some wonderful new team members to welcome as well!
Easy DIY Leather Plant Hanger

Equipment
- See Above for Recommendations
Instructions
- Wrap leather scraps around pot including both sides and bottom to ensure it's big enough for your project.

- Measure the side of the pot you will be using to hold your plant. Double the side measurement and also measure the bottom and add this to your "total". Example, if the pot is 6 inches along the side from bottom to top and 3 inches across the bottom, your total will be 6+6+3=15 inches.

- Use ruler to mark a 15-inch length on one of your leather scraps. Also, add your desired width for your leather hanger. I chose 2 ½ inches and then drew another 15-inch long mark on the other side forming a rectangle. Be sure to do this on the WRONG side of the leather scrap. Repeat this for the other strap. Use the same color or coordinating color as desired.

- Find the center of the strip, center the bottom of the pot over the strip, and trace it.

- Repeat for other side and cut out the strips.
- Punch holes in the top edge of each strip.
- Add eyelets.
- You will use 8 eyelets total for this step.
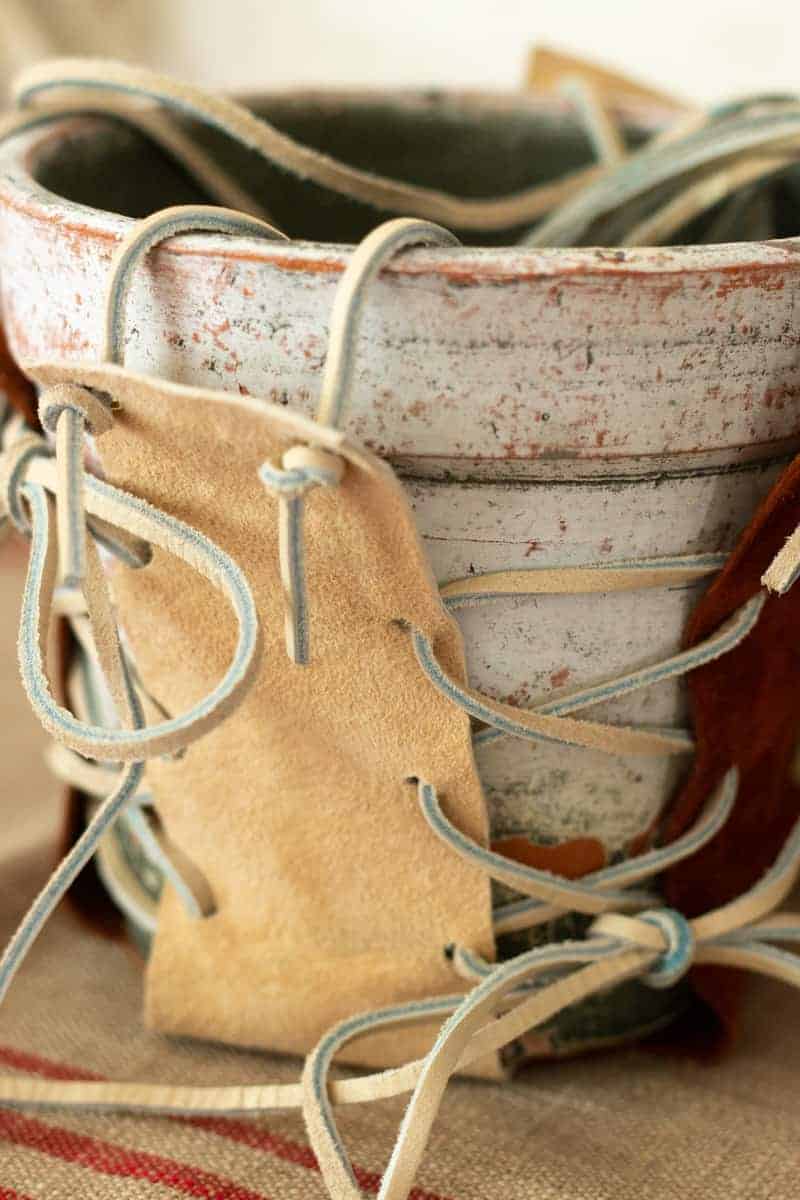
- Stack the strips on top of other another to form a cross or X and add more holes and eyelets to give your DIY Leather Plant Hanger stability.

- At this point, you can add the leather scrap straps to your project and call it a day, or you can proceed to the next step.

- If you'd like to add a little more style to your plant hanger add three rows of holes to the side of each strap.

- I did not add eyelets to these holes since they were not going to be under any pressure or have to hold the weight of the plant and are merely for decorative purposes.

- Place the planter on top of the planter hanger and adjust for size. Add laces to the holes just as though you are adding laces to shoes.
- Alternate the laces if desired so that one ends at the top of the planter with a bow and the next ends at the bottom.


Video
As with any of my recipes, calorie counts and nutritional information varies greatly depending on which products you choose to use when cooking this dish.

And there you have it!
Now for the rest of the Thrifty Style Team shares for the month - below the collage are links to each individual project.
OPERATION HOME PURGE...SAVE MONEY BUYING & SELLING ON FACEBOOK by Redhead Can Decorate
FUN HALLOWEEN CANDY CENTERPIECE DIY by Chatfield Court
VINTAGE ENAMEL BUCKET by Bliss Ranch
COZY FALL BEDROOM DECOR IDEAS by DIY Beautify
UPCYCLED DETERGENT POD CONTAINER PUMPKIN CENTERPIECE by Salvage Sister and Mister
THRIFTY BOHO STYLE PILLOW TUTORIAL by What Meegan Makes
5 WAYS TO UPGRADE A BATHROOM ON A BUDGET by The Creekline House
DIY LAKE HOUSE DIRECTIONAL ROAD SIGN ON SCRAP CEDAR by Unskinny Boppy
EASY DIY LEATHER PLANT HANGER by The How-To Home
COUNTRY COTTAGE CUBBY MAKEOVER by Cottage at the Crossroads
TURN A SUMMER WREATH INTO A FALL ARRANGEMENT by Duke Manor Farm
VINTAGE HALLOWEEN PRINTABLES by I Should Be Mopping the Floor
PAINTED PLASTIC JACK-O-LANTERN MAKEOVER by 2 Bees in a Pod
EASY KRAFT PAPER AND PAINT TABLERUNNER by Jennifer Rizzo
THRIFT STORE LAMP UPDATE by The DIY Village


Oh my gosh - this plant hanger is fabulous! Love the leather and the ties. So cool and creative!
Thank you so much!
This is such a neat design, Mary Beth! I love the way it turned out! Thank you for the fantastic tutorial! It's so great getting to link up with you and the others on the Thrifty Style Team! xoxo
It is always wonderful to link up with you, Kristi, and thank you so much for your sweet words about my design. xoxo
I love how unique this is Mary Beth!!
Thank you so much, Cindy!
At a garage sale I picked up leather pieces that were upholstery samples, but you are by far more clever with yours then I am with mine!
Thank you so much, Miss Bliss! I'll bet you do some pretty awesome creating with yours, though.
Ooooh, love this Mary Beth! I've never done a project with leather but this makes me want to find one to do. Thanks!
Thanks so much, Kristi! I love leather. It doesn't ravel and I don't need to sew it. It's my lazy crafter secret! 😉
I'm so impressed by your craftsmanship on this piece! I feel like mine would end up all lop-sided, but yours is perfect!
Thank you so much, Courtenay, and I think if you made one, it would be gorgeous.
I haven’t ever tried any leather work. You have me intrigued and inspired!
I am so impressed with your pattern and techniques.
Thank you for sharing.
Thank you so much, Meegan, and once you try leather, you'll love working with it. It's so easy and to use and versatile.
I have TONS of leather left over from a sponsored post a few years ago and now I know how I'm gonna use some of it. This is a great way to repurpose it. Thanks for this idea, Mary Beth!
Thank you so much, Beth! I can't wait to see what you do with your leather stash!
What do you do about watering as there is nothing to catch the excess water in your photo ?
Hi Laila, I just take it out of the holder for watering. I usually do that anyway so nothing gets on my floor when I water hanging plants that I keep indoors.
Of these projects, the one I'd most likely make is the pumpkin centerpiece made from the Tide detergent pod. That is very cute and I love floral centerpieces.
I love the Tide detergent pod centerpiece, too, Barbara! It's so clever and pretty.
Now aren't you clever!!! Mary Beth, I LOVE everything about this and the last photo was so stunning!
Thank you SO much, Diane!!! I appreciate it and I am so glad you liked that photo-I love your photography so I am thrilled with your liking it. xo
Love the boho vibe of your unique planter hanger, such a great idea!