How to Stencil With Chalk - Get the Look Without the Commitment
I love to stencil. Back in the day I used to stencil everything that didn't move. My kitchen cabinets were stenciled, there was a stenciled border around my kitchen walls and the front door. I stenciled my bathroom and my drapes. Stenciling machine could have been a term used to describe me!
While I have calmed down a bit since then and still LOVE stenciling I'm in the midst of a design/décor freeze (i.e. I'm not sure what to do with anything in my house anymore).
I'm not big on committing to anything right now but I still like things to make a statement while I'm in decorating limbo...if you find that this describes YOU I have a solution.
Chalk Stenciling
A few months ago (I'm so far behind!) I picked a design from the Vintage Sign & Inspirational Stencil Collection at Knick of Time. Angie, the creator of the stencils, was wonderful enough to send me the stencil I chose to use for my creation.
A few years ago I repainted the shelves in my dining room (you can see the original horrid pictures here).
When I redid them I painted one shelf with chalkboard paint. I loved the look but the paint I chose was all wrong. It was a craft chalkboard paint, not an actual wall-painting quality, and it just didn't look right. I also used a Chalkboard Pen (big mistake) and the writing would NOT come off. When I wrote the word Blessings I was just playing around to get an idea of what I wanted to do but it became permanent.
In order to do this chalk stenciling thing right I had to redo the chalkboard finish on this shelf back first (lesson learned!). I grabbed a mocha frappe and started thinking and that's when I came up with this easy method for stenciling with chalk!
This post contains some affiliate links for your convenience. Click here to read my full disclosure policy.
🎨 Supplies
🖌️ Instructions
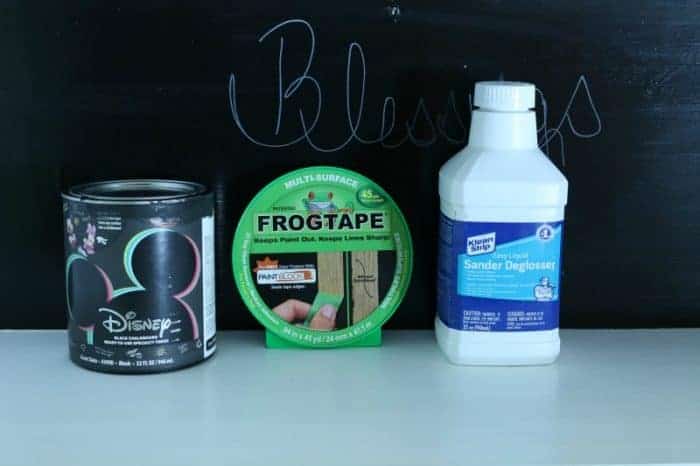
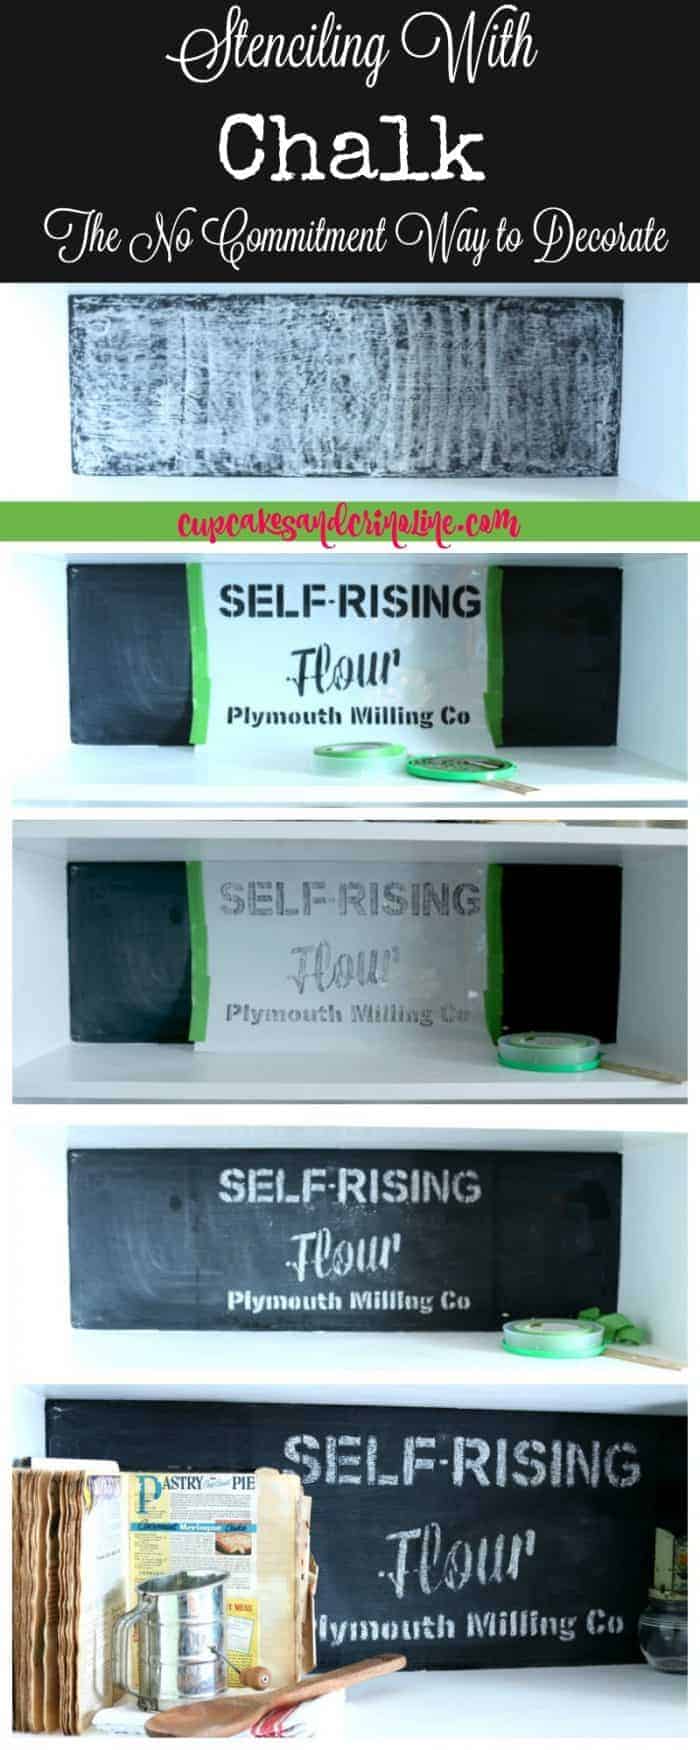
I used Klean Strip Easy Liquid Sander Deglosser to remove the gloss (without sanding) and to get my background ready for a coat of good quality chalkboard paint. This time I used Disney Chalkboard Paint, which is not longer, so in its place I recommend Rust-Oleum Chalkboard Paint.
I've used this paint before on an accent wall in my living room and some other crafts and I really like it. It's pretty durable and much better than typical chalkboard craft paint.
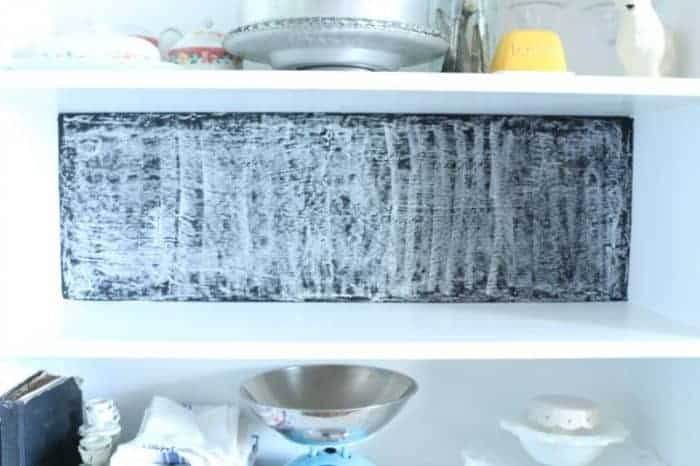
When this was all dry I seasoned the shelf back with chalk and then wiped it off leaving behind a dull but very usable chalkboard surface.
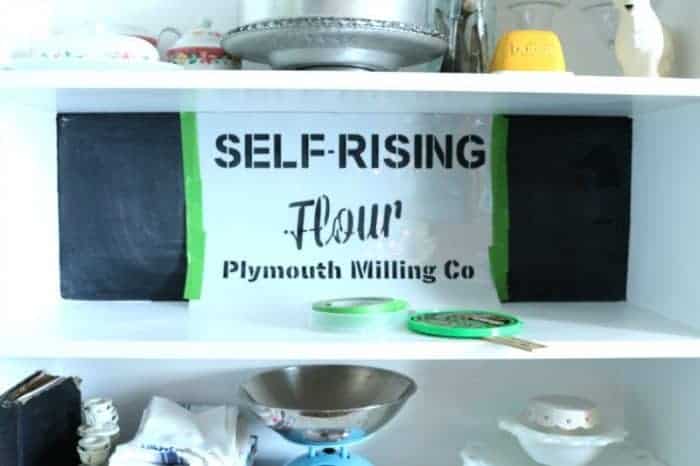
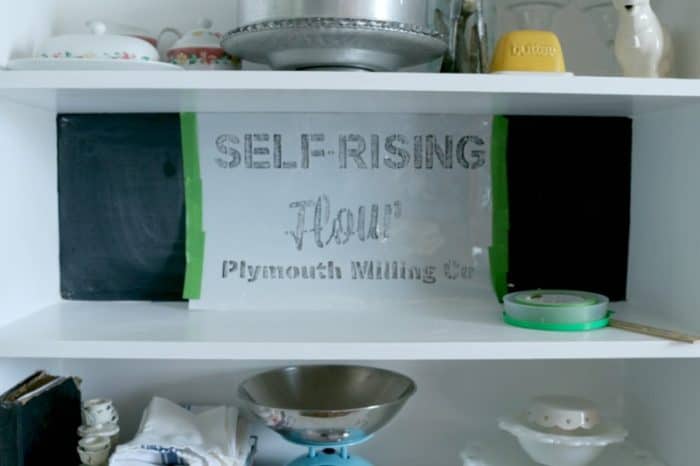
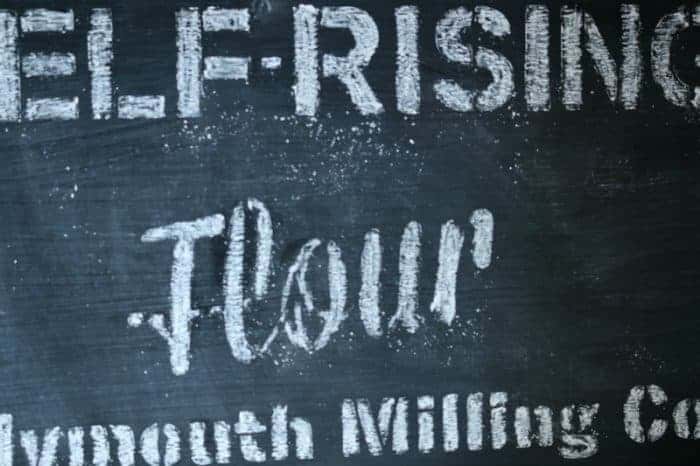
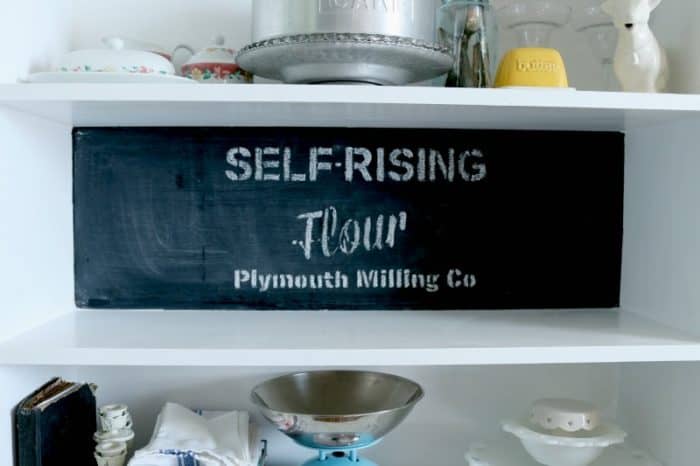
I then attached the Self-Rising Flour Stencil to the shelf back using FrogTape and started coloring in the stencil with chalk. It was easier than I imagined and went pretty quickly but I did use almost a whole piece of chalk! I was left with a little nub when all was said and done.
Next, I removed my stencil. The chalk left some dust that went behind the stencil and I needed to figure out a way to remove this.
First, I tried canned air. That didn't work very well.
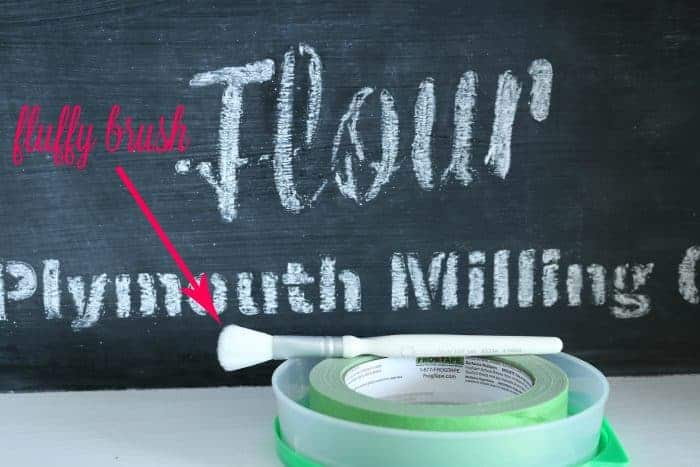
Next, I used a fluffy paintbrush and that did the trick! Now my shelf was ready to decorate!
I added my Grandma's vintage cookbook and some other items to give it the look of a










OMG this looks so good! I have always been a little bit intimidated about large scale chalk projects. Not a natural artist LOL. Thanks for sharing your secret. I love the stencils!!!!
Thanks so much, Malia! I'm not much of a natural artist either. I erase, erase, erase, so that's why I love chalking with stencils....easy peasy and it looks great!