Laser Engraving for Wood: Unleash Your Creativity Today
The xTool M110W laser machine featured in this post was gifted to me by xTool but all opinions are my own. This post contains affiliate links.
Have you seen some of the amazing items created utilizing the laser engraving process? If you have and you want to dive into this limitless realm, you're in for an exciting journey!
Jump to:
Today, I'm going to share my experience with laser engraving and laser cutting with you as well as a brief overview of some of the items I have made.
Let's start with the basics. A wood laser engraver and cutter employs a focused laser beam to burn or vaporize the surface of wood, creating fine details, and intricate and permanent marks or designs. With a high level of precision and variable speed including a high speed option, lasers act as chisels, removing layers of material and leaving behind stunning artwork or functional pieces.
As you delve into this creative process, you'll find that wood is an ideal material for this process since it readily absorbs the energy radiations of CO2 lasers and diode lasers but you can use various materials including slate, stainless steel, and acrylic just to name a few.
These lasers are perfect for working with organic materials like wood, whereas a fiber laser might not be the best choice. Whether you're a hobbyist, craftsman, or small business owner, mastering laser engraving and cutting can open up a world of possibilities.
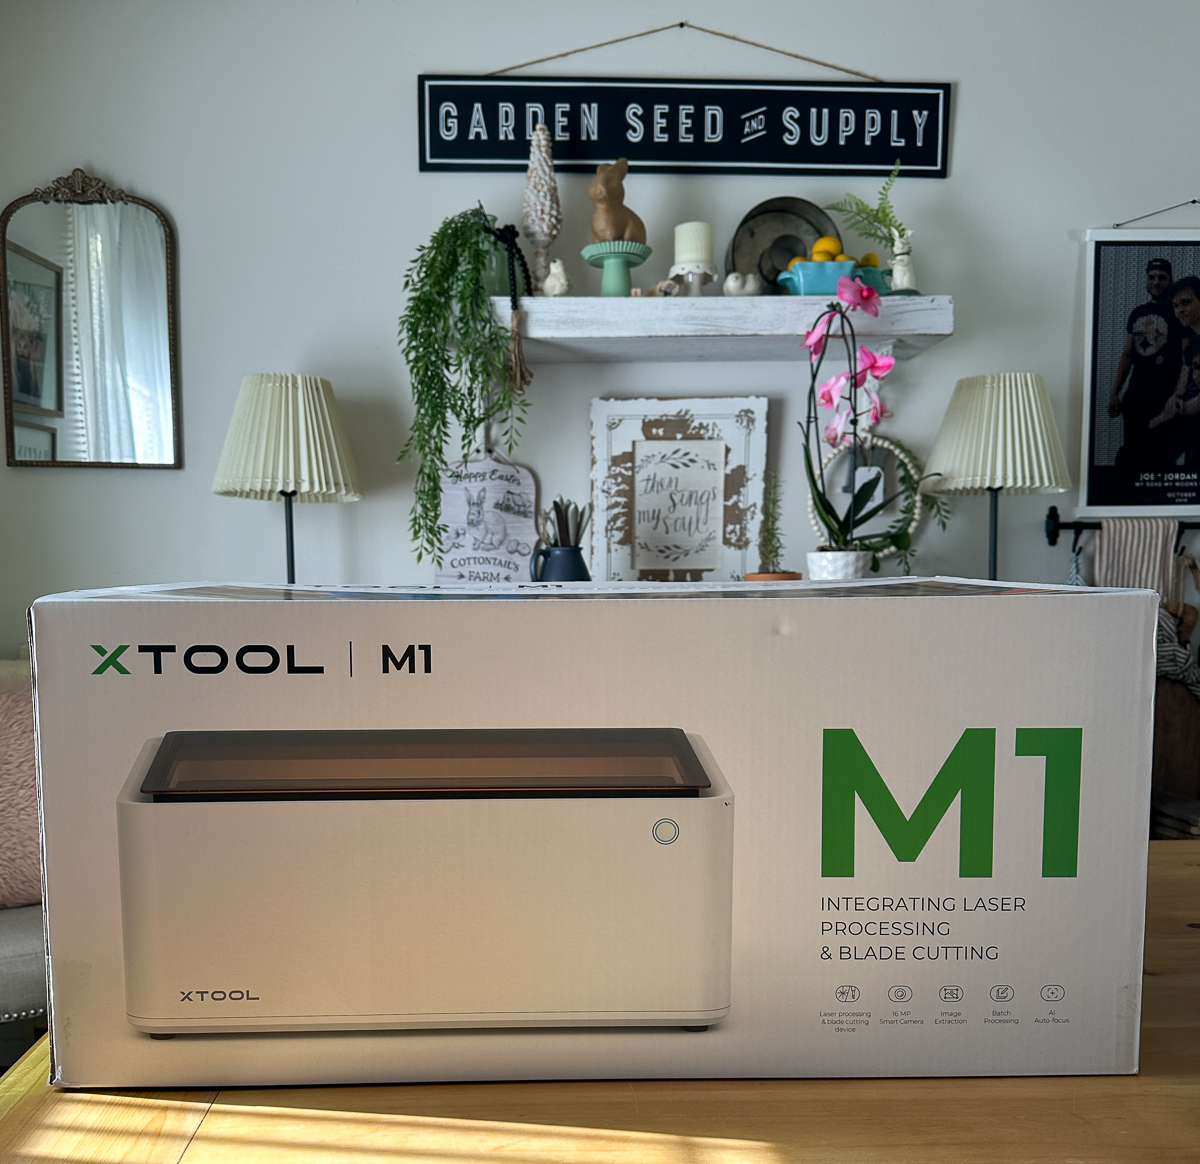
To start your engraving journey, you'll want to find the right laser cutter and engraver for your needs. Some of the best options available today include the xTool which has a wide range models including the xTool D and xTool M1. By selecting the best equipment for your situation, you'll be well on your way to creating beautiful, unique, and high quality laser-engraved pieces. So go ahead, unleash your creativity, and see where a wood laser engraver and cutter can take you!

Laser Power and Speed Settings
The power and speed settings for your laser engraver are vital for achieving optimal results. Generally, a 5W laser can be used for engraving, but the higher the power, the faster and deeper you can engrave or cut. Make sure to start with lower power and speed settings then gradually increase as needed to prevent scorching or damage to your material.
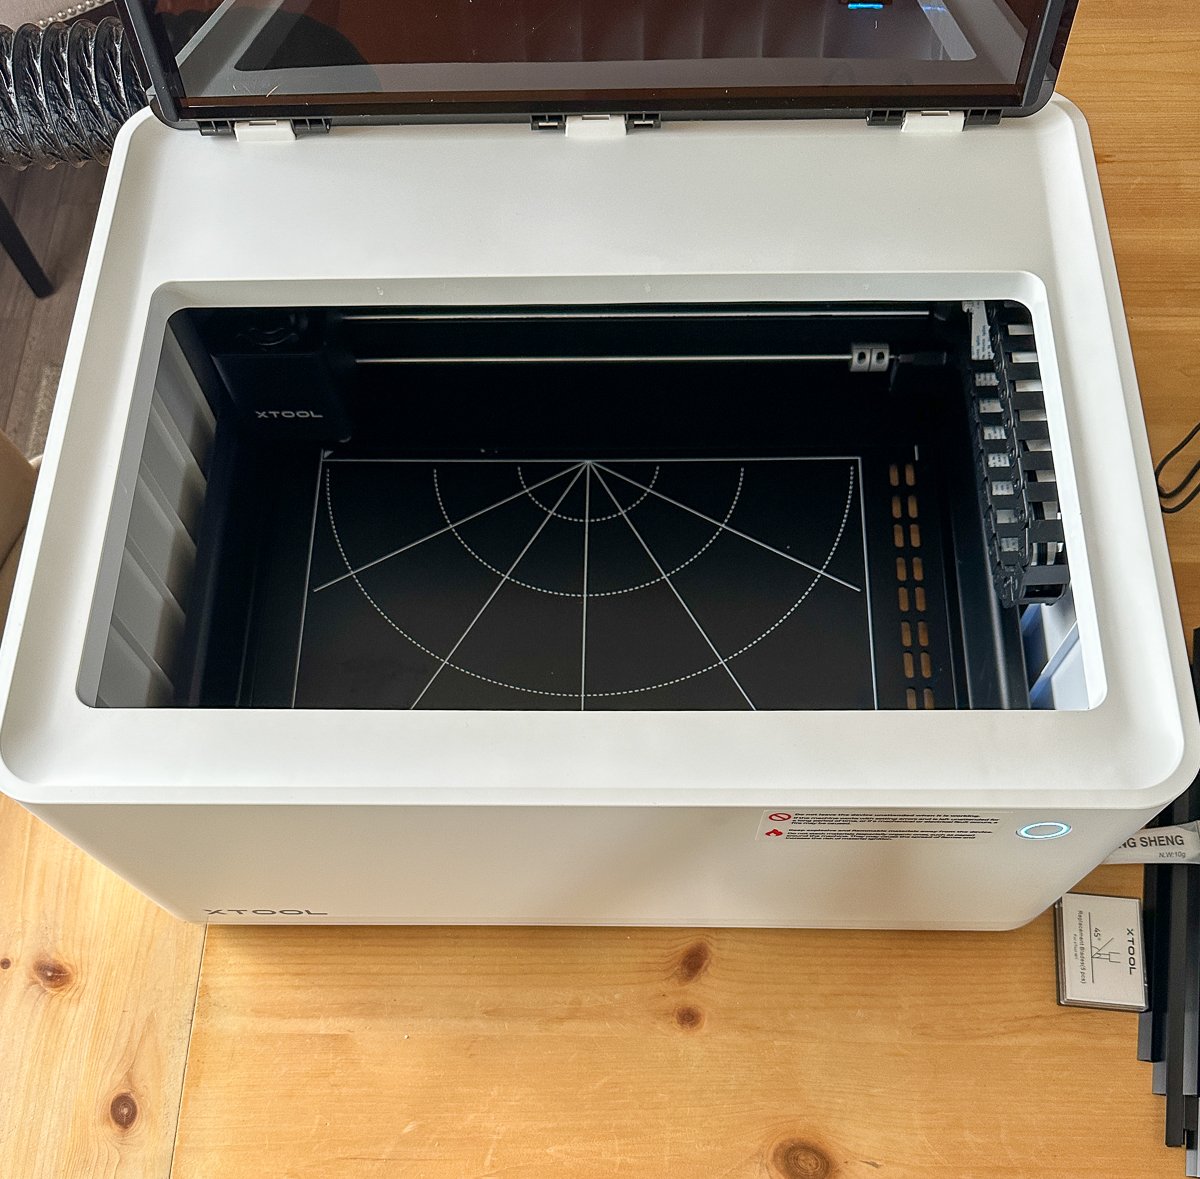
Key Components of Laser Engravers
A laser engraver includes several essential components:
- Laser energy source: The source of the laser beam, which can be a CO2 or diode laser.
- Mirrors and lens: These help direct and focus the laser beam onto the material.
- Engraving bed: The flat surface on which you place the material for engraving.
- Control system: A software that enables you to design, adjust settings, and operate the machine.
Safety Precautions
When using a laser engraver, follow these important safety precautions:
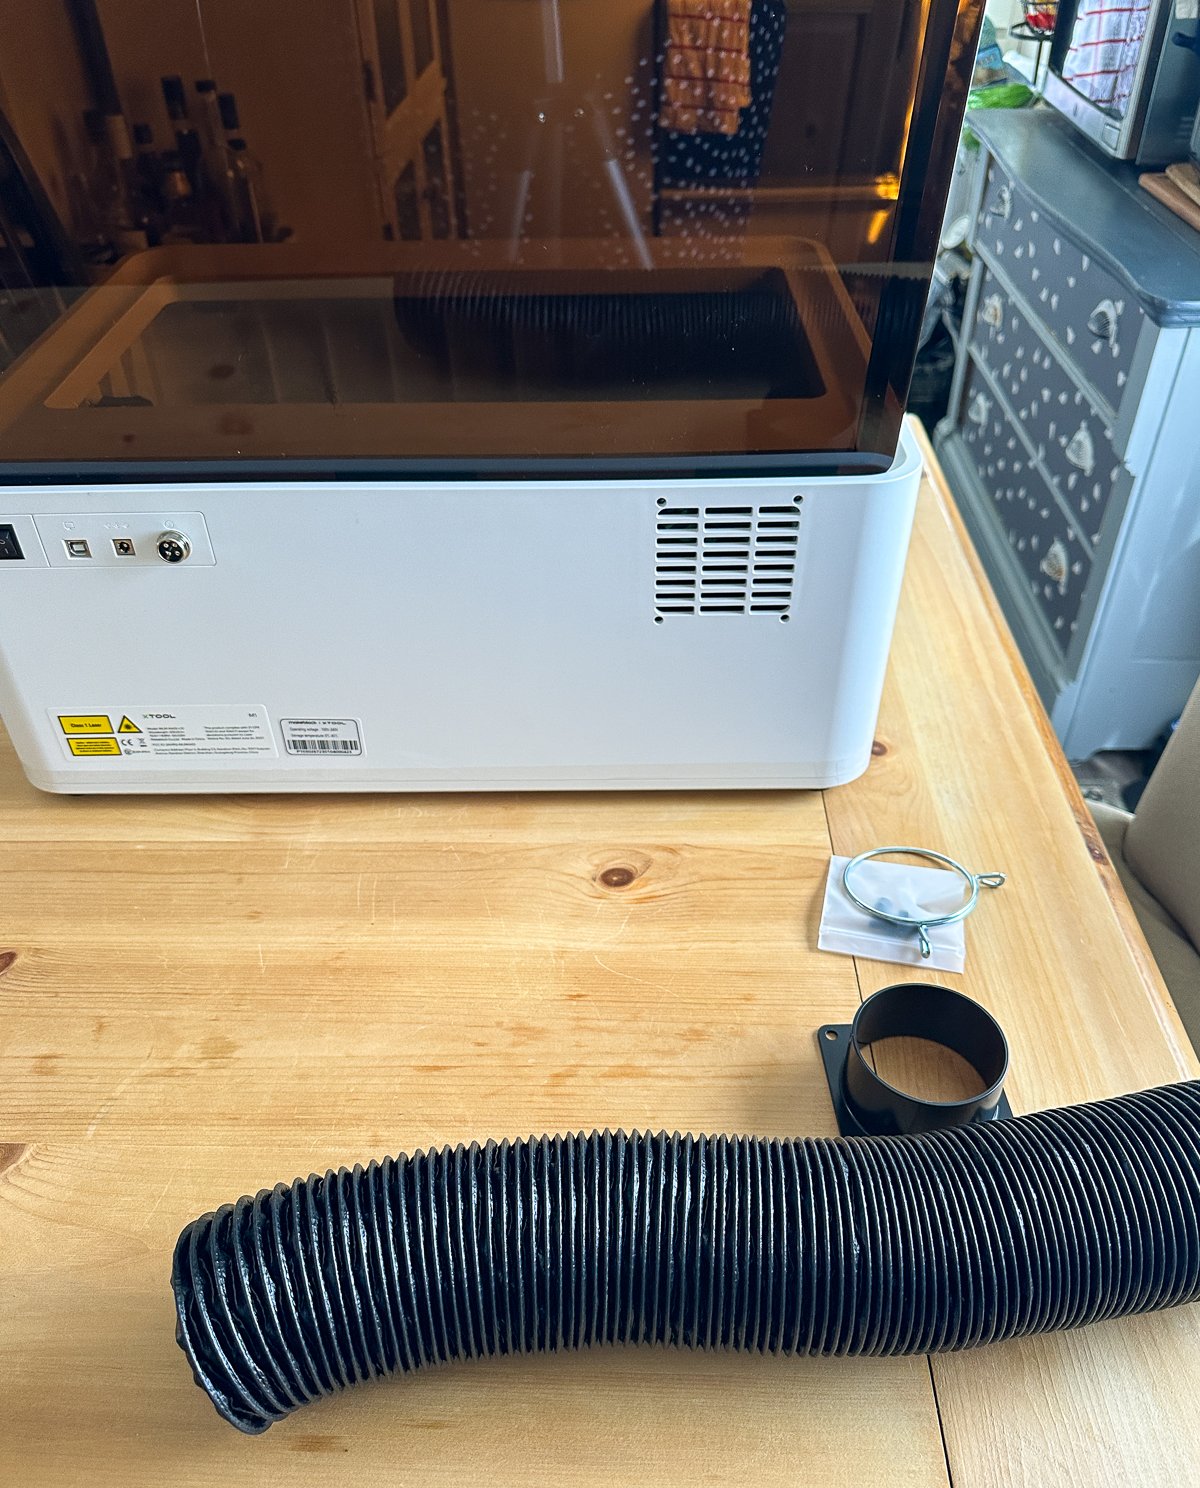


- Ventilation: Ensure proper ventilation to remove fumes and particles released during engraving.
- Eye Protection: Wear laser safety goggles to protect your eyes from the powerful laser beam. When using the xTool M1 this is not necessary as it has a blue light filtering lid.
- Fire Safety: Keep a fire extinguisher nearby and always monitor the engraving process.
- Machine Maintenance: Regularly clean and maintain your laser engraver to ensure safe operation. This may sound a bit intimidating the there are tutorials on the xTool site that go over all the details and the process eventually becomes second nature.


Remember, understanding the basics is crucial when starting with laser engraving wood. Choose the right laser, adjust the power and speed settings, know the key components, and always prioritize safety.
Selecting the Right Wood
When it comes to laser engraving on wood, an important factor is choosing the appropriate type which is essential for achieving the best results. In this section, we will discuss the popular types of wood, wood density and grain, and oil and resin content.
Popular Types of Wood
There are various types of wood suitable for laser engraving, including:
- Baltic Birch Plywood: A versatile and affordable option, this is a great choice for beginners. Quality plywood is recommended for better results.
- Hardwoods: Cherry, walnut, oak, and maple are popular hardwood options. They offer a rich and elegant appearance, making them ideal for sophisticated projects.
- Softwoods: Basswood, pine, and redwood are common softwood varieties. They engrave easily, but may require more care to avoid charring or excessive burning.
- Exotic hardwoods: Mahogany, bamboo, and ash are unique choices for more distinctive projects. These types of wood may require a bit more attention and skill during the engraving process.
My advice is to choose the best wood you can afford. This option allows for both a good result and a clean cut.
Wood Density and Grain
Wood density is an essential factor to consider when laser engraving. Denser woods like hard woods (e.g., cherry, hard maple, and oak) require more laser power and can handle finer details. On the other hand, less dense woods like softwoods (e.g., pine, cedar, and basswood) typically require less laser power and may struggle with intricate designs.
The wood grain also plays a significant role in engraving quality. Finer-grained woods, such as maple and birch, typically provide smoother and more uniform engraving results. Coarser-grained woods, like oak and ash, might cause inconsistent engraving and require additional sanding or finishing to achieve a polished look.
Oil and Resin Content
The oil and resin content in wood can impact the engraving process. Woods with high oil or resin content, like cedar and redwood, may require higher laser power or slower engraving speeds to achieve desired results. These natural elements can also cause issues with the cleanliness of the final product, as they may produce smoke or residue during engraving.
Conversely, woods with low oil or resin content, such as birch and basswood, may provide cleaner engraving results with fewer issues related to smoke or residue.
By understanding the different types of wood and their properties, you can make informed decisions when selecting the best materials for your laser engraving projects. Remember that choosing the right wood is crucial for achieving high-quality and professional-looking results, so take your time to find the perfect fit for your specific needs.
Preparing the Wood for Engraving
Cleaning Wood Surfaces
Before you start laser engraving, it's essential to ensure that your wood piece is clean. Dirt, dust, or resin can interfere with the engraving process and result in low-quality engravings. You can use:
- A soft-bristle brush or cloth to remove any loose dirt and dust from the surface.
- A gentle sandpaper to smoothen the surface, especially if the piece has any rough or uneven areas. Pick the right grain size to avoid scratches or removing too much material.
- A damp cloth or tack cloth to wipe away dust from sanding.
Be cautious not to soak the wood or use excessive water, as it may cause warping. Ensure that the surface is entirely dry before proceeding with the engraving.
Removing Knots and Imperfections
Handling knots and your wood's imperfections is another crucial step in the preparation process. Since smooth and consistent grains provide better engraving results, you'll want to address any inconsistencies, knots, or imperfections.
Here are some tips to help you handle such areas:
- Choose a piece of wood with minimal streaking and smooth grain patterns for optimal engraving results.
- In case of knots or holes, you may use wood filler to even out the surface. Apply it as directed by the manufacturer and sand the filled area to ensure it aligns with the rest of the wood.
- For imperfections like dents and scratches, carefully sanding the affected area may sometimes be enough to create a smooth surface.
By following these steps, you're one step closer to achieving professional-quality laser engravings on your wood projects. Remember that proper preparation is key to success, so don't cut corners or rush the process. With patience and attention to detail, you'll soon be creating stunning laser-engraved wood pieces.
Techniques and Tips for Quality Engravings
Achieving High Precision and Accuracy
To achieve high precision and accuracy in your laser-engraved projects, you'll want to consider adjusting the resolution settings on your engraving machine. A higher resolution typically results in more detailed engravings, but may also increase the time it takes to complete the project. You can experiment with different settings to find a balance between quality and efficiency.
It's important to maintain the quality of your engraving machine by ensuring it's well-calibrated and the lenses are clean. Regular maintenance checks will help keep your machine in top condition and improve the accuracy of your engravings. Additionally, using a rotary attachment can be beneficial for achieving precision when working with cylindrical or round objects such as Yeti and Stanley tumblers.
Contrast and Burn Marks Reduction
Creating a high-contrast engraving could make your design stand out more. To achieve this, consider the type of wood you choose as using lighter colored woods such as cherry wood or maple, as their natural colors offer better contrast when engraved. Finishing your engraved piece with a coat of lacquer or varnish may also contribute to enhancing the contrast further.
Burn marks or charring can be an issue when working with wood, but there are ways to minimize these effects. One technique is to mask the surface of the wood with a layer of transfer tape or masking tape prior to engraving. This can help protect the surrounding area from unwanted burn marks and make it easier to clean up your engraving afterward.
Here are some tips for reducing burn marks and charring:
- Adjust the power settings on your laser engraver, as a high power setting can cause excessive charring.
- Utilize air assist, as it can help blow away smoke and debris that can cause those edge burn marks.
- Clean your machine's lenses and mirrors regularly for optimal performance and reduced burn marks.
Engraving Patterns and Projects
When it comes to laser engraving for wood, there are countless patterns and projects to explore. These ideas range from personalized gifts and crafts to practical utility items. Let's dive into some potential projects and patterns you can create in this wonderful world of woodworking.
Crafts and Gifts Ideas
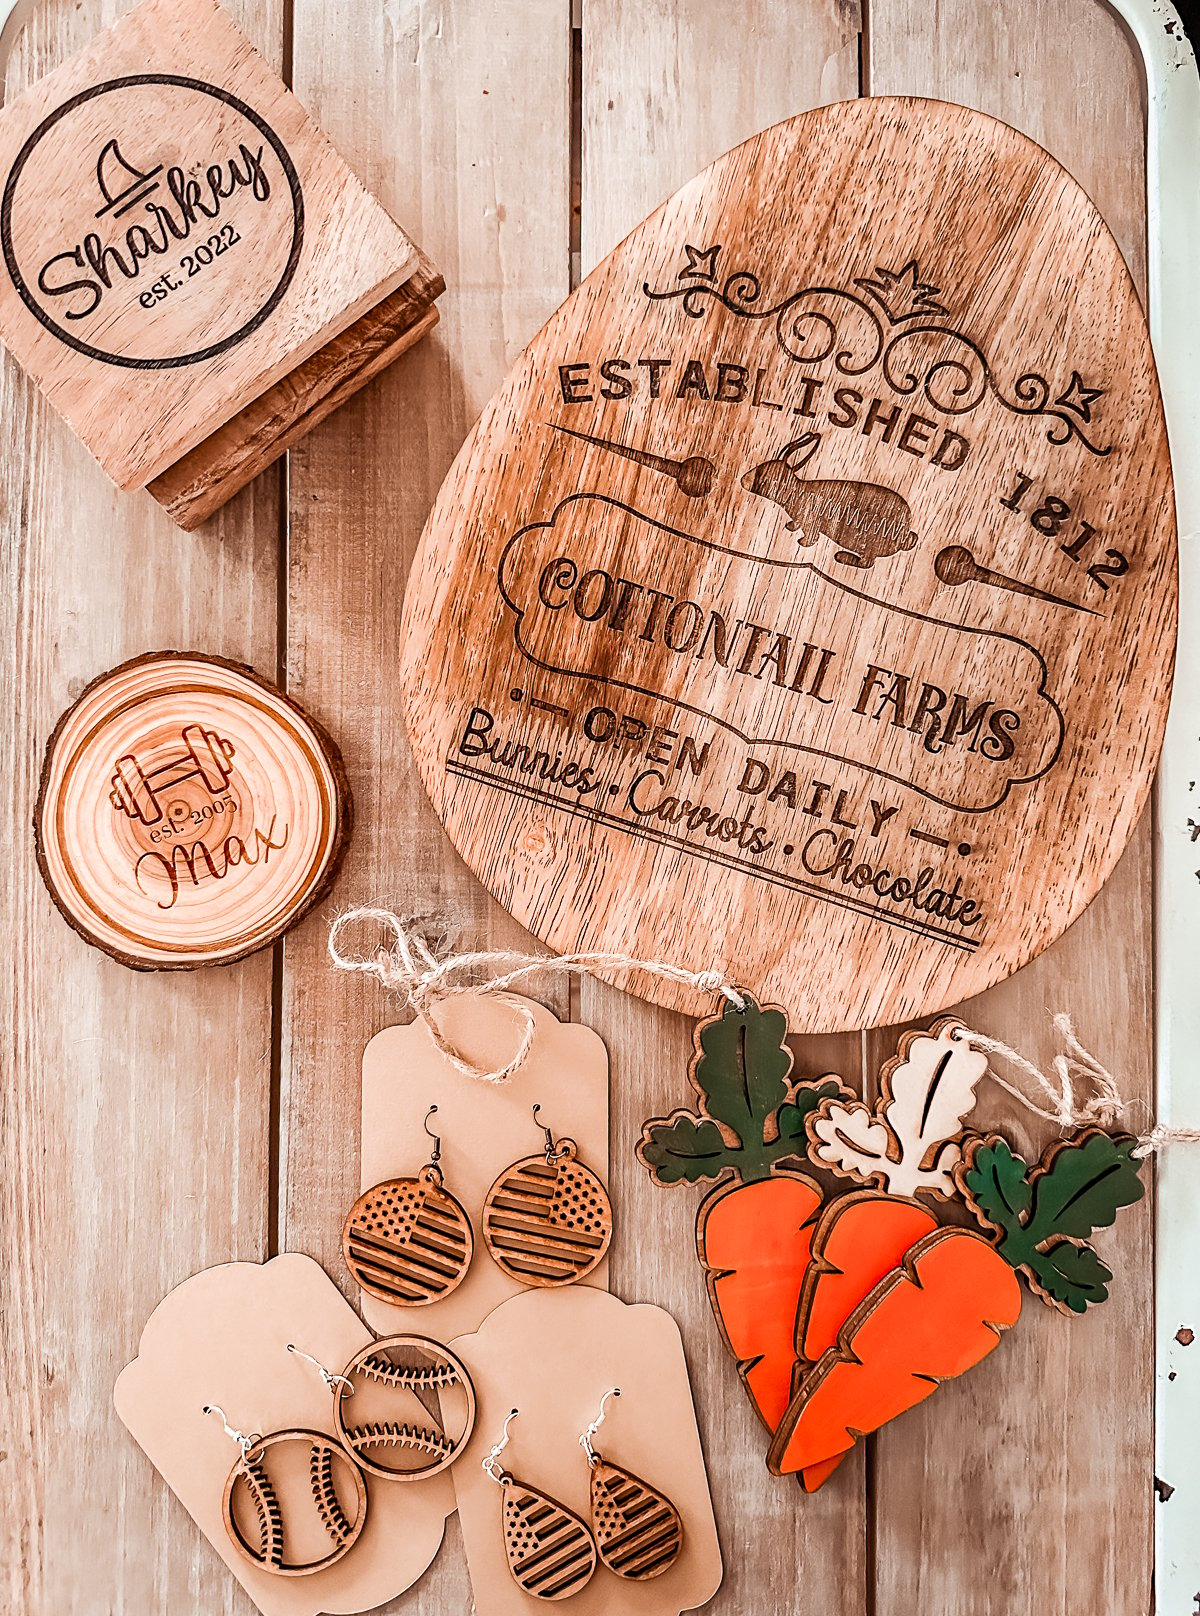
- Personalized rolling pins: With a laser engraver, you can easily customize wooden rolling pins with beautiful patterns or even carve a loved one's name into the handle. It's not only a functional gift, but also adds sentimental value. Check out some amazing laser engraving ideas to get started.
- Custom cutting boards: A laser-engraved cutting board can make an ordinary kitchen tool truly extraordinary. Choose from intricate designs and patterns or create your own. Make sure to pick the right wood, as this greatly impacts the contrast, marking, and engraving parameters.
- Wooden signboards: Whether it's a friendly reminder, motivational quote or a logo, you can create beautiful wood signboards by etching the desired text or image. Consider using different techniques like 3D engraving for an eye-catching effect.


- Home décor: Enhance your home with custom wood decorations, like engraved coasters, photo frames or wall art, cutting boards, and charcuterie boards. Express your creativity or follow a specific theme to create pieces that match your personal style.
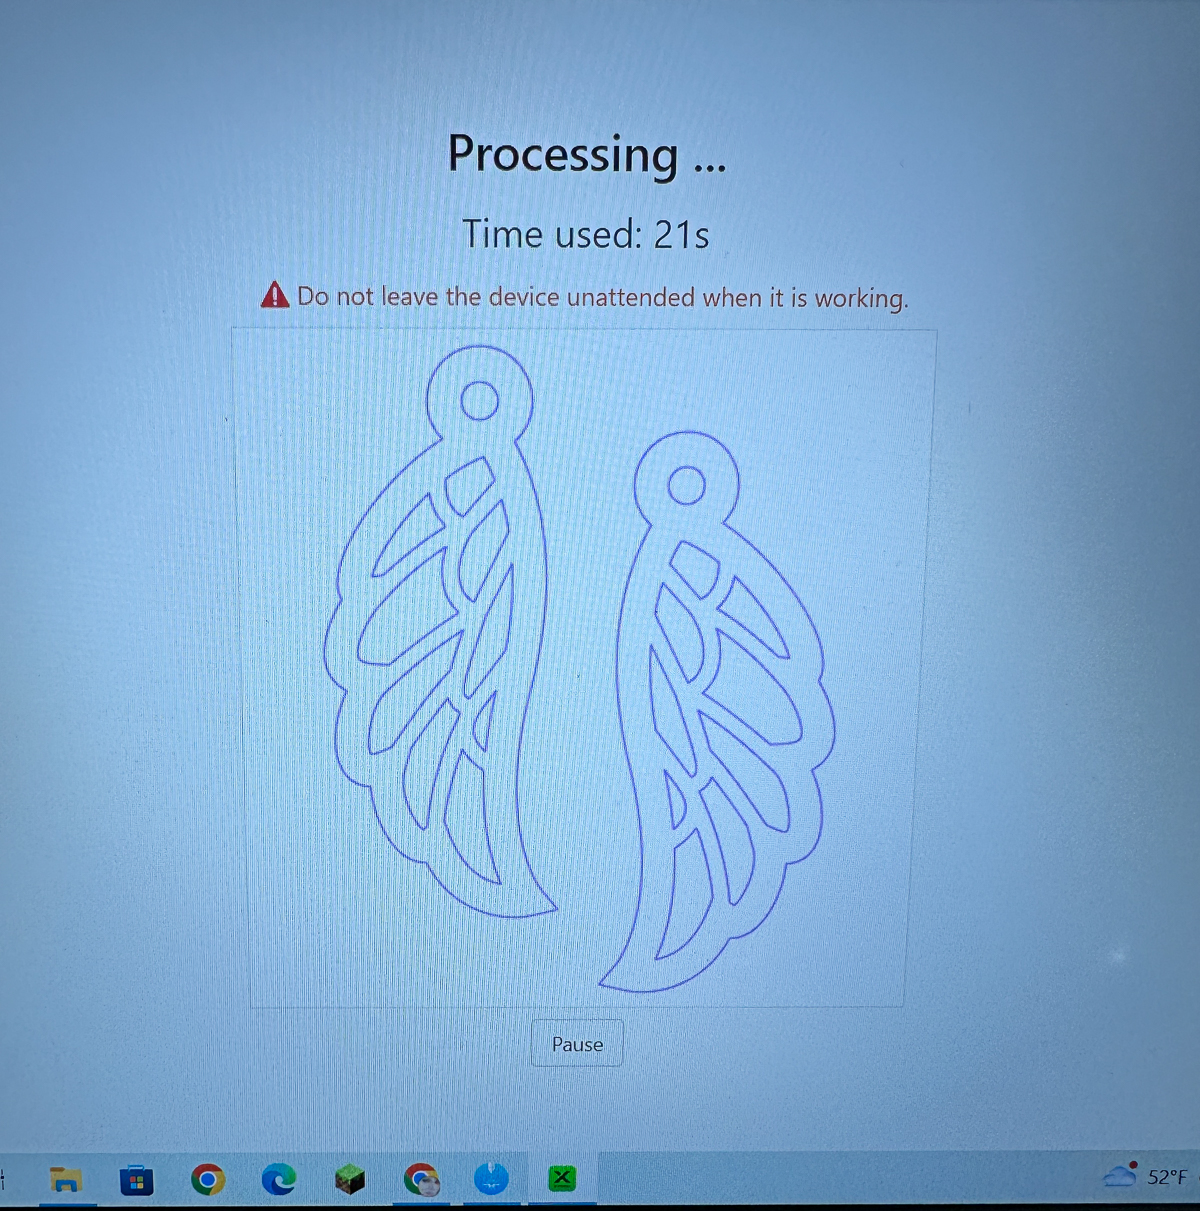


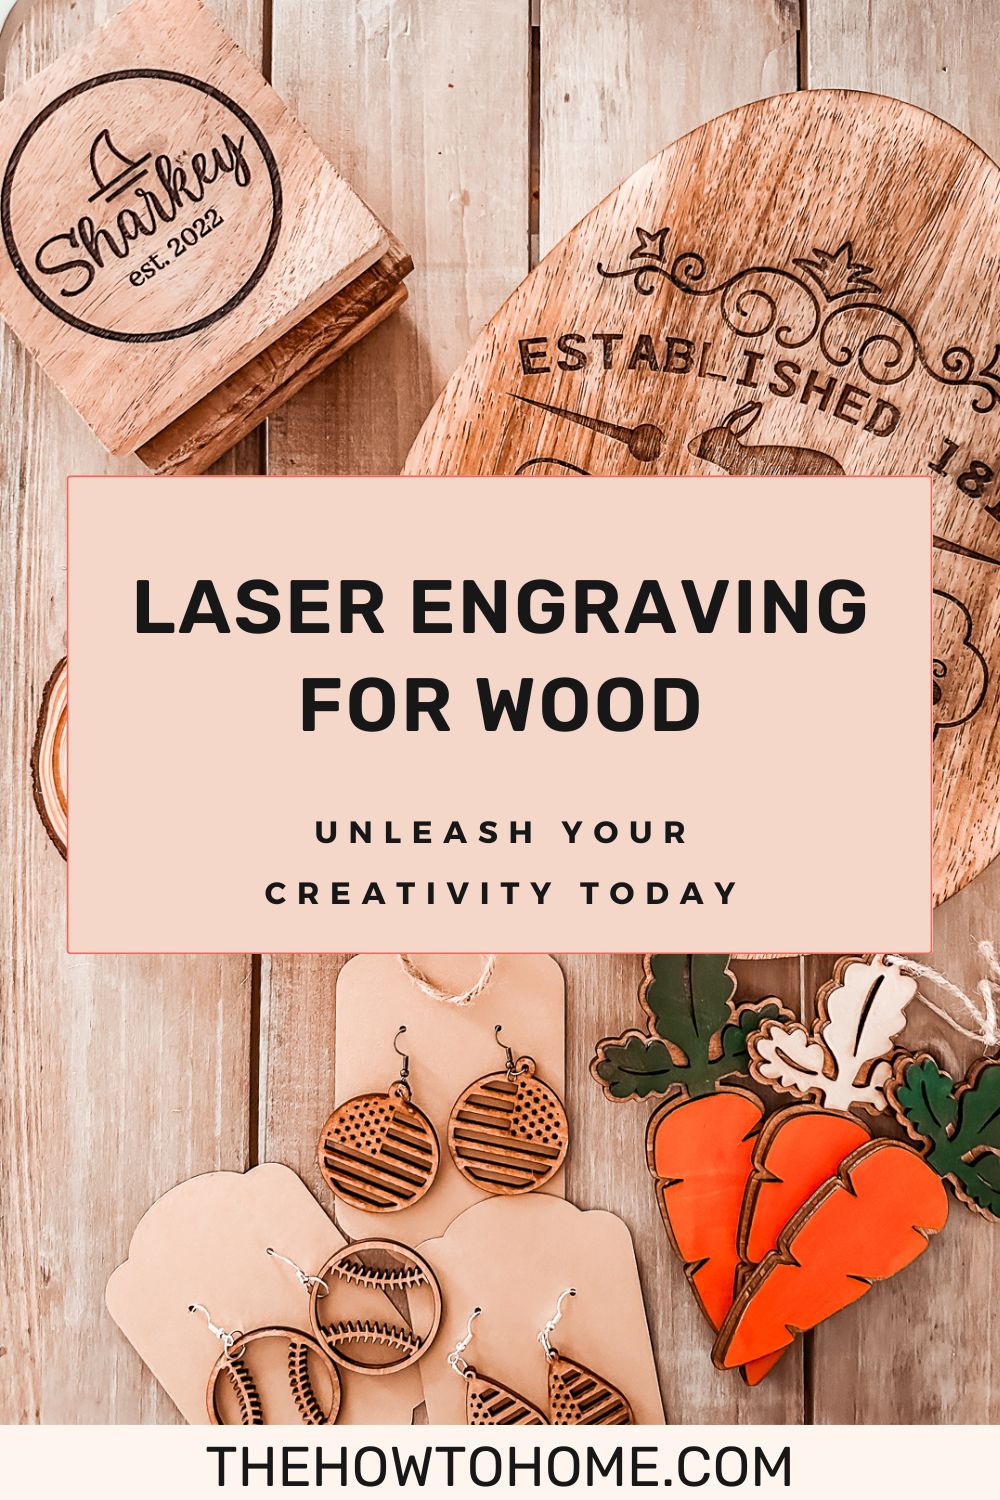
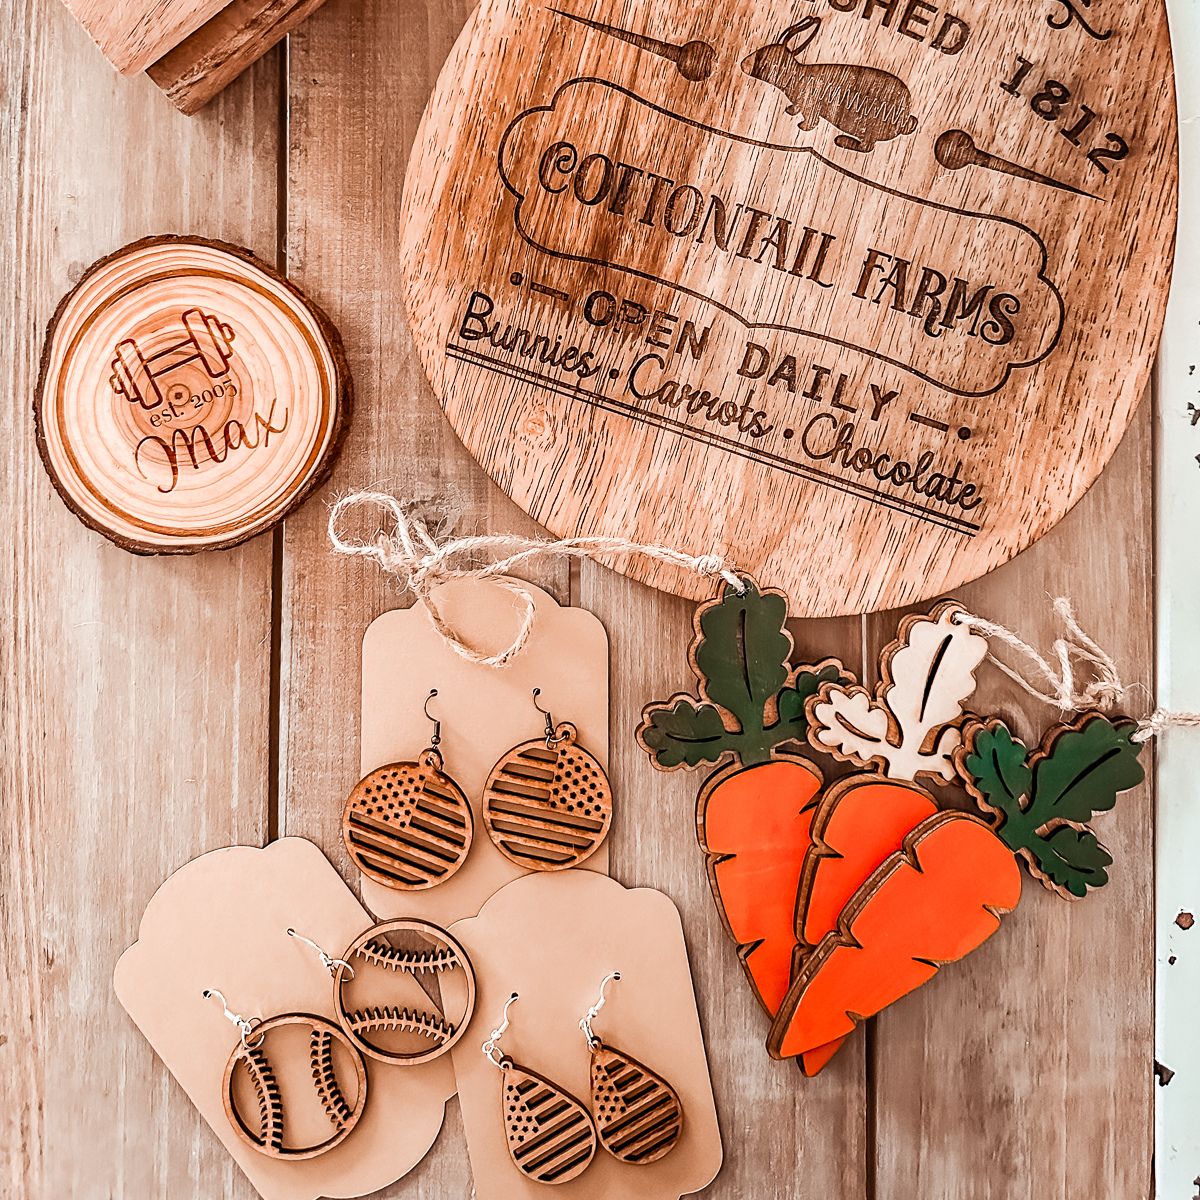
- Jewelry: One of my favorite projects so far has been making earrings! You can make many pair from one sheet of wood and with the xTool you can also cut the cardboard display holders for the earrings. I like to add earrings or other small wooden objects to the wood that's been used for larger projects. It is a great way to save money and to not let anything go to waste!
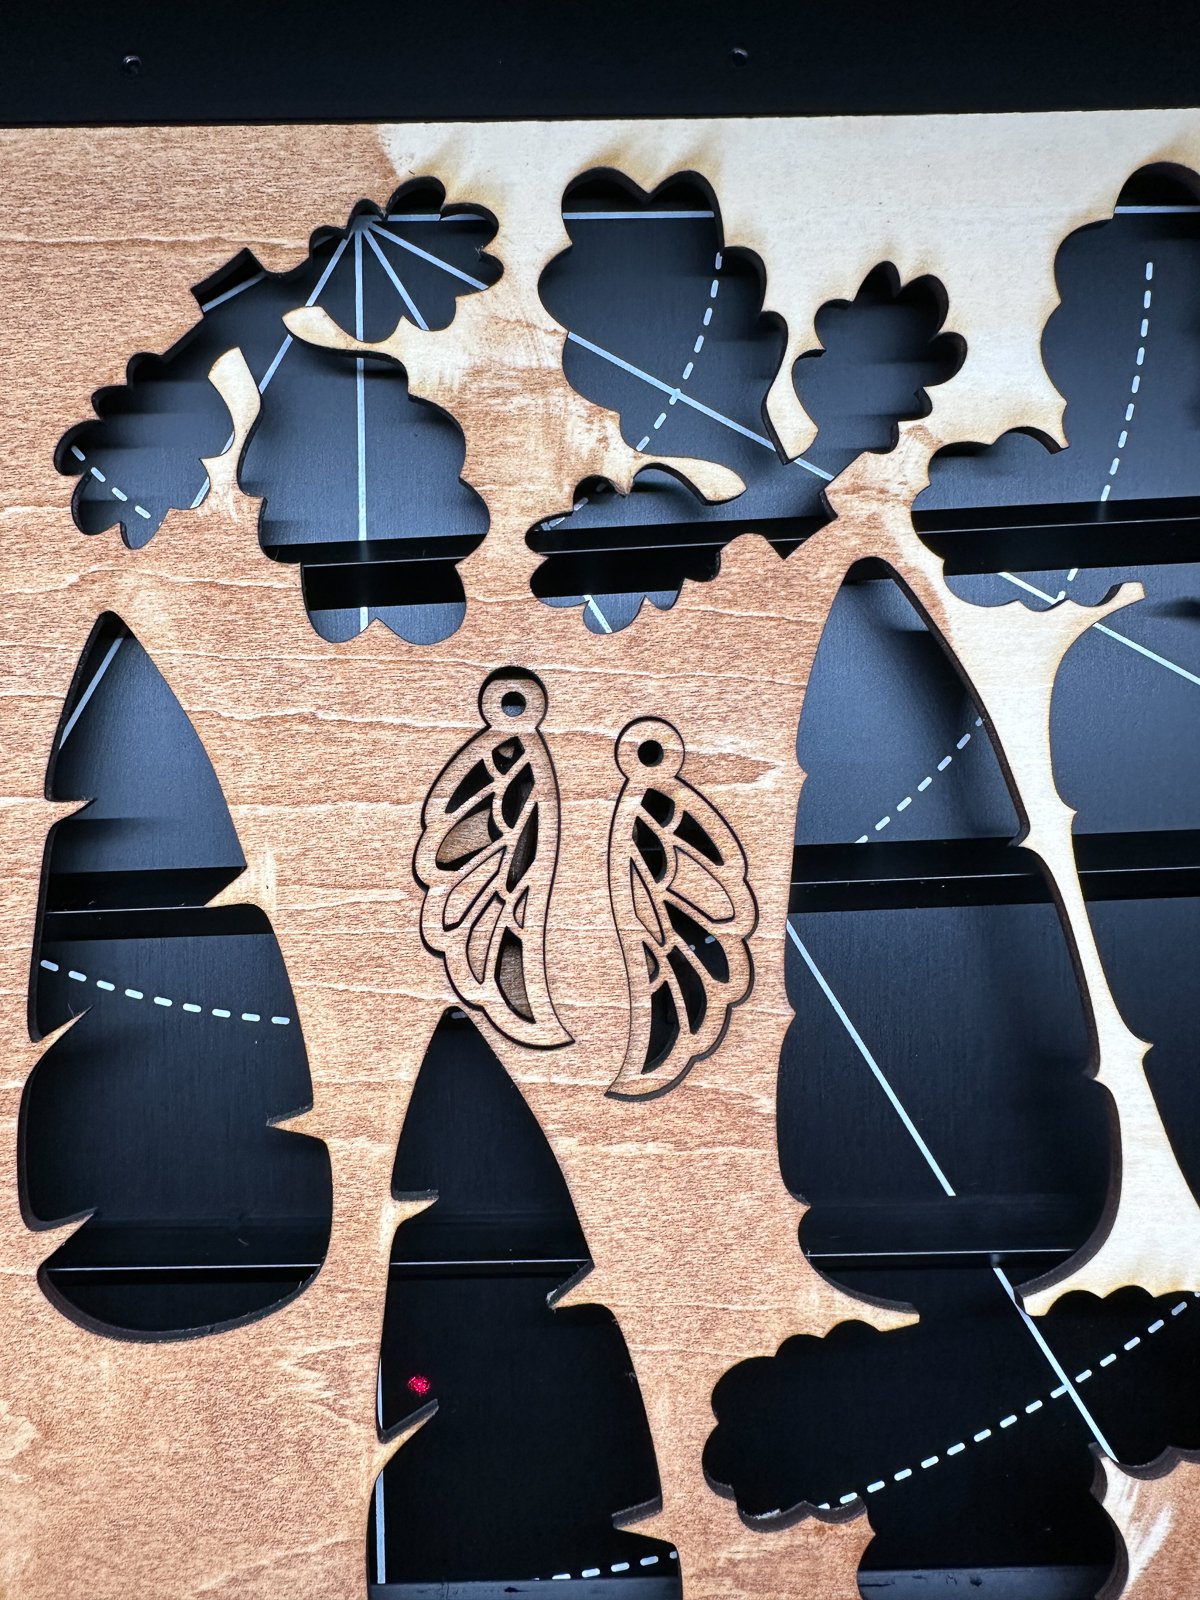
Wood engraving projects present endless possibilities for both utility and décor. It's all about finding the right designs, patterns, and engraving settings to create stunning and personalized crafts and gifts. Embrace your creativity and see where it takes you!

Of note, the xTool engraves many more surfaces than just wood as you can see in the black slate coaster above!
SVG Resources
Top-notch SVG files that work seamlessly with your laser engraver and cutting machine, like the xTool, can be found online and are available as digital downloads meaning nothing will be delivered to you and that also means you can get busy creating quickly.
Platforms like Etsy, Design Bundles, Creative Fabrica, and Creative Market offer a plethora of high-quality SVG files created by talented designers. These sources ensure you have a diverse selection of designs to elevate your crafting projects with the xTool.
Also, the xTool software, xTool Creative Space, is free and there are shapes, etc., in the software that can be used to create your own SVG files for cutting and engraving.
Resources for the SVG Files Used Throughout This Post
- Baseball Earrings - Etsy
- Angel Wing Earrings - Creative Fabrica
- American Earring SVG - Creative Fabrica
- Earring Display Card Template - Creative Fabrica
- Carrot Easter Basket Hangers - Creative Fabrica
- Easter Egg Shaped Charcuterie Board - Rustic Farmhouse Easter SVG Bundle - Creative Fabrica
- The customized coasters were all created in Canva
- Canva has a free option and a paid option
- Creative Fabrica is a paid source with unlimited downloads, etc. They do, however, offer a one-month free trial!
If you're looking to expand your creativity and take your crafting, including woodworking projects, to a whole other level the good news is that the xTool is a very good option in my opinion. The machine yields great results for even a novice with a simple set up and you aren't limited to just wood-based materials.

It should be noted, however, that creating with the xTool is not limited to just wood-based materials. The xTool M1 10W can also engrave and cut acrylic, stainless steel, stone, and more (see above for some of the compatible materials) AND, the particular model I have is also a cutting machine (think Cricut!) so you get everything all in one.
By following these tips and techniques, you'll be well on your way to creating stunning and high-quality wood laser engravings. Keep experimenting and refining your skills as you explore the possibilities of this versatile and engaging craft.


