How-To Make a Decorative Bird's Nest from Twine
It's so easy to make a pretty faux bird's nest from twine or string with this easy-to-follow tutorial.

How-To Make a Nest from Twine
I am smitten, smitten I tell you with twine. It's utter simplicity is appealing. Something about the symmetrically wrapped up ball screams my name.
I have, in the past, been known to buy said balls of twine and just keep them....do nothing with them...just 'put' them in my craft area and look at them.
I'm strange...I know...but sometimes I hate to disrupt the perfection of something...whether it be ribbon, fabric, thread, yarn, string, or twine...but....I am getting over that.
NOW, I bust open and use what I have. It's better than not using it and dusting it or blowing the dust off of whatever it is that I refuse to use.
Life Lesson ~ Use What You Have!
So now, it's time to learn how easy it is to Make a Nest from Twine
Supplies:
twine
glue (school glue like Elmer's works for this)
¼ cup of cornstarch
⅛ cup warm water
2 bowls
plastic wrap
1. Mix the cornstarch and water in a small bowl.

2. Add glue just until it is a thinner consistency but NOT watery.
3. Line a bowl with plastic wrap. This will be the mold for your nest.
4. Place the twine into the bowl with the glue mixture and mush it around in there so that all of the twine is covered with glue.
5. Start wrapping the twine in the bottom center of the bowl lined with plastic wrap and shape your nest.
6. Allow to dry ~ this may take several days so be patient!

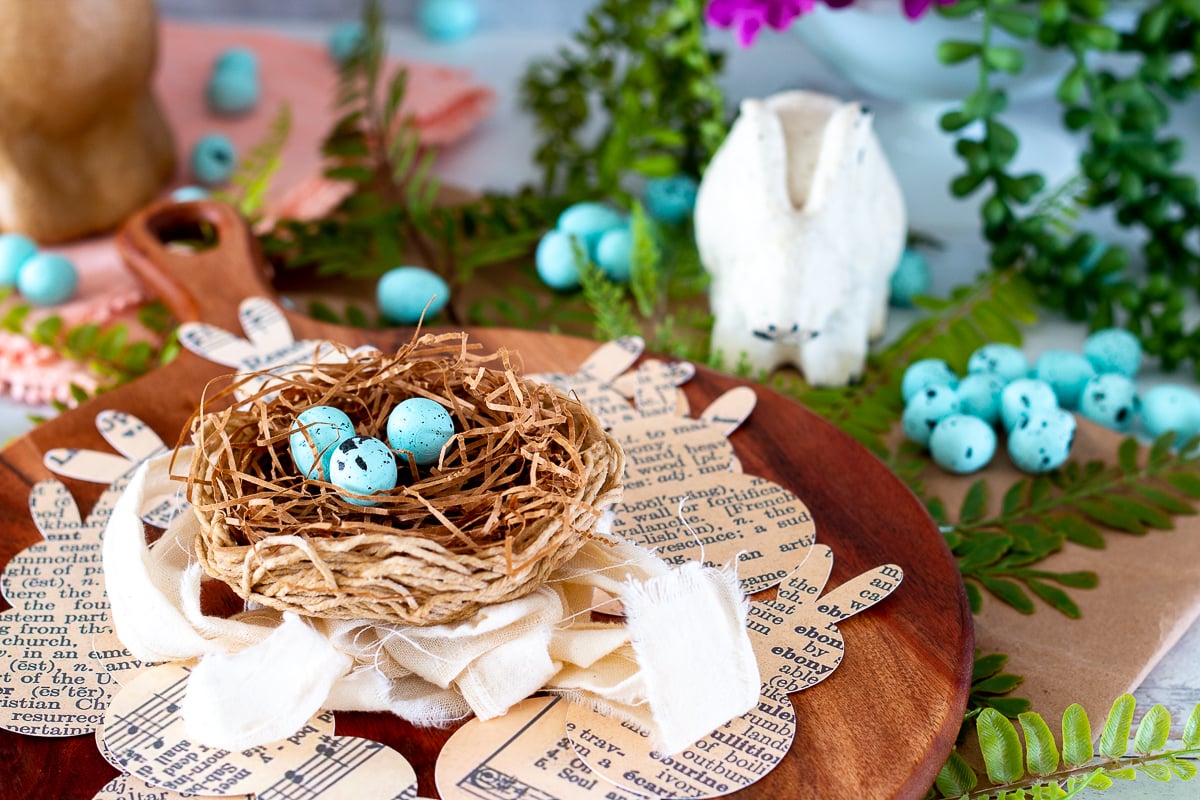
Display your lovely creation with some natural brown-colored 'grass' inside and some little speckled eggs.
The grass is packing material I saved from deliveries but I've seen it for sale as well at party stores.
Supplies
Supplies: twine or string, glue (school glue), ¼ cup cornstarch, ⅛ cup warm water, 2 bowls (one for mixing and one to use as a mold), plastic wrap
Instructions
- Mix the cornstarch and water in a small bowl.
- Add glue just until it is a thinner consistency but NOT watery.
- Line a bowl with plastic wrap. This will be the mold for your nest.
- Place the twine into the bowl with the glue mixture and mush it around in there so that all of the twine is covered with glue.
- Start wrapping the twine in the bottom center of the bowl lined with plastic wrap and shape your nest.
- Allow to dry ~ this may take several days so be patient!
Video

As with any of my recipes, calorie counts and nutritional information varies greatly depending on which products you choose to use when cooking this dish.


Gorgeous Mary Beth! You are so clever!! These would be perfect for a Spring table or a mantel too!
Thank you so much, Heather! I think I'll try to put up a shelf mantel like the one you shared ~ so lovely.
Oh how sweet and clever!
Thank you, Jenny!
Never in a million years would I think of that! How cute Mary Beth!
Thanks so much, Debbie!
Very clever! Your nest is just to cute!
Thanks so much, Linda!
GORGEOUS, MB! I am a nest fanatic... thanks for the new idea! xo
Thanks so much, Malia! I"m a nest and bird fanatic, too~I realized it one day when I looked around my house and saw how many I had. 🙂
I love this!! I did something similar a few years ago but your method is much better!! Thank you so much for sharing your beautiful project on The Inspiration Board. You were featured in the spotlight on Friday. xxoo
carolyn ~ homework
Thank you so much, Carolyn! Have a wonderful week. hugs, mb
This is such a sweet little nest...a perfect little something to tuck into vignettes or tables capes! I'd be thrilled if you linked this post to my brand new Creative Ways Link Party. Have a great week.
Blessings,
Nici
Thank you so much for the thoughtful comment and the party invitation, Nici ~ I'll be right over to share!
I'm so happy you shared this with my readers. It is absolutely darling. I can't wait to see what you'll bring to the party this week!
Blessings,
Nici