DIY Upcycled Snow Globe
DIY Upcycled Snow Globe
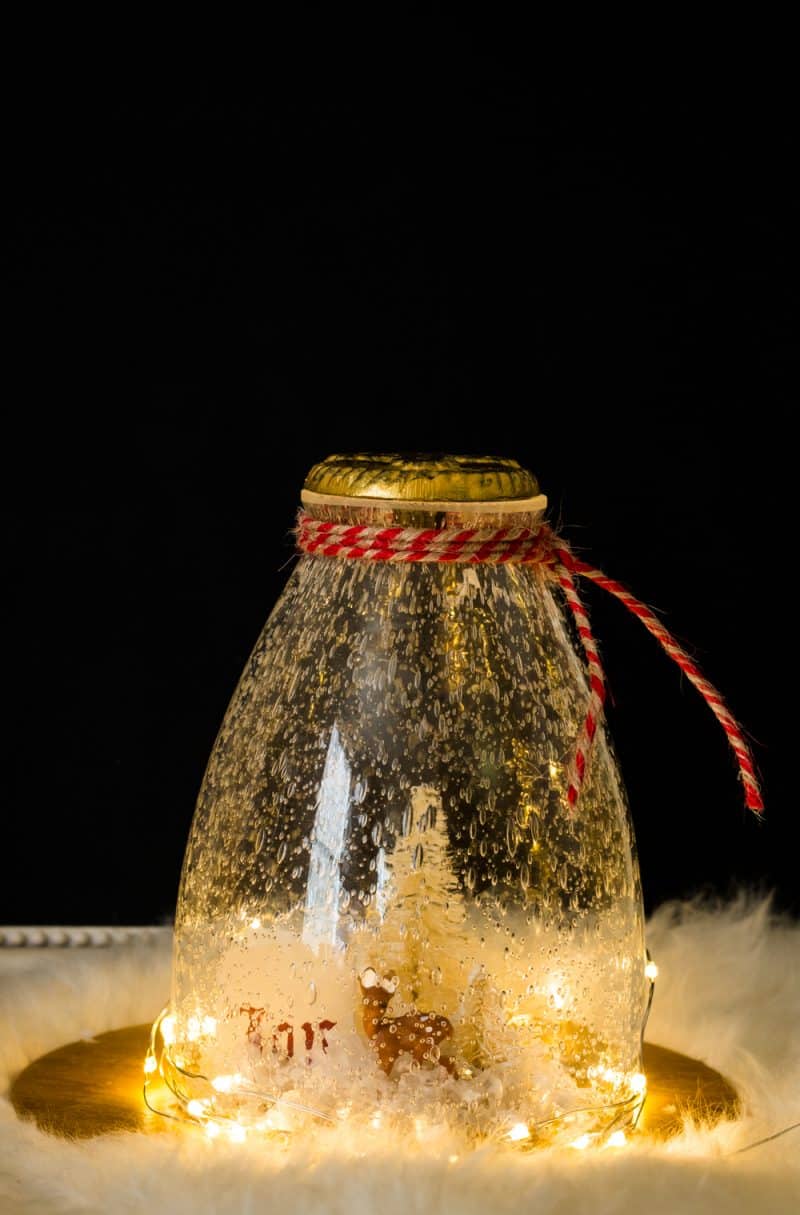
Do you love snow globes and upcycling? If you do, this DIY Upcycled Snow Globe is the perfect combination and it honestly could not be any easier to make.

I'm sharing this inexpensive how-to as part of this month's Thrifty Style Team inspiration. After seeing how I made this thrifted Christmas Decor scroll to the bottom of this post to see all of the other Classy Christmas on a Low Budget Ideas from the rest of the team.
How To Make a DIY Snow Globe - No Liquid Needed

One of the things that really appealed to me about this DIY is that I didn't need any liquid and just between you and me, I didn't even glue the light globe to the bottom which means I can take everything apart and reuse it for another project.

A few weeks ago I replaced the light fixture in my bathroom and had the light globes left. I decided to keep them because I like the air bubble look to them and thought I could use them for something else. After looking at them a lot, I realized that the air bubbles also looked like snowflakes and that's what prompted me to use them to make this snow globe.
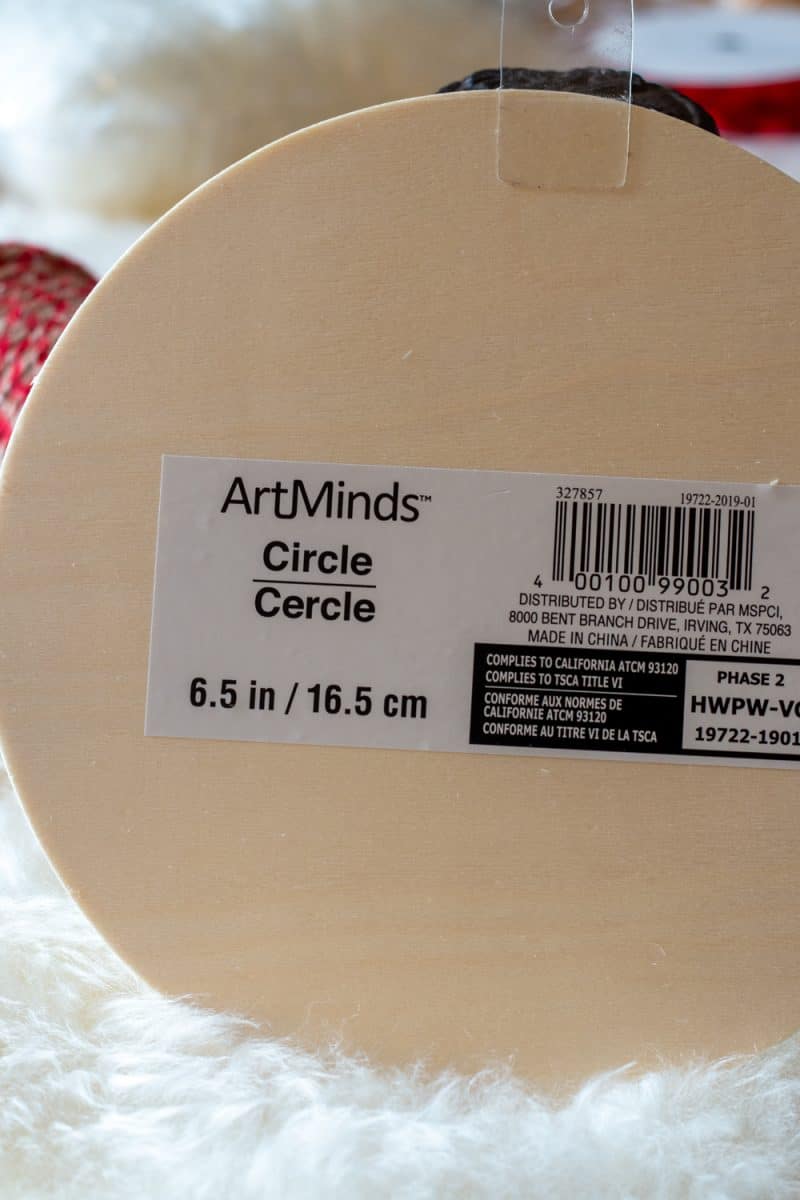
The only item I had to buy for this project was a round base. In retrospect, I wish I had bought one that had some heft to it similar to out that would be used to hold a cloche, but this will do for now and I may upgrade this. If I do, I will update the pictures but for now, this is what I used and it worked just fine.

I raided my craft stash for small brush trees, a plastic deer, and a Christmas card that simply states Joy. I also used metallic gold paint and a sponge brush.


I painted the gold base and a knob that I purchased at Hobby Lobby (years ago!) with the gold paint. It took three coats to get a nice glossy metallic look but the paint dries quickly so this process only took about 45 minutes including drying time.

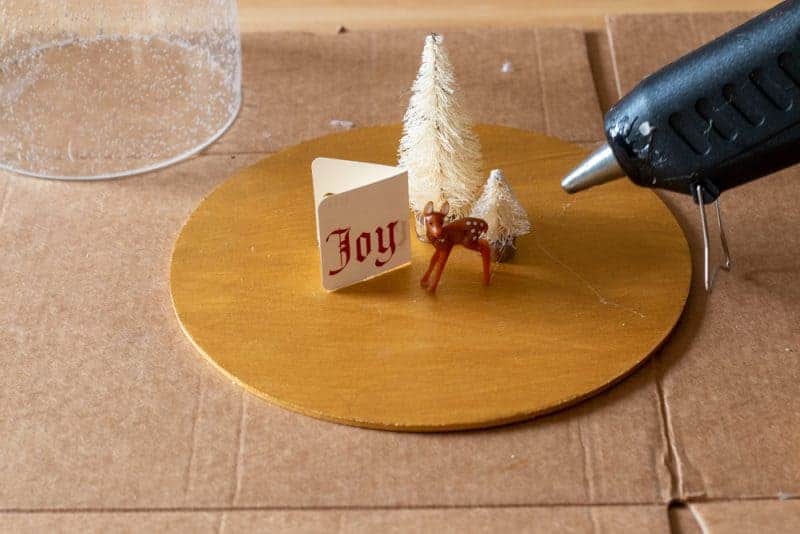
Once everything was dry, I used a hot glue gun to glue the trees, deer, and card in place. The card was slightly large so I simply folded it in half which gave it a bit of a "book" look.
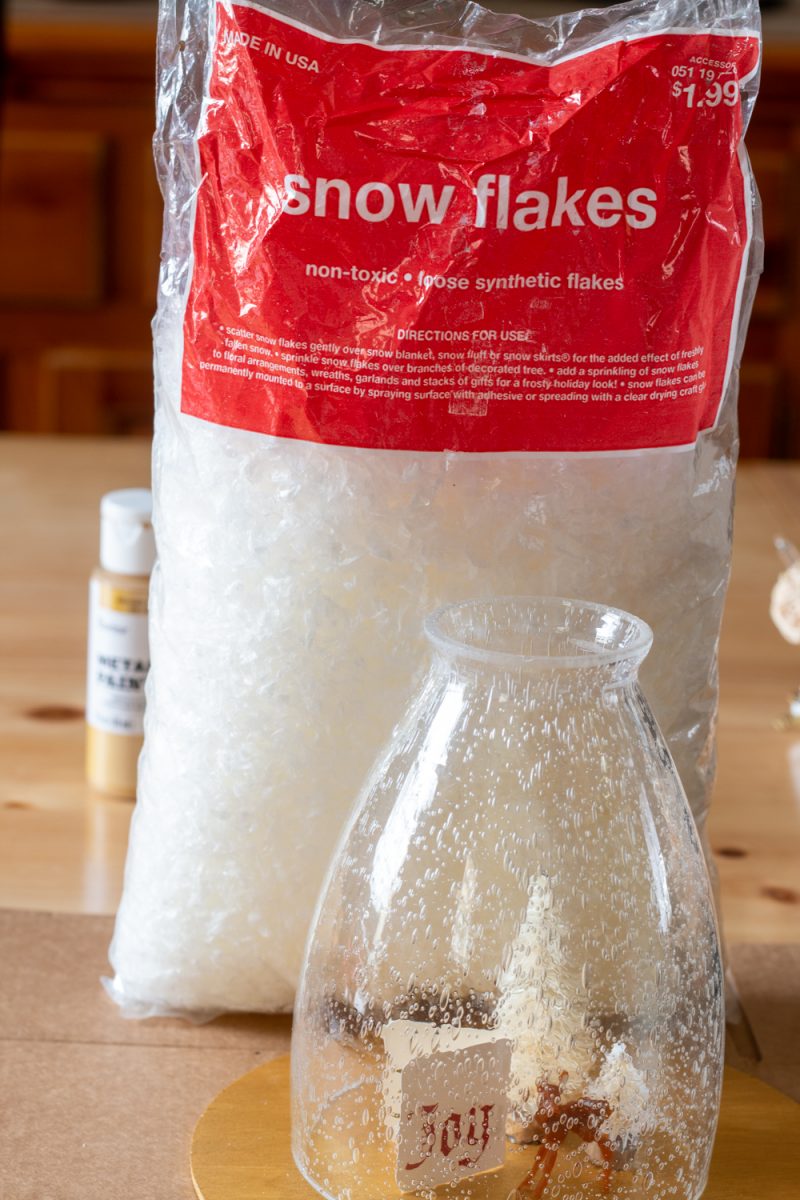
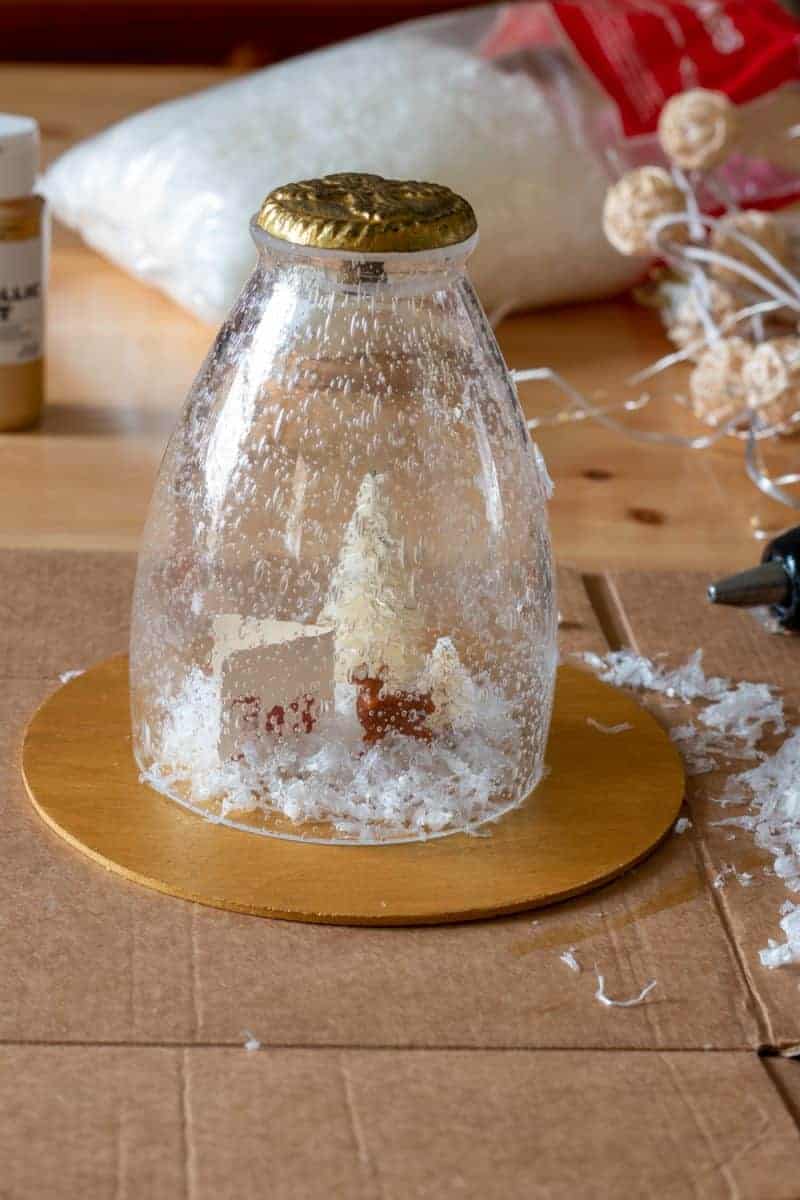
I added some fake snow and put the upcycled light on top of it all.
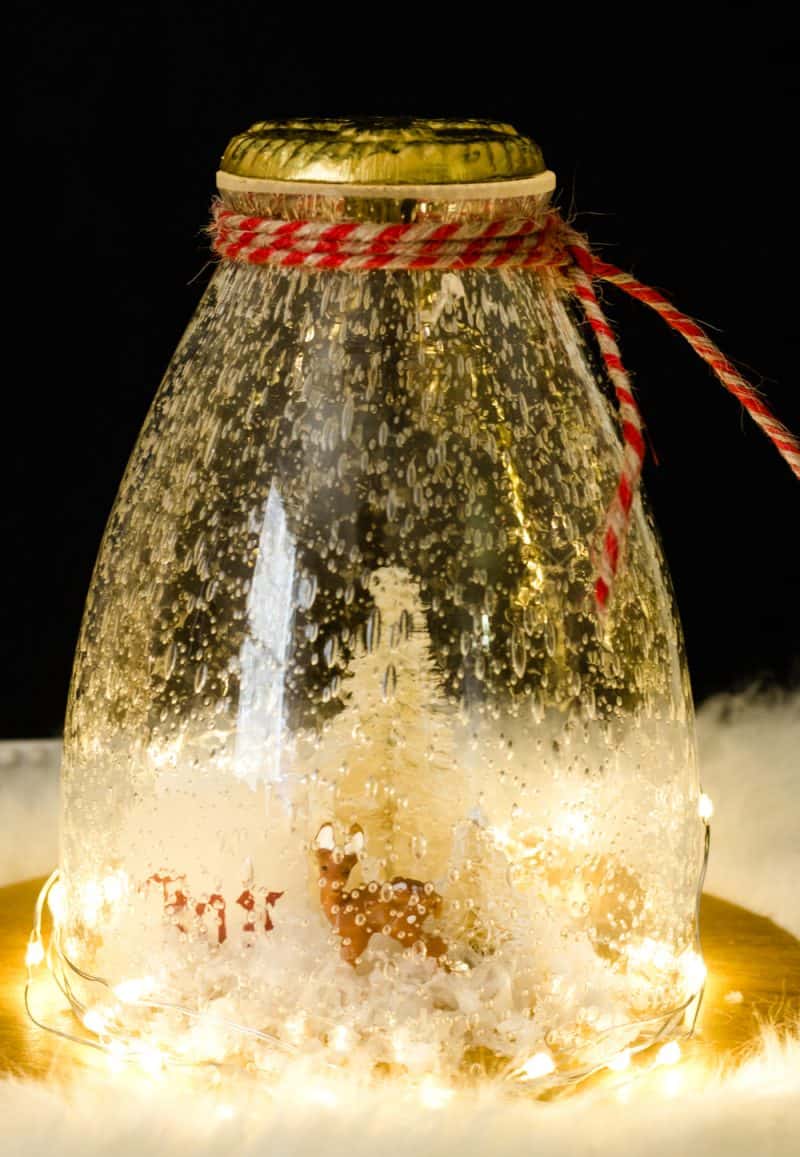
After I put it all together, including plopping the knob on top, I realized it needed some Christmas lights so I headed back to my stash and grabbed a string of battery operated lights to wrap around the outside base of the snow globe.
I really like how this turned out and it looks so pretty at night lit up and sitting on my buffet.
More Light Globe Upcycles You Might Like:
- DIY World Globe from a Thrift Store Light Globe
- How To Upcycle a Glass Lamp Shade with Vintage Charm
Now for the rest of this month's Thrifty Style Team inspiration
DIY FELTED ACORN GARLAND from Chatfield Court
DRIED ALLIUM CHRISTMAS ORNAMENTS from The Creek Line House
DIY UPCYCLED SNOW GLOBE from The How-To Home
DIY WINE BOTTLE LUMINARIES from Postcards from the Ridge
FROSTED CHRISTMAS LUMINARIES from DIY Beautify
EASY DIY PERSONALIZED CHRISTMAS ORNAMENTS from 2 Bees in a Pod
THRIFTY HOLIDAY DECORATING IDEAS from Bliss Ranch
REPURPOSED PILLOWCASE SCARF from Redhead Can Decorate
EASY HOLIDAY HOOPS from I Should Be Mopping the Floor
DECOUPAGE AND FRAMED CHRISTMAS CARD ON CANVAS from What Meegan Makes
DIY BIRCH LOG CHRISTMAS TREE CANDLE HOLDER from Unskinny Boppy
PERFECTLY FLOCKED PINE CONES from Duke Manor Farm
MERCURY GLASS PUMPKIN TABLESCAPE from Jennifer Rizzo
TERRACOTTA CHRISTMAS TREES from Salvage Sister and Mister
CANNING RING SNOWMAN from Cottage at the Crossroads





This is completely adorable!! Love that seeded glass so much.
Thank you and I love that you know the name of the glass. I had no idea that's what it's called.
I'm a sucker for anything with lights in them. But if you put a cute little deer under glass, well I'm in!
Thanks so much, Miss Bliss!
What a great repurpose for your light shades! It turned out great!!
Thank you, Cindy!
Love it! I always wonder what to do with old light globes! I never want to throw them away either.
Thank you, Courtenay! I get rid of almost everything lately when I don't need it anymore but for some reason, I hang on to old light fixtures...and I have no idea why.
Mary Beth - this is such a cute project. We love the nod to vintage decor as well. Plus, you were so smart to upcycle the light fixture globes! Way to go!
Thank you very much, Vicki! I love vintage decor and I do like the look of this. Someday, I would love to have all my Christmas decor in this color scheme and style (hopefully, soon!).
Mary Beth,
This is so lovely! I like how you have reused the glass light cover. The bubbles are just like snow. Such a pretty Christmas craft.
Thank you, sweet Meegan!
This is SO lovely, Mary Beth! What a wonderful idea! I love the little details you added to your globe. That deer is so sweet! <3
Thank you, Kristi! I have a little package of those deer and I wish I could put them out year-round. I love the vintage look of them.
So adorable!! This was an incredibly creative idea and use for your lamp glass. Seriously that seeded glass looks like swirling snow!! It's so cute, it's worth looking for a glass like that to buy... or maybe hit up the ReStore store first. 😉
Thank you so much, Diane, and if we lived closer to each other I would give you my extras!
Such a great idea and I love how it turned out, Mary Beth! So pretty!
Thanks so much, Kristi!
Be still my upcycle heart!!! Love it
Awww...thank you, Deborah!
This is such a clever and adorable idea. I love the bubble glass and the lights you added make it perfect for the holidays. So sweet!
Thank you so much, Angie!
How do you conceal the light set battery pack?
Hi Linda, It's been a while since I made this but I think I just made sure the battery pack was in the back of the display and then I covered it with some white fabric that I could easily move to turn off the lights.